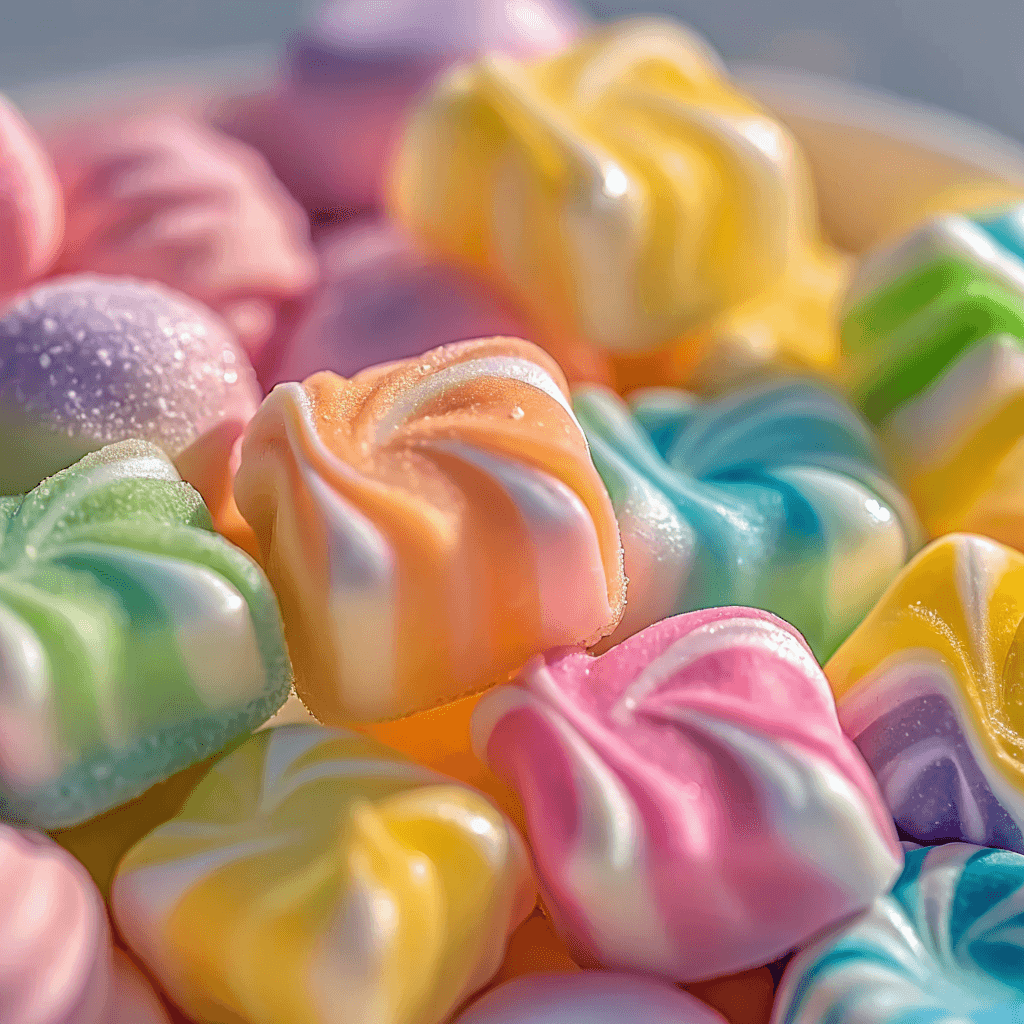
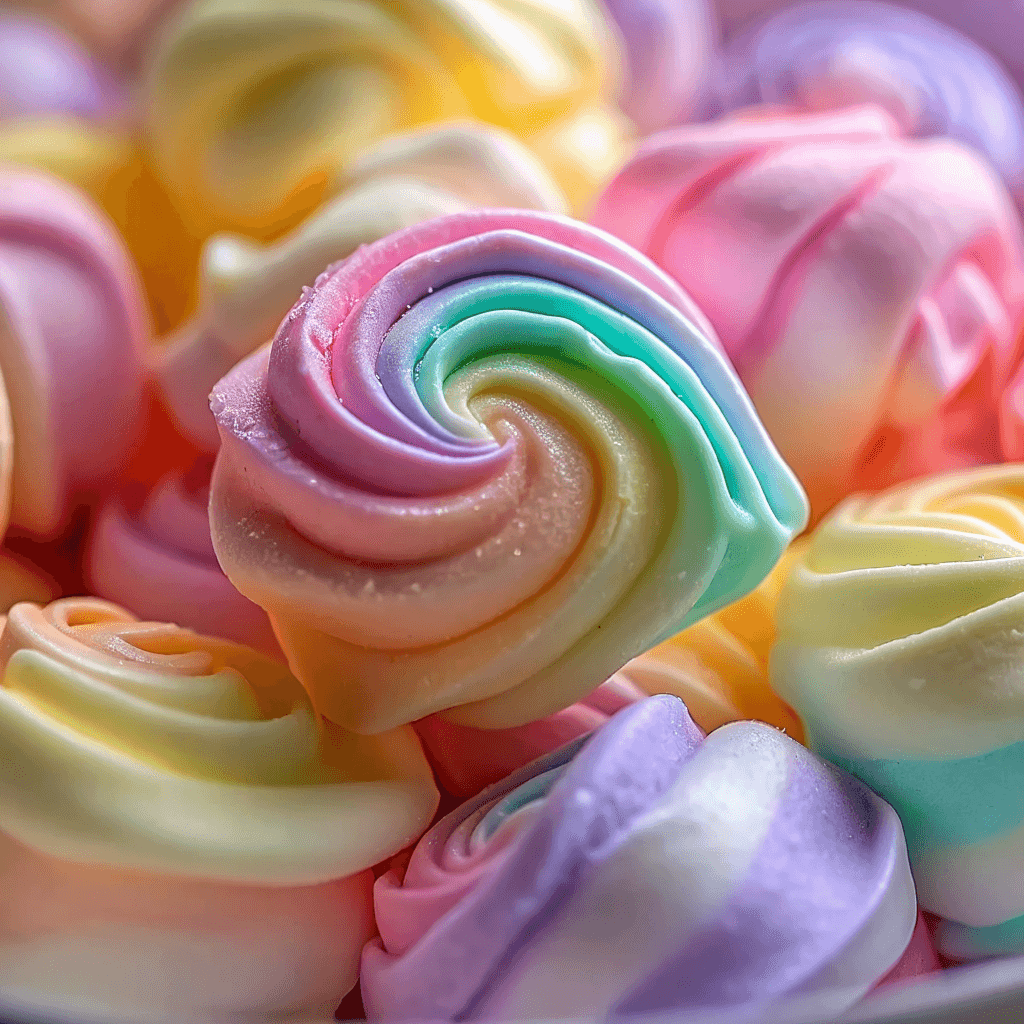
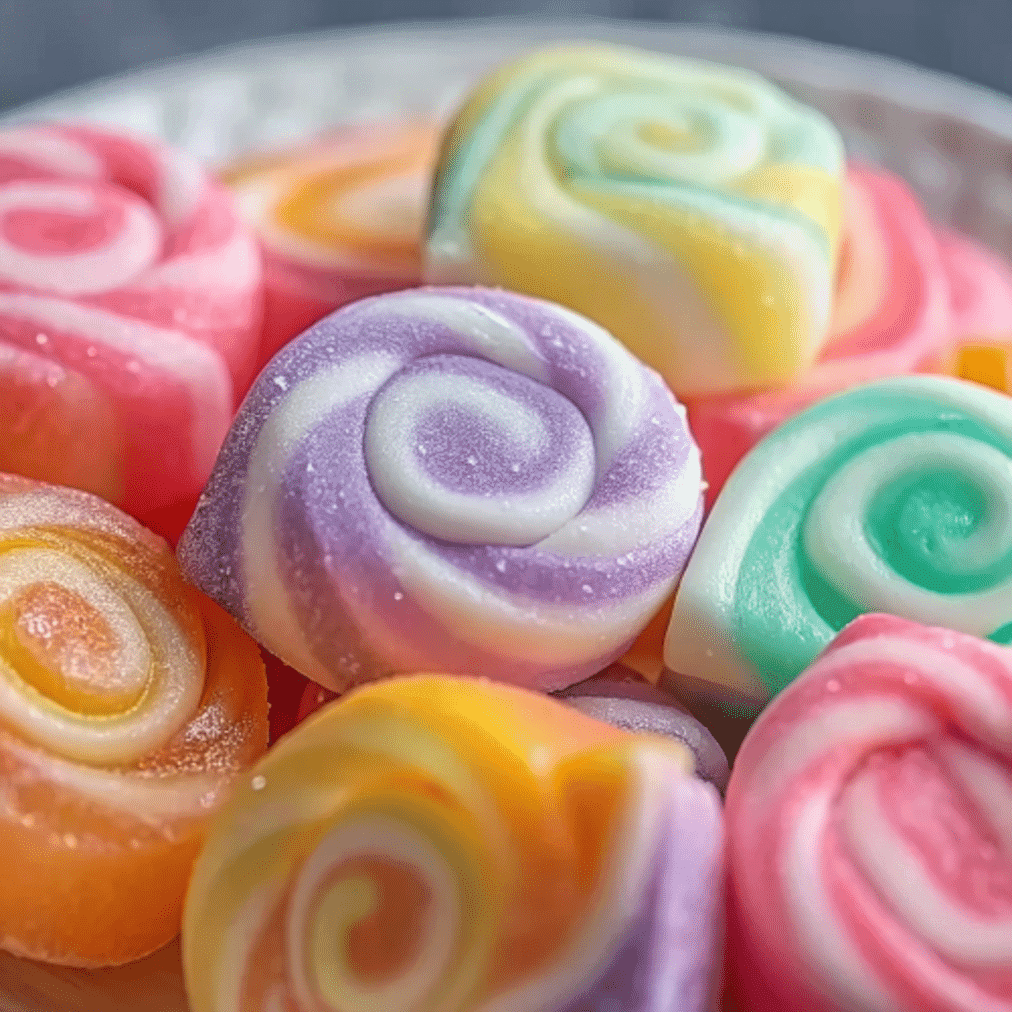
Homemade Saltwater Taffy Rolls are the kind of candy that feels like pure joy wrapped in a swirl of pastel colors. From the very first pull to the final chewy bite, these sweets carry a sense of nostalgia and wonder. I grew up seeing them stacked in glass jars at beachside shops, each piece promising a burst of sweetness. Making them at home is more than a recipe—it’s a hands-on adventure that transforms a few pantry staples into edible works of art.
Why this recipe matters
Beyond the vibrant colors and playful swirls, pulling taffy is a memory-making experience. It’s a chance to gather kids or friends in the kitchen, laugh through sticky fingers, and create something both beautiful and delicious. Unlike store-bought candies, these rolls allow you to control flavors, colors, and portion size—whether you want a batch of classic vanilla or a rainbow spread to brighten a dessert table.
What is Saltwater Taffy?
Despite the name, there’s no seawater involved. The treat originated on the Atlantic coast in the late 1800s, quickly becoming a staple of boardwalk shops. The “saltwater” part was mostly a catchy marketing twist, but the candy itself is a classic pulled-sugar confection. At its heart, it’s soft, chewy, and endlessly customizable with extracts and food coloring—making it just as fun to make today as it was more than a century ago.
Print
Homemade Saltwater Taffy Rolls – Colorful, Chewy Fun for Every Occasion
- Total Time: 30 minutes
- Yield: 50 pieces 1x
- Diet: Vegetarian
Description
Homemade Saltwater Taffy Rolls are chewy, colorful, and fun to make. A nostalgic candy-shop classic that’s perfect for parties, gifts, or holiday treats.
Ingredients
2 cups granulated sugar
1 cup light corn syrup
1/2 cup water
2 tablespoons unsalted butter
1 teaspoon salt
1 teaspoon vanilla extract
Food coloring (optional)
1/2 cup cornstarch (for dusting)
Instructions
Line a baking sheet with parchment paper and dust lightly with cornstarch. Set aside.
In a medium saucepan, combine sugar, corn syrup, water, butter, and salt. Stir over medium heat until the sugar dissolves.
Attach a candy thermometer to the side of the saucepan. Bring the mixture to a boil without stirring until it reaches 250°F (hard ball stage).
Remove from heat and stir in vanilla extract and a few drops of food coloring if desired.
Pour the hot mixture onto the prepared baking sheet and let it cool until safe to handle (about 10 minutes).
Lightly dust your hands with cornstarch. Begin pulling the taffy by stretching it out, folding it back, and repeating for about 10 minutes or until it becomes opaque and firm.
Roll the taffy into a rope about 1/2 inch thick. Using scissors or a knife, cut into 1-inch pieces.
Wrap each piece in wax paper or plastic wrap to store.
Notes
- For a variety of flavors, divide the taffy mixture before adding food coloring and use different extracts like peppermint or strawberry.
- Store taffy in an airtight container at room temperature for up to 2 weeks.
- Be careful when handling the hot sugar mixture to avoid burns.
- Prep Time: 15 minutes
- Cook Time: 15 minutes
- Category: Homemade Candy
- Method: Stovetop + Pulling
- Cuisine: American
Nutrition
- Serving Size: 1 piece
- Calories: ~60 kcal
- Sugar: 13g
- Sodium: 20mg
- Fat: 1g
- Carbohydrates: 14g
- Fiber: 0g
- Protein: 0g
- Cholesterol: 2mg
Keywords: Homemade Saltwater Taffy, saltwater taffy rolls, chewy candy recipe, rainbow taffy, homemade candy
Why You’ll Love This Recipe
- Bright, colorful swirls that look as fun as they taste.
- A chewy, nostalgic texture that melts into sweetness with every bite.
- Fully customizable with endless flavors and color combinations.
- A hands-on, family-friendly activity perfect for weekends or holidays.
- Simple pantry staples transform into a candy-shop classic.
Ingredient Notes & Substitutions
Each ingredient plays a role in getting that perfect chew and shine. The sugar and corn syrup provide sweetness and structure, while butter adds a touch of richness. Cornstarch keeps things from sticking, and flavor extracts give you freedom to personalize.

| Ingredient | Notes & Substitutions |
|---|---|
| 2 cups granulated sugar | Forms the base; do not replace with brown sugar, as it alters texture. |
| 1 cup light corn syrup | Prevents crystallization; can substitute with glucose syrup. |
| 1/2 cup water | Essential for dissolving sugar evenly. |
| 2 tablespoons unsalted butter | Adds smoothness; margarine works if needed. |
| 1 teaspoon salt | Balances sweetness; use fine sea salt for even distribution. |
| 1 teaspoon vanilla extract | Classic flavor base; swap with peppermint, strawberry, or almond extract. |
| Food coloring (optional) | Use gel coloring for vibrant swirls without thinning the candy. |
| 1/2 cup cornstarch (for dusting) | Prevents sticking; powdered sugar is a backup option. |
How to Make Homemade Saltwater Taffy Rolls
- Prepare your surface – Line a baking sheet with parchment paper and dust lightly with cornstarch. This keeps the hot candy from sticking later.
- Cook the base – In a medium saucepan, combine sugar, corn syrup, water, butter, and salt. Stir over medium heat until the sugar dissolves completely.
- Heat to the right stage – Attach a candy thermometer to the pan. Without stirring, bring the mixture to a boil until it reaches 250°F (hard ball stage). This takes about 10–12 minutes. The mixture should bubble steadily and turn a clear golden.
- Add flavor and color – Remove from heat and stir in vanilla extract along with a few drops of food coloring. Swirl gently for marbled effects.
- Cool until safe to handle – Pour the hot candy onto the prepared sheet. Let it rest about 10 minutes until it’s firm but still pliable.
- Pull the taffy – Lightly dust your hands with cornstarch. Stretch the candy out, fold it back, and repeat for about 8–10 minutes until it turns opaque and develops a satin shine.
- Shape and cut – Roll into a rope about ½ inch thick. Cut into 1-inch pieces with scissors or a greased knife.
- Wrap and store – Wrap each piece in wax paper or plastic wrap. Store in an airtight container for up to 2 weeks.
Tips & Variations
- Keep it safe: Always use a candy thermometer—guessing the stage can result in candy that’s either too soft or too brittle.
- Flavor twist: Try peppermint for a refreshing holiday treat or strawberry for a fruity pink batch.
- Rainbow batches: Divide the mixture before coloring to create multiple swirls in one session.
- Lighter option: Use natural fruit extracts instead of artificial flavorings for a softer, cleaner taste.
- Hosting hack: Wrap candies in pastel papers for party favors or seasonal gifts.
- Kid-friendly fun: Let kids help during the pulling stage once it’s cool enough—just dust their hands with cornstarch.
Common Mistakes & Fixes
- Grainy texture – Caused by sugar crystallization. Always use corn syrup (or glucose) and avoid stirring once the mixture starts boiling.
- Candy too hard – Likely overheated past 250°F. Use a reliable candy thermometer and remove promptly.
- Candy too soft – Didn’t reach the hard ball stage. Return to the heat briefly until the thermometer reads correctly.
- Sticky hands while pulling – Dust hands and work surface generously with cornstarch to prevent sticking.
- Uneven colors – Add food coloring only after removing from heat, and stir gently for swirls instead of blending completely.
Make-Ahead, Storage & Reheating
You can prepare a batch of taffy in advance and store it in an airtight container at room temperature for up to 2 weeks. Each piece should be wrapped individually in wax paper or plastic wrap to prevent sticking. For longer storage, place the wrapped candies in a freezer-safe bag and freeze for up to 3 months. Simply bring them back to room temperature before unwrapping. Reheating is not recommended; instead, enjoy them fresh or thawed.
Serving Suggestions & Pairings
Homemade Saltwater Taffy Rolls shine brightest when they’re part of a playful dessert table. For a fun candy bar at parties, pair them with colorful treats like Irresistible Jello Candy Melts for a chewy-meets-melt-in-your-mouth contrast. They also look beautiful mixed into jars alongside Easy Kool-Aid Apples, creating a rainbow display guests can grab and enjoy. For holidays, wrap the rolls in festive paper and set them out as edible decorations that double as sweet take-home favors.

FAQs
Can I make taffy without a candy thermometer?
It’s possible, but not ideal. The thermometer ensures accuracy—without it, the candy may set too soft or too hard. If you must, use the cold water test: drop a bit into ice water; it should form a firm but pliable ball.
Why do I need to pull the taffy?
Pulling incorporates air into the candy, giving it the chewy, light texture taffy is known for. Without pulling, it stays dense and sticky.
Can I use natural food dyes or no coloring at all?
Absolutely. Natural dyes like beet powder or spirulina can give gentle colors, or you can skip coloring for a classic cream look.
Conclusion
Homemade Saltwater Taffy Rolls bring fun, flavor, and color to any kitchen. With just a little patience and a lot of stretching, you’ll end up with candies that taste like nostalgia and look like celebration

