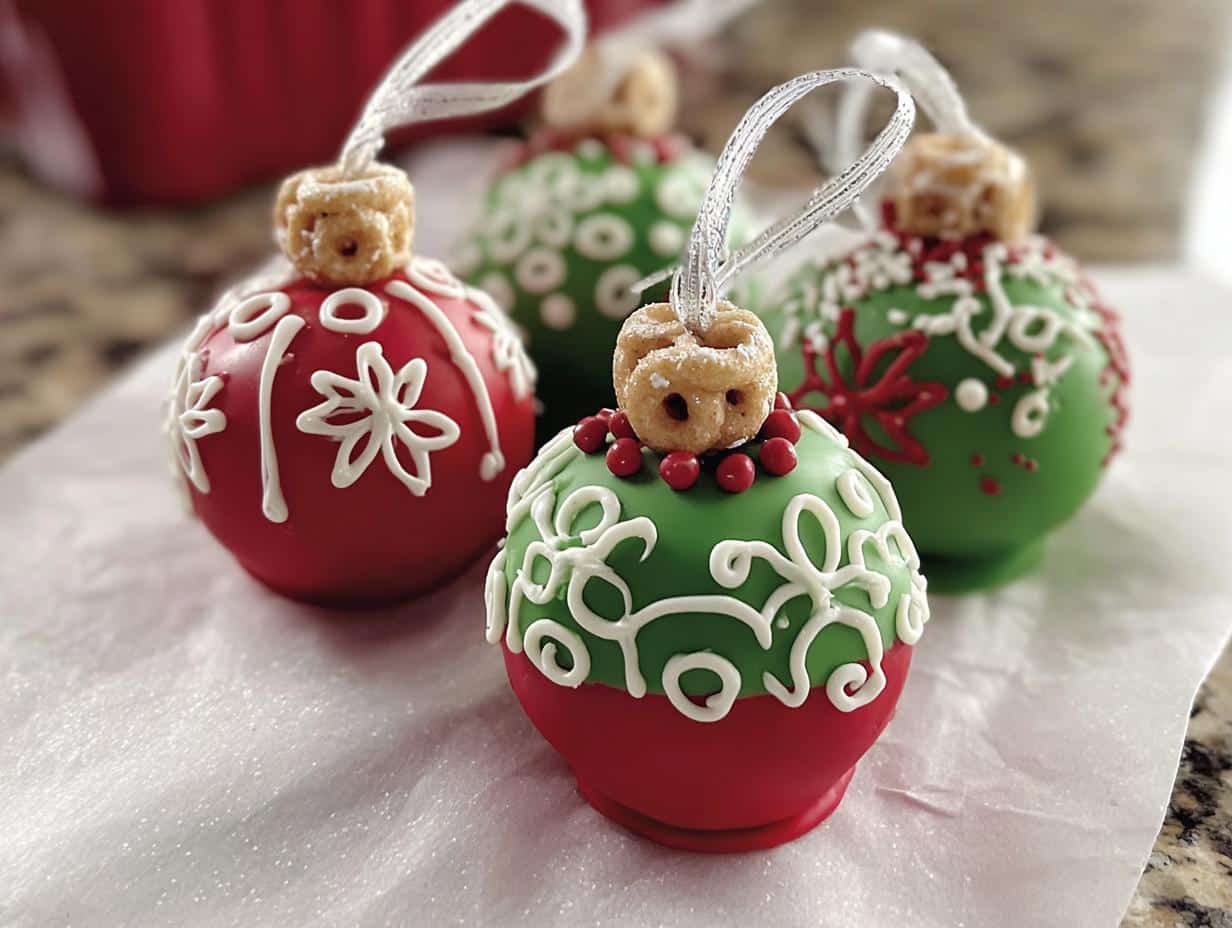
There’s something magical about holiday baking that turns even the simplest desserts into cherished traditions. I’ll never forget the first time I made these cake ball ornaments—it was for a winter magazine shoot, and I wanted something that looked as festive as it tasted. Little did I know, these edible decorations would steal the show at my next gathering! My friends couldn’t resist “hanging” them on their fingers before devouring each one. That’s the beauty of these sweet treats—they’re part dessert, part decoration, and 100% holiday cheer. Whether you’re hosting a party or just want to add some edible sparkle to your season, these cake balls are guaranteed to bring smiles.
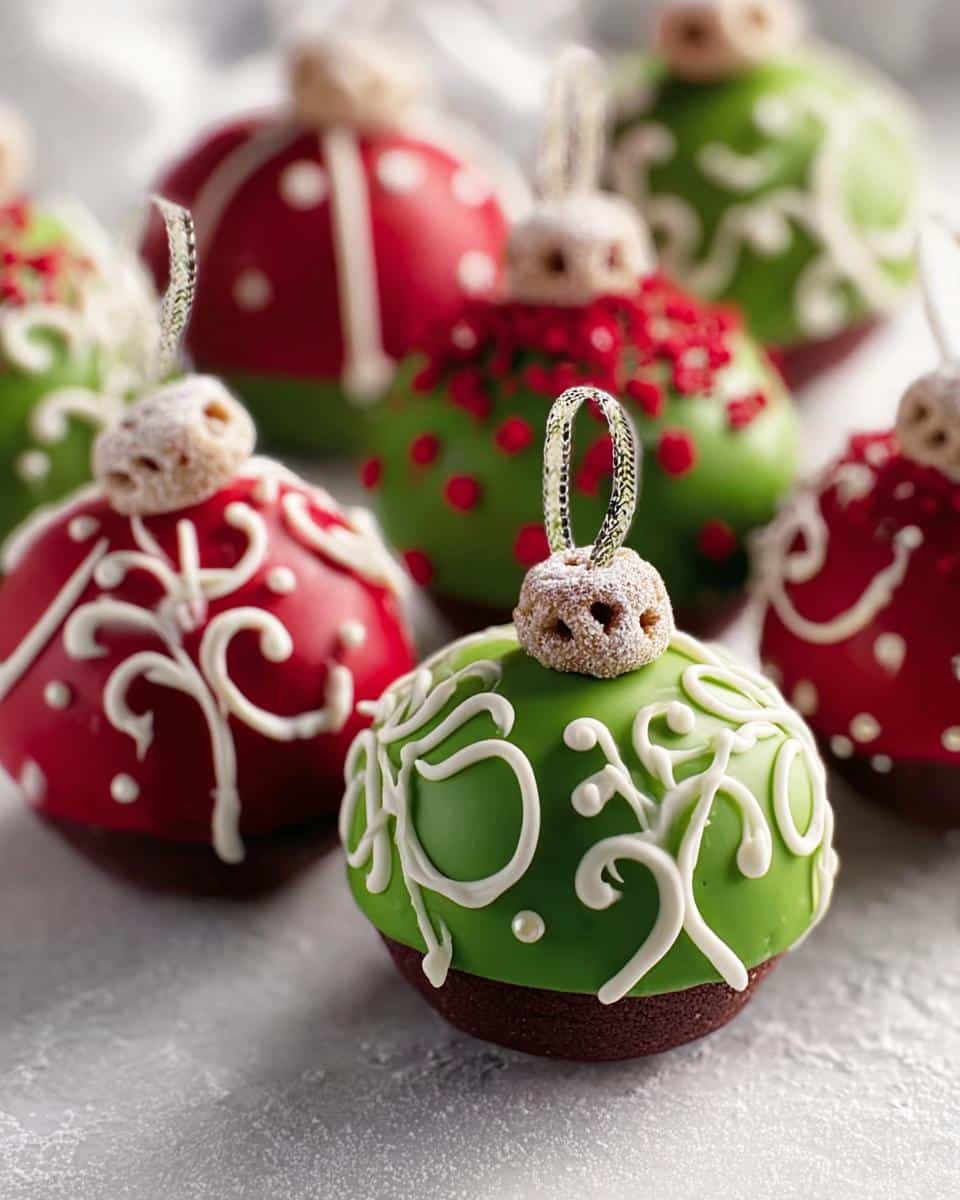
Why You’ll Love These Cake Ball Ornaments
Let me tell you why these little edible ornaments have become my go-to holiday treat year after year:
- Festive magic: They transform any dessert table into a winter wonderland – the glossy candy coating catches the light just like real ornaments!
- Easy-peasy: Even if you’ve never made cake pops before, this recipe walks you through each simple step. My 10-year-old niece helps me make them now!
- Party perfect: They disappear faster than you can say “holiday cheer” at gatherings. I always make double batches because guests love taking them home as edible favors.
- Your creative playground: Swap colors, add sprinkles, or pipe different designs – I’ve done snowflakes, stripes, and even little Santa faces over the years!
Trust me, once you make these once, they’ll become your new holiday tradition too. Nothing beats seeing kids’ eyes light up when they realize they can eat the decorations!
Ingredients for Cake Ball Ornaments
Gathering your ingredients is the first step to creating these adorable edible ornaments. Here’s what you’ll need to make about 30 cake balls that’ll have everyone ooh-ing and aah-ing:
- For the cake base:
- 1 box Betty Crocker™ Delights Super Moist™ German Chocolate Cake Mix (trust me, this specific one gives the perfect texture!)
- 1 cup buttermilk (this makes the cake extra tender)
- 1/2 cup vegetable oil
- 3 large eggs (room temperature works best)
- 2 tablespoons unsweetened baking cocoa (for that rich chocolate depth)
- 1 oz red food color (I like the gel kind for vibrant color)
- For binding & decorating:
- 1 cup Betty Crocker™ Rich & Creamy Cream Cheese Frosting (or try my homemade frosting if you’re feeling fancy)
- 2 cups green candy melts or coating wafers, melted
- 2 cups red candy melts or coating wafers, melted
- 1 cup white candy melts or coating wafers, melted (for those pretty piped details)
- 1/3 cup Frosted Cheerios™ cereal (about 90 pieces – these make the cutest little ornament tops!)
Pro tip: I always buy extra candy melts because inevitably, I’ll “accidentally” snack on a few while decorating! The colors are just too tempting.
How to Make Cake Ball Ornaments
Alright, let’s get to the fun part—making these adorable cake ball ornaments step by step! I promise it’s not as tricky as it looks. First, preheat your oven to 350°F and spray a 13×9-inch pan with cooking spray (or line it with parchment—I’m lazy, so I always do this). In a big bowl, mix the cake mix, buttermilk, oil, eggs, cocoa, and that gorgeous red food color with an electric mixer on medium. Two minutes—set a timer! Pour it into the pan and bake for 25-30 minutes. You’ll know it’s done when a toothpick comes out clean, like my chocolate peppermint bread. Let it cool completely—patience, my friend!
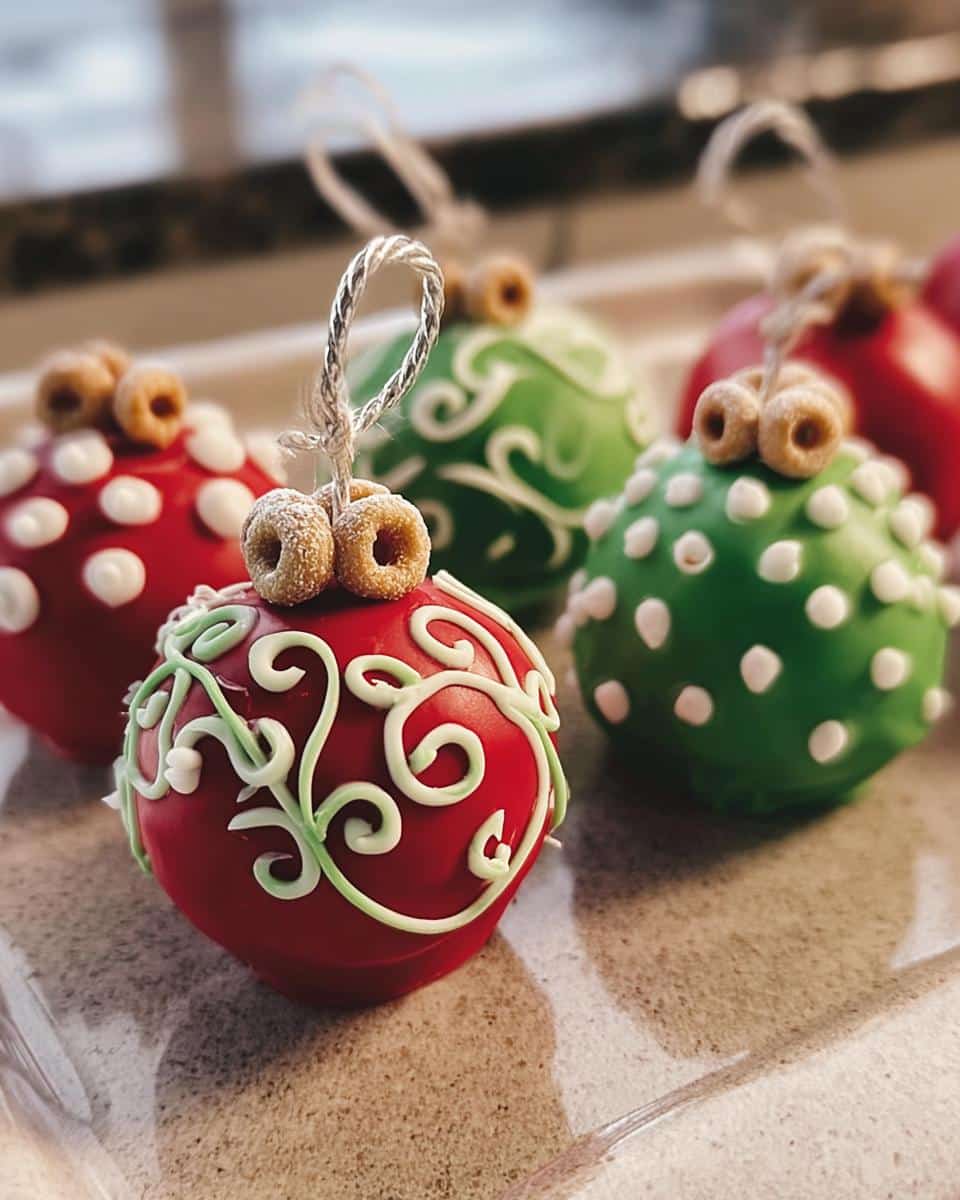
Next, line a cookie sheet with wax paper. Crumble that cake into crumbs (this is oddly satisfying). Add the frosting and mix it all up—your hands work better than a spoon here! Roll the mix into 1 1/4-inch balls and pop them on the tray. Freeze for 15 minutes (don’t skip this—it keeps them from falling apart). Now, the magical moment: dip half in red candy melts, half in green. Tap off the excess—seriously, give them a little flick, or you’ll end up with puddles. Let them set before moving on to the best part…
Decorating Your Cake Ball Ornaments
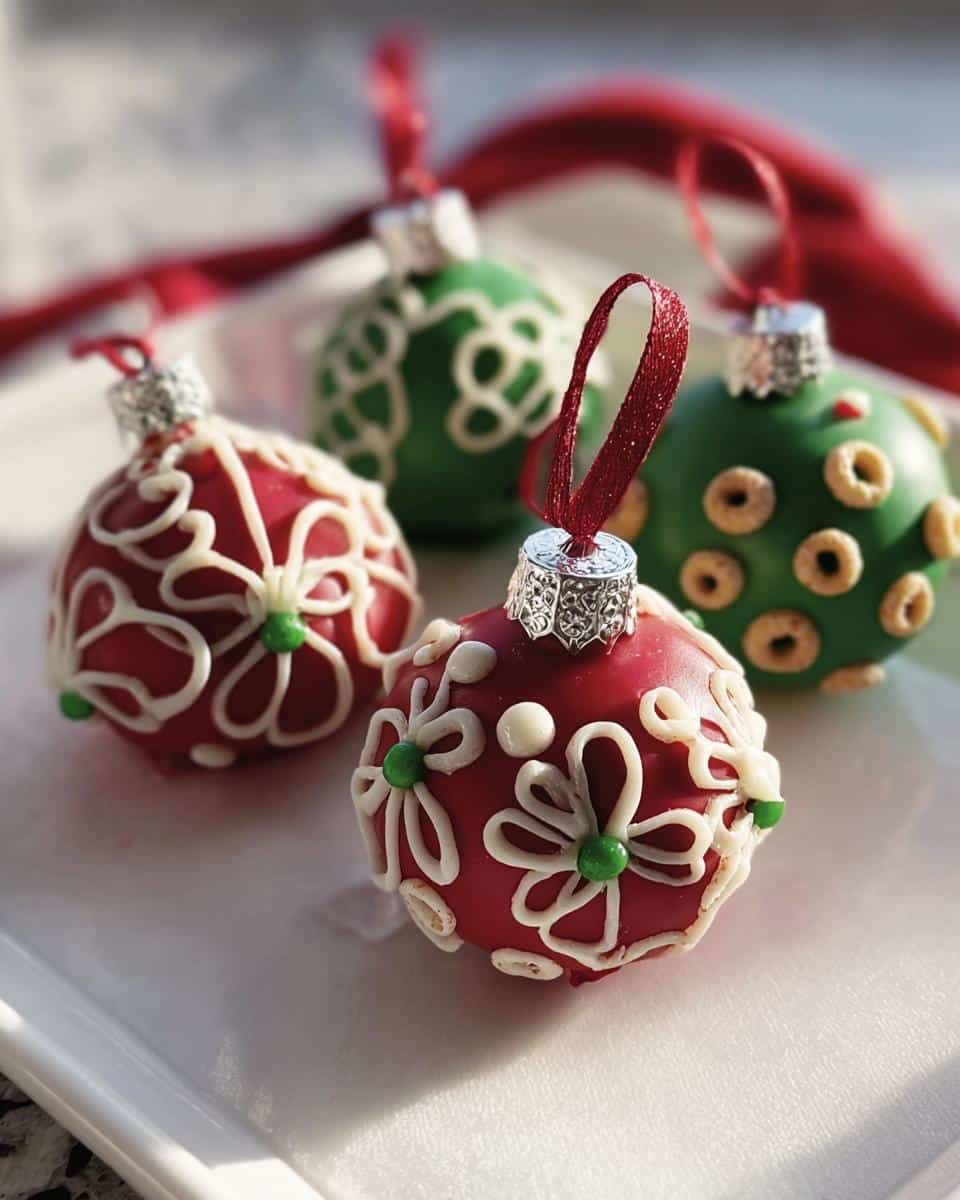
Time to make these babies shine! Melt the white candy melts and spoon them into a plastic bag with a tiny corner snipped off. Pipe swirls, dots, or even snowflake designs—go wild! While the white details are still soft, gently press a Frosted Cheerio™ on top. Pipe a tiny dot of white candy onto the cereal and stick another one upright in the center—voilà, ornament hook! My niece loves doing this part. Last year, we added edible glitter (because why not?). These look almost too pretty to eat—almost.
Tips for Perfect Cake Ball Ornaments
After making hundreds of these little edible ornaments (and yes, eating my fair share of “test” batches), I’ve picked up some foolproof tricks to make yours turn out picture-perfect every time:
- Chill out: Those 15 minutes in the freezer aren’t just a suggestion—cold cake balls hold their shape when dipped and prevent messy cracks in your candy coating. If your kitchen’s warm, pop them back in the fridge between batches!
- Tap it off: When dipping, give each ball a gentle tap against the bowl’s edge. This removes excess coating so you don’t end up with thick, clumpy bottoms (we’ve all been there). Hold it sideways and rotate as you tap for even coverage.
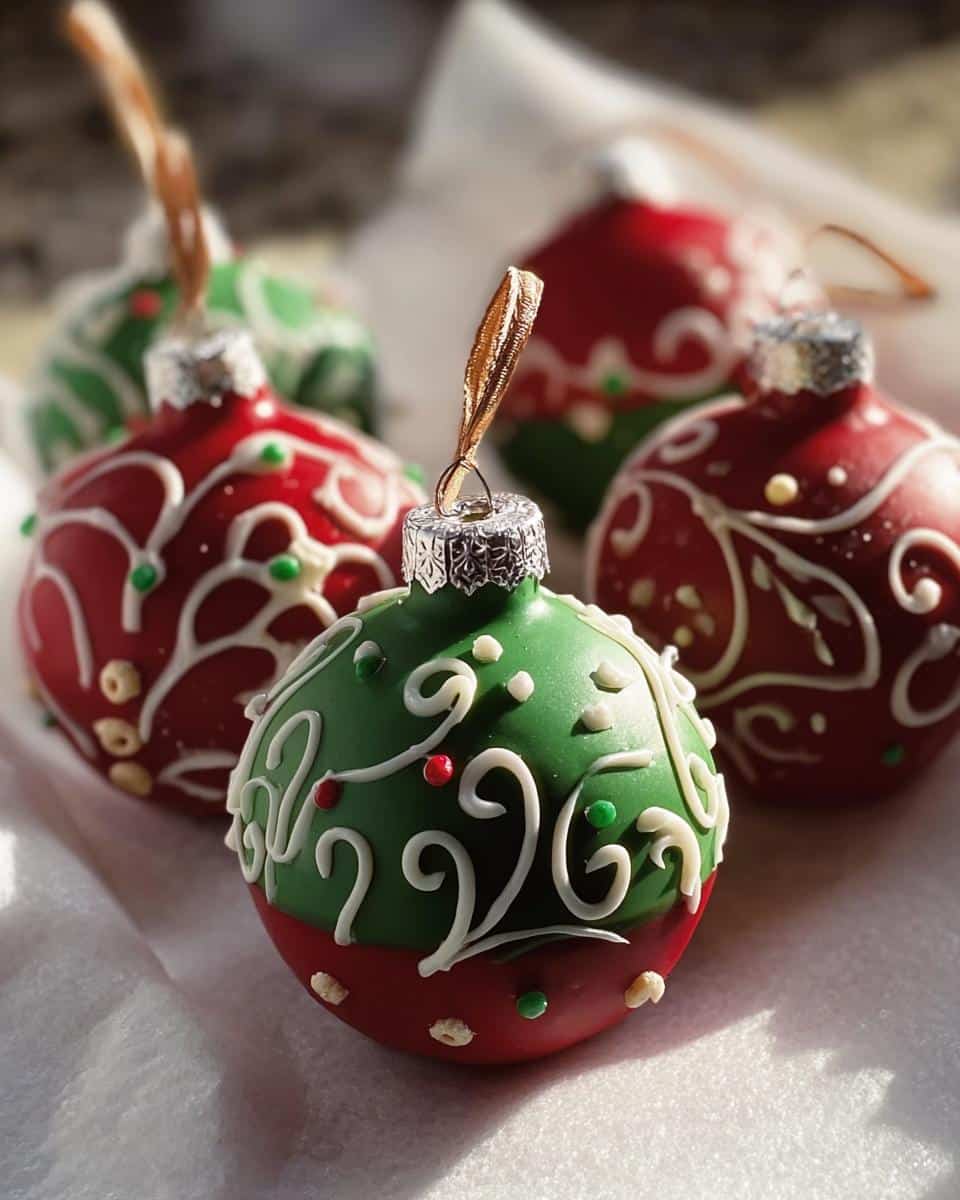
- Piping pro tip: Rest your piping hand’s pinky on the counter for stability when adding details. If your white candy melts start to thicken, just zap the bag in the microwave for 5-second bursts. And remember—imperfect swirls look more handmade and charming!
Bonus trick: Keep a toothpick handy to fix any drips or smudges before the coating sets. Trust me, it’s a lifesaver when you’re going for that flawless ornament look!
Variations for Cake Ball Ornaments
Oh, the possibilities are endless with these little edible ornaments! Here are some of my favorite twists to keep things fun:
- Gingerbread magic: Swap the chocolate cake mix for gingerbread—it smells like Christmas while baking! Pair with white candy melts and gold sprinkles for a cozy vibe.
- Midnight sparkle: Use dark chocolate cake with navy blue and silver coatings for a sophisticated New Year’s Eve look. Edible silver dust makes them shimmer like real ornaments!
- Peppermint party: Mix crushed candy canes into the cake crumbs and dip in pastel pink or blue for a winter wonderland effect. The minty crunch is irresistible.
See? One recipe, a whole season’s worth of edible decorations. Now go play with your food—I insist!
Serving and Storing Cake Ball Ornaments
These little edible ornaments deserve a grand display! I love arranging them on a cake stand with sprigs of fresh rosemary for that festive Christmas tree effect. For parties, scatter them on a dessert table with mini candy canes—guests can’t resist grabbing them as edible favors. Store leftovers (if you have any!) in an airtight container at room temperature. They’ll stay fresh and delicious for up to 5 days—though in my house, they never last that long!
Nutritional Information for Cake Ball Ornaments
Just a quick note—these nutritional estimates can vary based on the specific brands and ingredients you use. While each cake ball packs plenty of holiday cheer, they’re definitely an indulgent treat best enjoyed in moderation during the festive season!
Frequently Asked Questions About Cake Ball Ornaments
I get so many questions about these adorable edible ornaments—here are the answers to the ones I hear most often:
Can I use homemade frosting instead of store-bought?
Absolutely! I love using my cream cheese frosting recipe when I have extra time. Just make sure it’s thick enough—if it’s too runny, your cake balls might get mushy. The store-bought kind is perfect when you’re in a hurry though!
How far in advance can I make these holiday cake pops?
They’ll stay fresh for up to 5 days stored properly, but I recommend decorating them the day before serving for the prettiest results. The candy coating keeps everything moist inside—just wait to add the cereal “hooks” until you’re ready to display them!
Can I use different cake flavors for winter cake pops?
Oh yes! Gingerbread cake mix makes amazing Christmas cake popsicles—just add a dash of cinnamon to the batter. For New Year’s, try vanilla cake with gold and silver sprinkles. The possibilities are endless!
Help! My candy coating is too thick—what do I do?
No worries! Just stir in a teaspoon of vegetable shortening and microwave for 10 more seconds. If it’s still thick, add another teaspoon until it’s smooth and dippable. Too thin? Let it cool slightly—it’ll thicken as it sits.
Can kids help make these Christmas Oreo pops?
Definitely! Little hands are perfect for rolling the cake balls and adding the cereal tops. I put my niece in charge of sprinkles—just be prepared for some creative (and messy) decorating! Pro tip: Cover your table with wax paper first.
Print
Cake Ball Ornaments
- Total Time: 1 hour
- Yield: 30 cake balls 1x
- Diet: Vegetarian
Description
Festive cake balls decorated as edible ornaments for the holidays.
Ingredients
- 1 box Betty Crocker™ Delights Super Moist™ German Chocolate Cake Mix
- 1 cup buttermilk
- 1/2 cup vegetable oil
- 3 eggs
- 2 tablespoons unsweetened baking cocoa
- 1 oz red food color
- 1 cup Betty Crocker™ Rich & Creamy Cream Cheese Frosting
- 2 cups green candy melts or coating wafers, melted
- 2 cups red candy melts or coating wafers, melted
- 1 cup white candy melts or coating wafers, melted
- 1/3 cup Frosted Cheerios™ cereal (about 90 pieces)
Instructions
- Heat oven to 350°F. Spray a 13×9-inch pan with cooking spray. In a large bowl, beat cake mix, buttermilk, oil, eggs, cocoa, and food color with an electric mixer on medium speed for 2 minutes. Pour into the pan. Bake for 25 to 30 minutes or until a toothpick inserted in the center comes out clean. Cool completely.
- Line a cookie sheet with waxed paper. Crumble the cake into a large bowl. Add frosting and mix well. Shape into 1 1/4-inch balls. Place on the cookie sheet. Freeze for 15 minutes, then transfer to the refrigerator.
- Dip half of the balls in melted green candy and the other half in melted red candy; tap off excess. Return to the cookie sheet and let stand until set.
- Spoon melted white candy into a resealable plastic bag; cut off a tiny corner. Pipe designs on the cake balls and let stand until set. Gently press 1 cereal piece on top of each cake ball, attaching with white candy. Pipe a dot of candy on the cereal piece and attach another cereal piece upright in the center for an ornament hook.
Notes
- Use different colors of candy melts for variety.
- Store in an airtight container to keep fresh.
- Prep Time: 30 min
- Cook Time: 30 min
- Category: Dessert
- Method: Baking
- Cuisine: American
Nutrition
- Serving Size: 1 cake ball
- Calories: 150
- Sugar: 12
- Sodium: 120
- Fat: 8
- Saturated Fat: 4
- Unsaturated Fat: 3
- Trans Fat: 0
- Carbohydrates: 18
- Fiber: 1
- Protein: 2
- Cholesterol: 20
Keywords: Cake Ball Ornaments, Christmas Cakepop Ideas, Holiday Cake Pops, Chocolate Cake Pop, Gingerbread Cake Pops

