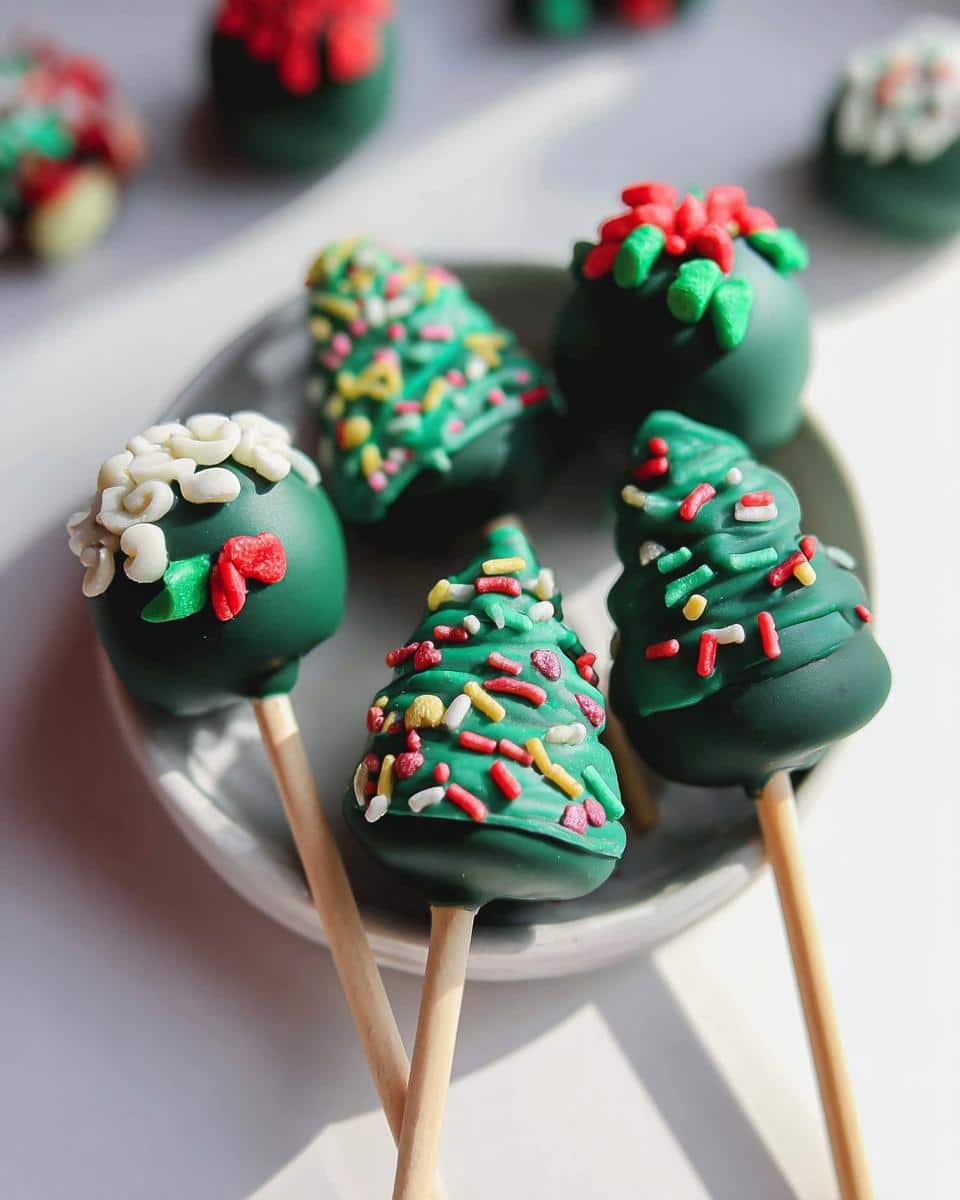
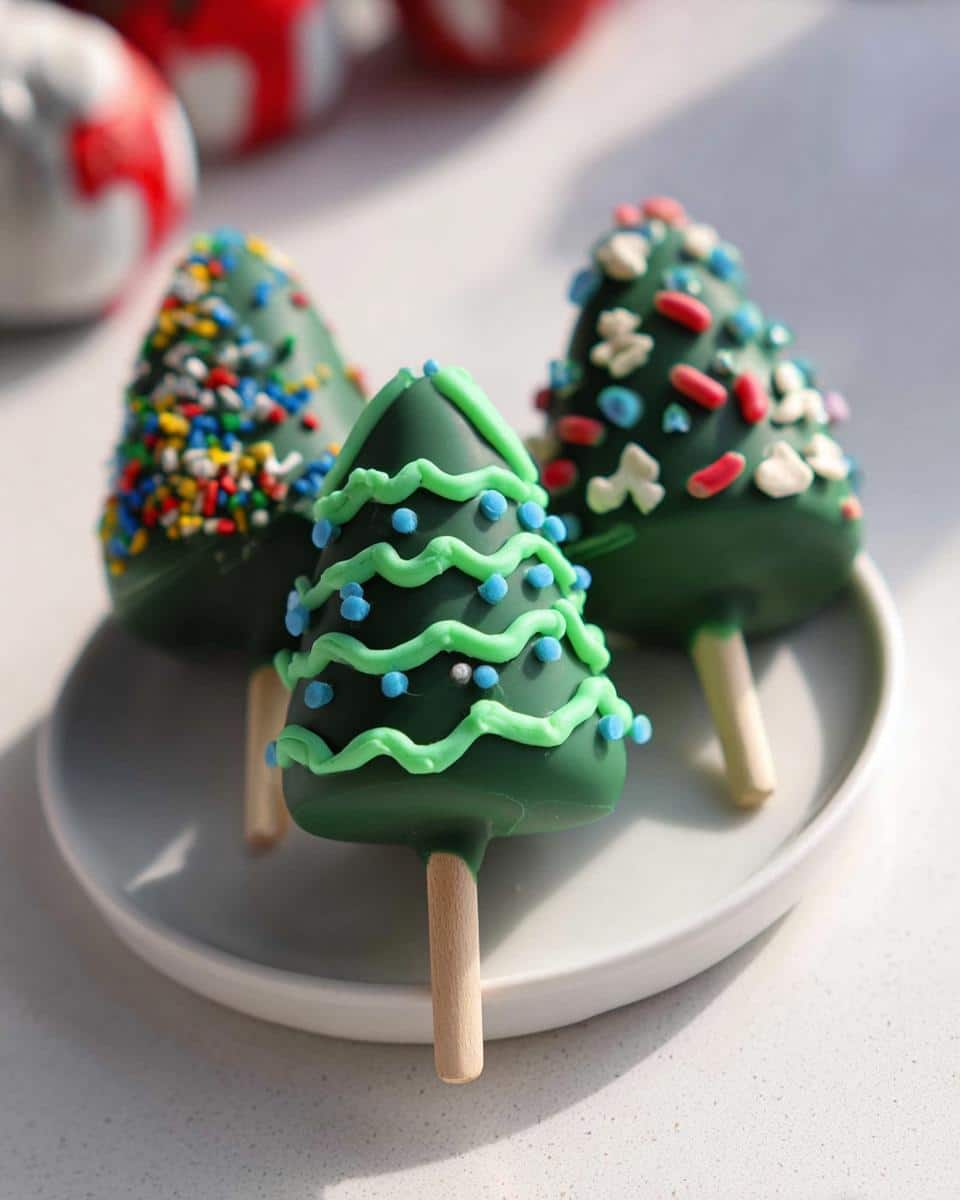
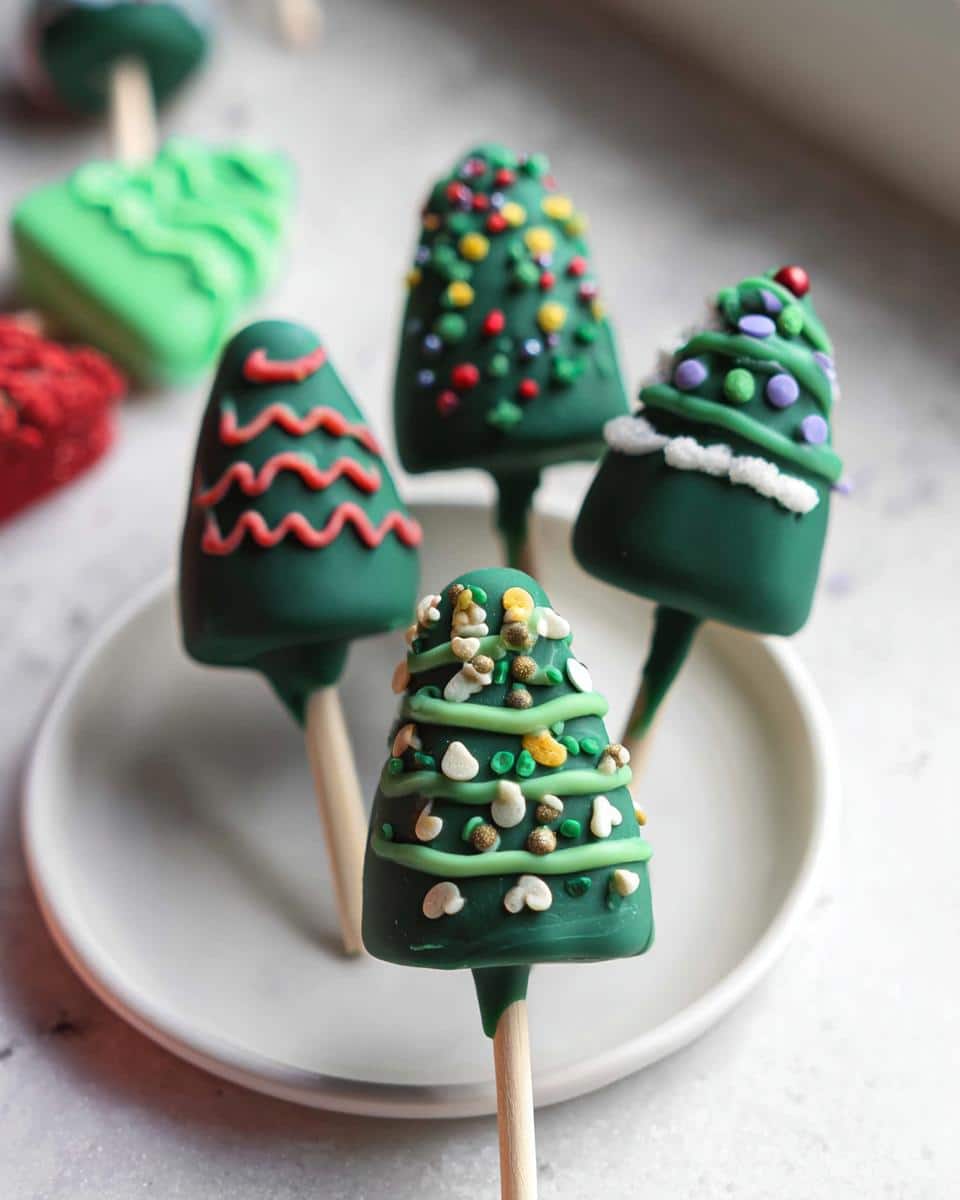
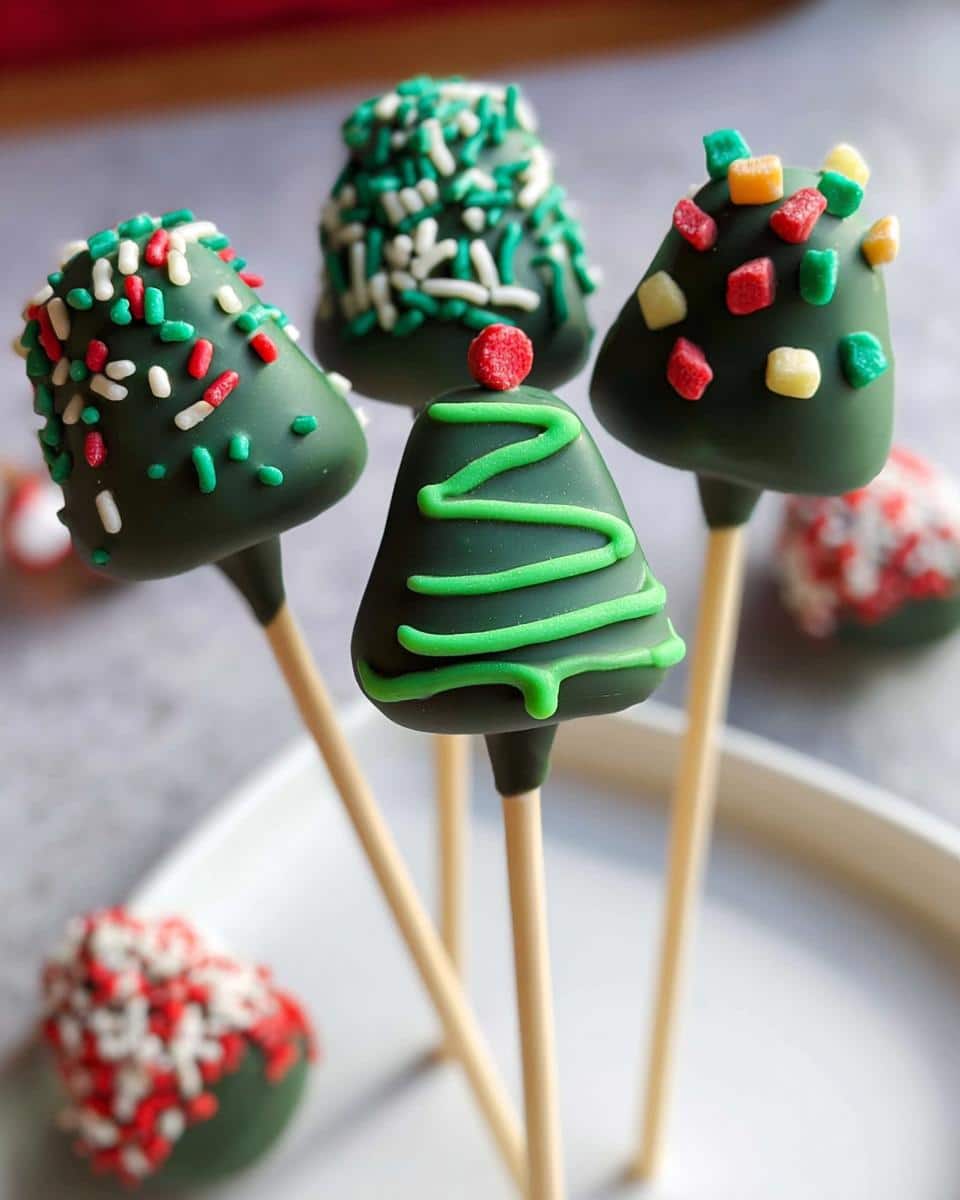
There’s something magical about holiday baking—the way the kitchen fills with warm vanilla and cinnamon, the sparkle of sprinkles everywhere, and the joy of creating edible decorations that disappear almost as fast as you make them. That’s exactly what happened with my first batch of Christmas Tree Cake Pops. I’d spent hours shaping them into perfect little trees, dipping them in glossy green candy melts, and decorating them with tiny edible “ornaments” for a festive photoshoot. But when I brought them to a friend’s holiday party? Gone in minutes! These adorable bite-sized treats aren’t just delicious—they’re edible holiday cheer, perfect for gifting, parties, or sneaking a few for yourself while you decorate the tree.
Why You’ll Love These Christmas Tree Cake Pops
These little festive treats are like edible Christmas ornaments—impossible to resist and full of holiday magic. Here’s why they’ll become your new favorite holiday tradition:
- Instant holiday cheer: Their tree shape and glittery decorations turn any dessert table into a winter wonderland. One bite, and you’ll swear you can hear sleigh bells!
- Endless creativity: Swap sprinkles for edible stars, use white chocolate “snow” drips, or make a whole forest in different colors. I once did a rainbow tree series that the kids went wild for.
- Party perfection: They’re the ultimate grab-and-go treat for cookie exchanges or holiday potlucks. No plates needed—just happy fingers!
- Family fun: Kids adore shaping the cake “dough” into trees (even the lopsided ones taste amazing). My niece calls it “playing with edible Play-Doh.”
Trust me, once you see how these sparkly little trees make people light up, you’ll be baking batches all season long.

Christmas Tree Cake Pops Ingredients
Gathering your ingredients is like collecting holiday magic—each one plays a special role in creating these festive little trees. I always lay everything out before starting, just like I would when decorating the actual Christmas tree! The key here is room temperature ingredients—cold butter or eggs can ruin the texture. Trust me, I learned that the hard way with my first lumpy batch!
For the Cake
This simple vanilla cake forms the base of your edible evergreens—it’s sturdy enough to hold its shape but stays tender inside that candy coating:
- 1 1⁄4 cups all-purpose flour (spoon and leveled—no packing!)
- 1 tsp baking powder (make sure it’s fresh!)
- 1⁄4 tsp fine sea salt
- 1⁄2 cup unsalted butter, softened (that’s 1 stick—leave it out for 1 hour)
- 1 cup granulated sugar
- 2 large eggs, room temperature (cold eggs make batter curdle—yikes!)
- 2 1⁄2 tsp pure vanilla extract (the good stuff—imitation vanilla screams “last-minute gift”)
- 1⁄2 cup buttermilk, room temperature (no buttermilk? Mix 1⁄2 Tbsp lemon juice + 1⁄2 cup milk)
For the Buttercream
This silky buttercream is the “glue” that brings our cake pop forest together—and adds a delicious richness too:
- 1⁄2 cup unsalted butter, softened (again, room temp is crucial!)
- 2 1⁄2 cups powdered sugar (sift if it’s lumpy—a game changer)
- 1-3 Tbsp heavy whipping cream (add slowly—you can always add more)
- 1 1⁄2 tsp vanilla extract
- 1⁄4 tsp salt (balances the sweetness perfectly)

My no-bake Oreo balls use a similar buttercream method—once you master it, you’ll be using it everywhere!
For Decorating
This is where the Christmas magic happens—turning simple cake balls into glittering holiday trees:
- 3 cups dark green candy melts (or white chocolate + green food coloring if you’re feeling fancy)
- 2-3 Tbsp coconut oil (for thinning—makes dipping SO much easier)
- Assorted colored candy melts: 1⁄4 cup each of red, blue, light green, and yellow
- 1⁄4 cup semi-sweet chocolate (for tree “trunks”)
- Festive sprinkles (the more the merrier—I use star shapes for tree toppers!)
How to Make Christmas Tree Cake Pops
Making these festive little trees is honestly the most joyful holiday kitchen project—like playing with edible clay and edible glitter! Follow these steps carefully, and you’ll have mini edible Christmas trees that look almost too cute to eat (emphasis on “almost”).
Bake and Crumble the Cake
First things first—let’s make the cake base! Preheat your oven to 350°F and line a 9×13 pan with parchment paper (trust me, you’ll thank me later when the cake slides right out). Whisk together your dry ingredients—flour, baking powder, and salt—in one bowl. In another, beat that softened butter and sugar until fluffy. Add eggs one at a time (don’t rush!), then vanilla. Alternate adding dry mix and buttermilk until just combined. Bake 18-20 minutes until golden. Cool for 20 minutes, then crumble it finely—I use my fingers because it’s oddly therapeutic!
Mix the Buttercream
While your cake cools, let’s make the “glue” that holds our trees together. Beat the butter until smooth—I like to use my stand mixer’s paddle attachment here. Gradually add powdered sugar (unless you want a sugar cloud in your kitchen!), then drizzle in cream until it’s soft and spreadable. Add vanilla and salt. This smells incredible—try not to eat it all with a spoon! Pro tip: This same buttercream technique works wonders for cake rolls too.
Shape and Freeze
Now the fun begins! Mix your crumbled cake with buttercream until it feels like Play-Doh—start with half the buttercream and add more if needed. Roll tablespoon-sized portions into cones (the tree shape!), making the bottoms slightly wider. Insert lollipop sticks firmly—I twist mine as I push them in for extra hold. Arrange on a tray lined with parchment and freeze for at least 2 hours (this makes dipping SO much easier). Don’t skip this step unless you want crumbly trees!

Dip and Decorate
The magic hour! Melt green candy melts with coconut oil in 30-second bursts—stirring in between. When smooth, tilt your bowl slightly to create a deep pool for dipping. Hold frozen cake pops by the stick, dip quickly, and let excess drip off while rotating gently. Stick them upright in styrofoam to set. While still slightly tacky, decorate with colored melts (I use toothpicks for details) and sprinkles—they’ll freeze faster than you can imagine! That’s it—your edible holiday forest is ready!
Tips for Perfect Christmas Tree Cake Pops
After making hundreds of these festive little trees (and yes, learning from plenty of hilarious disasters), I’ve picked up some foolproof tricks to ensure your cake pops turn out picture-perfect every time:
- Coconut oil is your best friend: Adding just a teaspoon at a time to your melted candy coating makes dipping SO much smoother. Without it, the coating can get too thick and clumpy—I learned that the hard way with my first batch of lumpy “Charlie Brown” trees!
- Freeze those pops solid: That 2-hour freeze isn’t just a suggestion—it’s the difference between neat little trees and crumbly messes. I set a timer because distracted baking leads to sad, melting cake pops.
- Tap off excess coating: After dipping, gently tap your wrist while rotating the pop to remove extra coating. This prevents those dreaded candy “drips” that make trees look like they’re melting.
- Decorate at lightning speed: Candy coating sets FAST. Have all your sprinkles and colored melts ready to go before dipping. I arrange everything in little bowls like a surgical tray—it’s that serious!
- Keep your coating warm: If your candy melts start thickening, microwave in 5-second bursts. Cold coating equals bumpy trees (though those taste just as good—shh!).

Remember, even the “ugly” ones taste amazing—that’s the magic of cake pops!
Christmas Tree Cake Pops Variations
Once you’ve mastered the classic version, the holiday fun really begins! These little trees are like edible canvases just waiting for your creative touch. My personal favorite twist? Swapping the vanilla cake for gingerbread—just add 2 tsp each of cinnamon, ginger, and a pinch of cloves to the dry ingredients. The spicy warmth pairs perfectly with the sweet coating. For a cool contrast, try peppermint buttercream (replace vanilla extract with 1/4 tsp peppermint oil) and drizzle with white chocolate “snow.”
Through years of holiday baking (and many delicious experiments!), I’ve found endless ways to customize these pops. Try crushed candy cane sprinkles for a festive crunch, or add orange zest to the cake batter for a citrusy surprise. If your pantry is packed with other holiday treats, this collection of Christmas desserts is full of inspiration. The best part? No matter how you decorate them, each pop still delivers that same magical holiday bite!
Storing and Serving Christmas Tree Cake Pops
These festive little trees deserve to be shown off—and kept fresh for all your holiday gatherings! Once decorated, store them in an airtight container in the fridge for up to 2 weeks (if they last that long!). For longer storage, freeze them on a parchment-lined tray before transferring to freezer bags—they’ll keep their holiday cheer for up to 3 months. When serving, arrange them upright in a block of styrofoam covered with festive foil, or lay them on a tray dusted with powdered sugar “snow.” Just be warned—they disappear faster than holiday cookies left out for Santa!
Christmas Tree Cake Pops FAQs
Over the years, I’ve gotten so many questions about these adorable holiday treats—usually while friends are nibbling on them! Here are the answers to the most common cake pop mysteries:
Can I use boxed cake mix instead of homemade?
Absolutely! While I love the flavor of homemade, a vanilla box mix works perfectly in a pinch. Just prepare it according to package directions, let it cool completely, then crumble and mix with buttercream as usual. Pro tip: Reduce the buttercream by 1/4 since box mixes tend to be moister. Some of my prettiest trees actually came from emergency box-mix batches!
How do I prevent the candy coating from cracking?
Oh, the dreaded cracks—I’ve been there! The secret is making sure your cake pops are completely frozen before dipping (at least 2 hours) and that your coating isn’t too thick. Add coconut oil teaspoon by teaspoon until it flows smoothly off a spoon. Also, avoid sudden temperature changes—don’t put freshly dipped pops straight back in the freezer!
What are the best sprinkles for decorating?
For tree decorations, I swear by nonpareils (those tiny round sprinkles) and edible glitter—they look like magical holiday lights! Avoid large, heavy sprinkles that can weigh down the coating. My favorite trick? Using star-shaped sprinkles as tree toppers—just press one into the wet coating at the very tip. So festive!
Can I make these ahead of time?
You bet! These freeze beautifully for up to 3 months. Just store them in single layers separated by parchment paper in an airtight container. Thaw in the fridge overnight before serving. The buttercream actually makes them taste better after a day or two—like holiday magic that works while you sleep!
Help! My cake pops keep falling off the sticks!
Ah, the great cake pop tragedy! First, make sure your cake mixture isn’t too wet—it should hold its shape when rolled. When inserting sticks, twist them gently as you push about halfway into the pop. And most importantly? Freeze them solid before dipping—at least 2 hours, no cheating! If all else fails, you can always turn them into adorable cake balls instead.
Nutrition Information
Let’s be real—these Christmas Tree Cake Pops are pure holiday joy, not health food! But since I know some of you like to keep track (or need to plan around dietary needs), here’s the nutritional breakdown per pop. Remember, these are estimates—your exact amounts may vary slightly based on ingredients and decorations:
- Calories: 180
- Sugar: 15g
- Fat: 8g (5g saturated)
- Carbohydrates: 25g
- Protein: 2g
Pro tip: The sprinkles and candy melts add mostly sugar, so if you’re watching intake, try decorating with crushed nuts or dark chocolate drizzle instead. But hey—it’s Christmas! Maybe just enjoy that extra sprinkle or two.
Print
Christmas Tree Cake Pops
- Total Time: 2 hours 50 min
- Yield: 24 cake pops 1x
- Diet: Vegetarian
Description
Festive bite-sized treats perfect for holiday parties and edible décor.
Ingredients
- 1 1⁄4 cups all-purpose flour
- 1 tsp. baking powder
- 1⁄4 tsp. salt
- 1⁄2 cup unsalted butter, room temperature
- 1 cup sugar
- 2 eggs, room temperature
- 2 1⁄2 tsp. vanilla
- 1⁄2 cup buttermilk, room temperature
- 1⁄2 cup unsalted butter, room temperature
- 2 1⁄2 cups confectioner’s sugar
- 1–3 Tbsp. heavy whipping cream
- 1 1⁄2 tsp. vanilla extract
- 1⁄4 tsp. salt
- 3 cups dark green candy melts
- 2–3 Tbsp. coconut oil
- 1⁄4 cup red candy melts
- 1⁄4 cup blue candy melts
- 1⁄4 cup light green candy melts
- 1⁄4 cup yellow candy melts
- 1⁄4 cup semi-sweet chocolate
- sprinkles, optional
Instructions
- Preheat the oven to 350 degrees F and lightly grease and line a 9″ x 13″ pan with parchment paper.
- Whisk together flour, baking powder, and salt in a medium bowl.
- Beat butter and sugar until light and fluffy with an electric mixer.
- Add eggs one at a time, mixing between each addition. Add vanilla.
- Alternate adding dry ingredients and buttermilk, mixing lightly between each addition.
- Spread batter evenly in the pan and bake for 18-20 minutes or until golden brown.
- Cool cake for 20 minutes, then crumble it.
- Make buttercream by mixing butter and confectioner’s sugar, then slowly adding cream.
- Add vanilla and salt to buttercream, then mix until smooth.
- Combine crumbled cake with buttercream until pliable.
- Press mixture into molds, insert sticks, and freeze for at least 2 hours.
- Melt green candy melts in 30-second intervals, stirring between each.
- Dip each cake pop into melted candy, allowing excess to drip off.
- Let green coating set, then decorate with colored candy melts.
- Store cake pops in the fridge for up to 2 weeks or freeze for up to 3 months.
Notes
- Use coconut oil to thin candy melts for easier dipping.
- Decorate cake pops with sprinkles or colored candy melts for festive designs.
- Prep Time: 30 min
- Cook Time: 20 min
- Category: Dessert
- Method: Baking
- Cuisine: American
Nutrition
- Serving Size: 1 cake pop
- Calories: 180
- Sugar: 15g
- Sodium: 50mg
- Fat: 8g
- Saturated Fat: 5g
- Unsaturated Fat: 2g
- Trans Fat: 0g
- Carbohydrates: 25g
- Fiber: 0g
- Protein: 2g
- Cholesterol: 30mg
Keywords: Christmas cake pops, holiday desserts, festive treats, edible decorations

