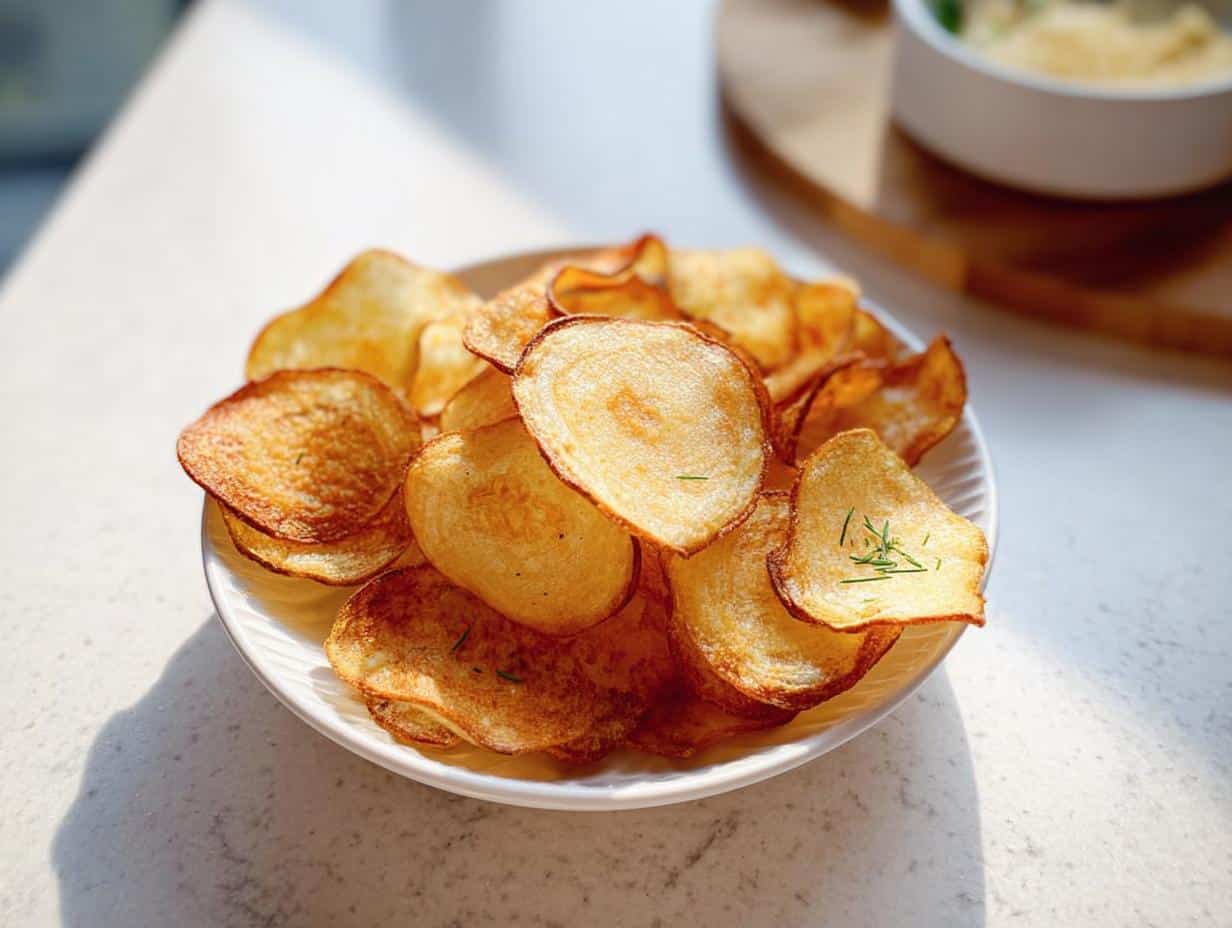
Oh my goodness, if you have kids, you know the snack struggle! They want crunch, they want flavor, but I swear, every bag I grab off the shelf seems to be mostly air and artificial anything. Don’t even get me started on trying to sneak veggies into those picky eaters. Well, I’ve got a solution that completely changed my after-school routine: these Crispy Baked Potato Chips for Kids!
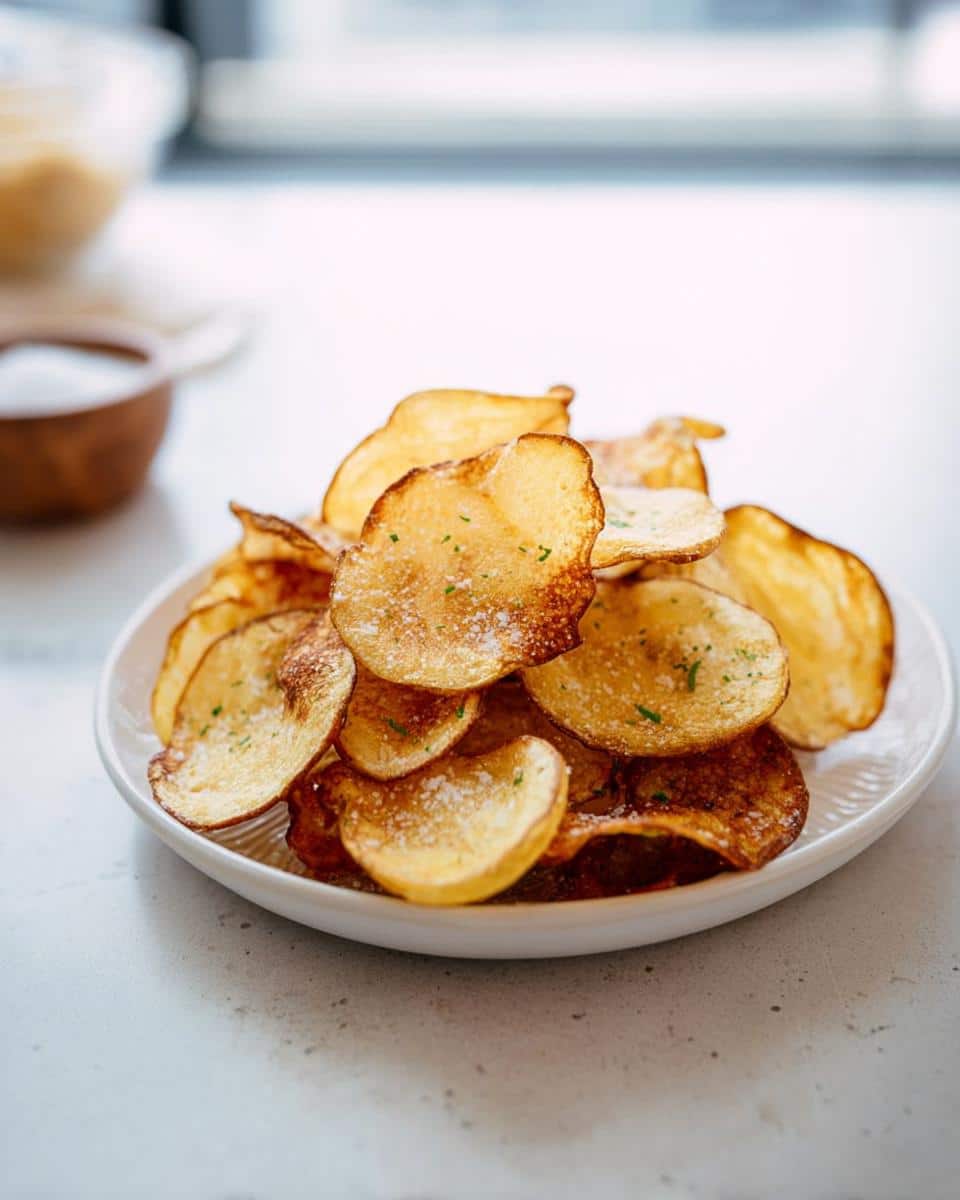
These aren’t your average, sad baked chips, trust me. They are legitimately crunchy, baked, and entirely homemade. This recipe was born one frantic Tuesday when my kids were practically vibrating from hunger waiting for dinner. Instead of grabbing the highly processed stuff, I remembered those fun little kitchen workshops I used to host. So, with just a few potatoes, oil, and salt, we whipped these up!
The kids actually loved helping slice the potatoes and watching them transform in the oven—it’s the perfect, easy snack idea. Plus, knowing exactly what goes onto those golden slices makes me feel great about packing them in lunches later in the week. It’s simple, no-fry magic!
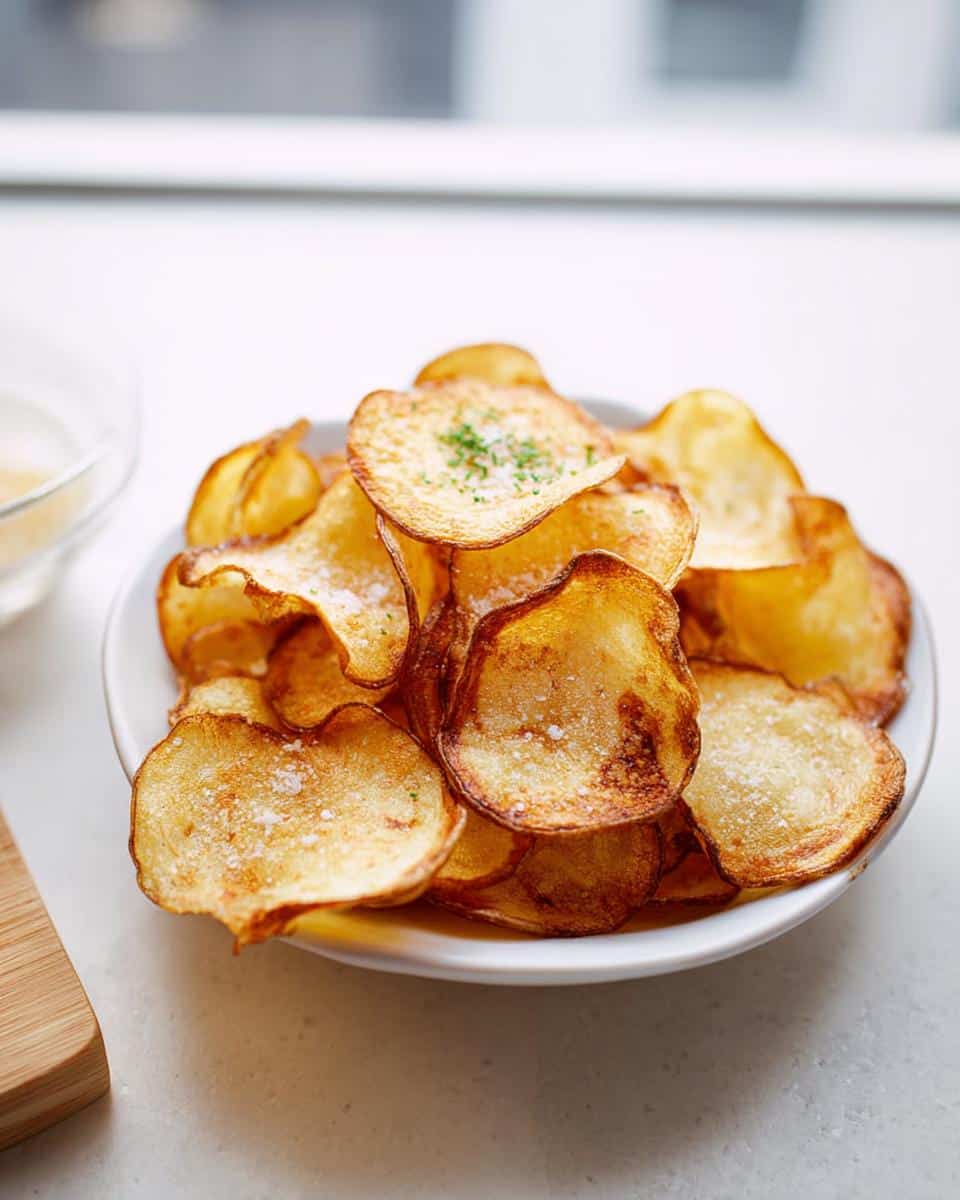
Why You Will Love These Crispy Baked Potato Chips for Kids
I know you’re busy, so let’s get straight to why these should be your new go-to when the pantry crisis hits. These chips tick every box a busy parent needs! You can find even more ideas for kid-friendly snacks and treats right here on the site.
- They are genuinely easy! Honestly, prep takes about ten minutes, tops.
- They are a healthier alternative because we are baking, not frying—truly no-fry snacks!
- The crunch factor is enormous. My kids don’t miss the store-bought versions one bit.
- They are wonderfully versatile, making them great for lunchboxes or quick after-school snacks whenever you need them.
Essential Ingredients for Crispy Baked Potato Chips for Kids
Okay, you won’t believe how simple this list is. That’s the beauty of seeking out healthy snacks—fewer ingredients usually means fewer worries! For this batch of homemade chips, you just need two medium potatoes. I prefer the Yukon Golds because they hold their shape nicely, but feel free to experiment with Russets or even sweet potatoes if you already have quick dinners planned for later.
You’ll also grab about a tablespoon and a half of good quality olive oil—enough to lightly coat everything, not drown it. And, of course, salt and pepper to taste. Seriously, that’s the core structure for these unbelievably crisp baked potato chips for kids!
Ingredient Notes and Substitutions for Your Crispy Baked Potato Chips for Kids
The potato choice really matters for getting that perfect shatter. Yukon Golds are my top pick because they have a medium starch level, which results in a crisp snap without getting too dry. If you use sweet potatoes, they tend to be a bit softer, so you might need to bake them for a couple of minutes longer until they brown nicely.
Regarding seasoning, the salt and pepper is the classic base, but don’t hold back on fun swaps! If you’re making these for an after-school snack, try swapping some salt for a teaspoon of smoked paprika or a garlic powder/onion powder blend. They add so much flavor without adding hidden sugars or chemicals. That’s how we keep these kid-friendly recipes interesting!
Equipment Needed for Making Crispy Baked Potato Chips for Kids
You don’t need a massive kitchen setup for these, thank goodness! When I first started making these, I thought I needed some fancy gadget, but nope. We’re keeping it super practical here because who has time for complicated processes when the kids are hungry?
A Sharp Knife or Mandolin
This is the most important piece! You absolutely must get those potato slices thin and uniform. If you rush this part, some chips will burn while others stay floppy. If you have a mandolin, use it! It gives you guaranteed consistency in seconds. But listen, if you don’t have one, just grab your sharpest chef’s knife and take your time. Thinness is everything for that crisp factor.
Sturdy Baking Sheets
I always recommend using two full sheets if you can swing it. The absolute biggest mistake people make with baked chips is overcrowding the pan. The potatoes need space—they have to breathe! If they are sitting on top of each other, they steam instead of crisping up. Use two sheets so everything is in a single, roomy layer. It makes a world of difference!
Parchment Paper or a Wire Rack
You’ll want one of these liners for easy cleanup, which is non-negotiable in my book. Parchment paper is great because it keeps the bottoms from burning, but my secret weapon for *maximum* crispiness is actually using a wire rack placed on top of the baking sheet. This lets the hot air circulate all around the potato slices. It takes a little longer, but wow, does it deliver on crunch!
Step-by-Step Instructions for Perfect Crispy Baked Potato Chips for Kids
Alright, this is where the fun begins! Making these chips is so satisfying. The biggest thing you need to remember before you even touch a knife is the heat. Get that oven warming up to 425 degrees Fahrenheit right away. We want it hot and ready to work its magic when those potatoes hit the pan!
Once the oven is on, it’s time to prep. Remember, we aren’t looking for thick discs here; we want beautiful, almost translucent slices that will crisp up beautifully. This process is what makes all the difference between a great snack and a soggy disappointment. You can check out some other quick and easy recipes while the oven heats up!
Slicing and Seasoning for the Best Crispy Baked Potato Chips for Kids
Grab those potatoes—skin on, please, that’s where the nutrients are! Whether you use your mandolin or a knife, aim for about 1/8 of an inch thick. If they are too thick, they won’t get that amazing crunch we are chasing. After slicing, dump those rounds into a big bowl and drizzle on that olive oil. Toss them gently with your hands until every single slice has a light, shiny coat. Then, hit them with salt and pepper!
Baking Technique for Ultra Crispy Baked Potato Chips for Kids
Now for the space—this is crucial! Line a sheet pan with parchment paper or, even better, place a wire rack on the sheet. Lay out your seasoned potato slices in one single, uncrowded layer. I cannot stress this enough: no overlapping! If they touch, they steam. You’ll bake them at that hot 425 degrees for about 15 to 20 minutes. Keep an eye on them after 15; they go from perfect to slightly too dark quickly!
When they look golden and feel firm when you tap them lightly, they are done! Let them cool just slightly on the pan before moving them to a cooling rack to finish crisping up completely. That final minute of cooling is what seals the deal!
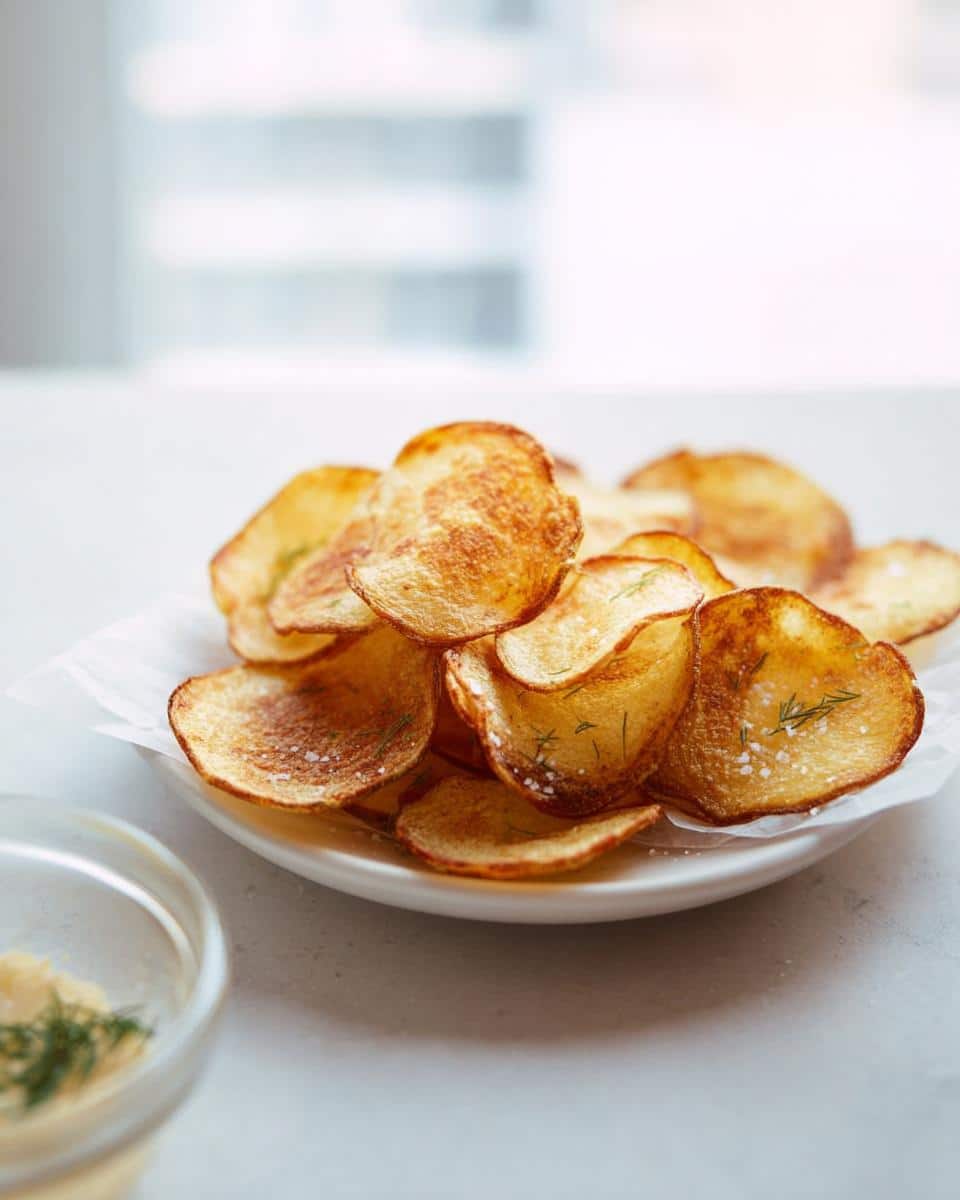
Tips for Success When Making Crispy Baked Potato Chips for Kids
Getting these chips perfectly crispy relies on a couple of little secrets I learned through trial and error—and trust me, nobody wants a batch of lukewarm, floppy discs masquerading as snacks! These tips help elevate these simple baked potato chips from good to absolutely crave-worthy. If you ever need to shift gears after snack time to something heartier, check out my easy family dinner recipes!
Removing Starch is Key for Max Crunch
If you want that satisfying crackle after baking, you need to get rid of excess starch. After you slice your potatoes—remember, thin slices are the goal—toss them into a bowl of cold water for about 15 minutes. This washes away much of the surface starch that causes them to stick together or steam. It’s essential!
But here’s the critical follow-up step that people often skip: you MUST dry them completely. After draining the water, spread the slices out on a clean kitchen towel or paper towels. Pat them dry. I mean really dry. Any lingering water will hiss instead of crisp when it hits the hot oven. Don’t skip the drying step!
Don’t Skimp on the Oven Heat
I know it feels counterintuitive to bake chips hot, but we need that high temperature—425 degrees—to evaporate moisture quickly and brown the surface. If your oven temperature dips because you’re baking cookies earlier, wait! Give your oven time to fully preheat. Cold spots are the enemy of crispiness here.
Also, keep an eye on your specific oven. Every oven runs a little differently. If you notice your first batch is browning too quickly on the edges but the center is soft, next time, rotate your baking sheet halfway through. Little adjustments make these kid-friendly snacks perfect every time.
The Importance of Single Layers
I mentioned this before, but it bears repeating because it’s the most common mistake: never overlap your slices! Think of it like sunbathing—everyone needs direct sunlight to tan properly. If one chip is laying on top of another, the bottom one is steaming in its own moisture while the top one is trying to crisp. You need air circulation underneath every single slice.
If you have a big batch of potatoes, I strongly suggest splitting them across two baking sheets rather than trying to cram them onto one. A little extra cleanup is worth getting undeniably crispy, guilt-free snacks for the kids!
Fun Variations for Your Crispy Baked Potato Chips for Kids
Seasoning is where we can really have some fun and make these Crispy Baked Potato Chips for Kids match whatever mood the children are in that day! Since we are keeping these snacks healthy and avoiding all those weird ingredients found in the store-bought stuff, we get to be the flavor scientists in the kitchen. It’s a great way to engage them in making their own kid-friendly recipes!
I always keep a little spice station set up on the counter when we make these. Once the raw slices are coated in oil and salt, it’s prime time for experimentation. If you are looking for more simple ways to jazz up snack time, you should definitely browse my collection of easy snacks and treats for kids!
Cheesy Flavor Without the Cheese
This is my absolute secret weapon for convincing cheese-loving kids to eat something simple. Nutritional yeast! I know, it sounds odd, but this stuff has a naturally nutty, cheesy flavor profile, and it is packed with B vitamins. Just dust about a tablespoon over those oiled slices before baking, and you get a fantastic cheesy coating that’s totally dairy-free. Kids never suspect a thing!
A Little Smoke and Spice
If you want to introduce them to a deeper flavor, a tiny pinch of smoked paprika goes a long, long way. It gives the chips a wonderful golden-red hue and a subtle smoky flavor that makes them feel super gourmet, even though they are just potatoes. Be careful with regular paprika, though; it can sometimes taste bitter when baked.
Another excellent addition is a gentle sprinkle of garlic powder. I mean, who doesn’t love garlic? Just ensure you use powder, not minced garlic, because the mince will burn before the potato even gets close to being done. Keeping things simple means we keep the whole process fun.
Sweet Potato Crunch
While I talked about using sweet potatoes earlier, let’s talk seasoning variations specifically for them. When you use sweet potatoes, you can lean into the sweet side a little bit more! Instead of salt and pepper, try tossing them with just a tiny bit of cinnamon and maybe a quarter teaspoon of brown sugar along with the oil. They bake up tasting almost like a dessert chip—so good!
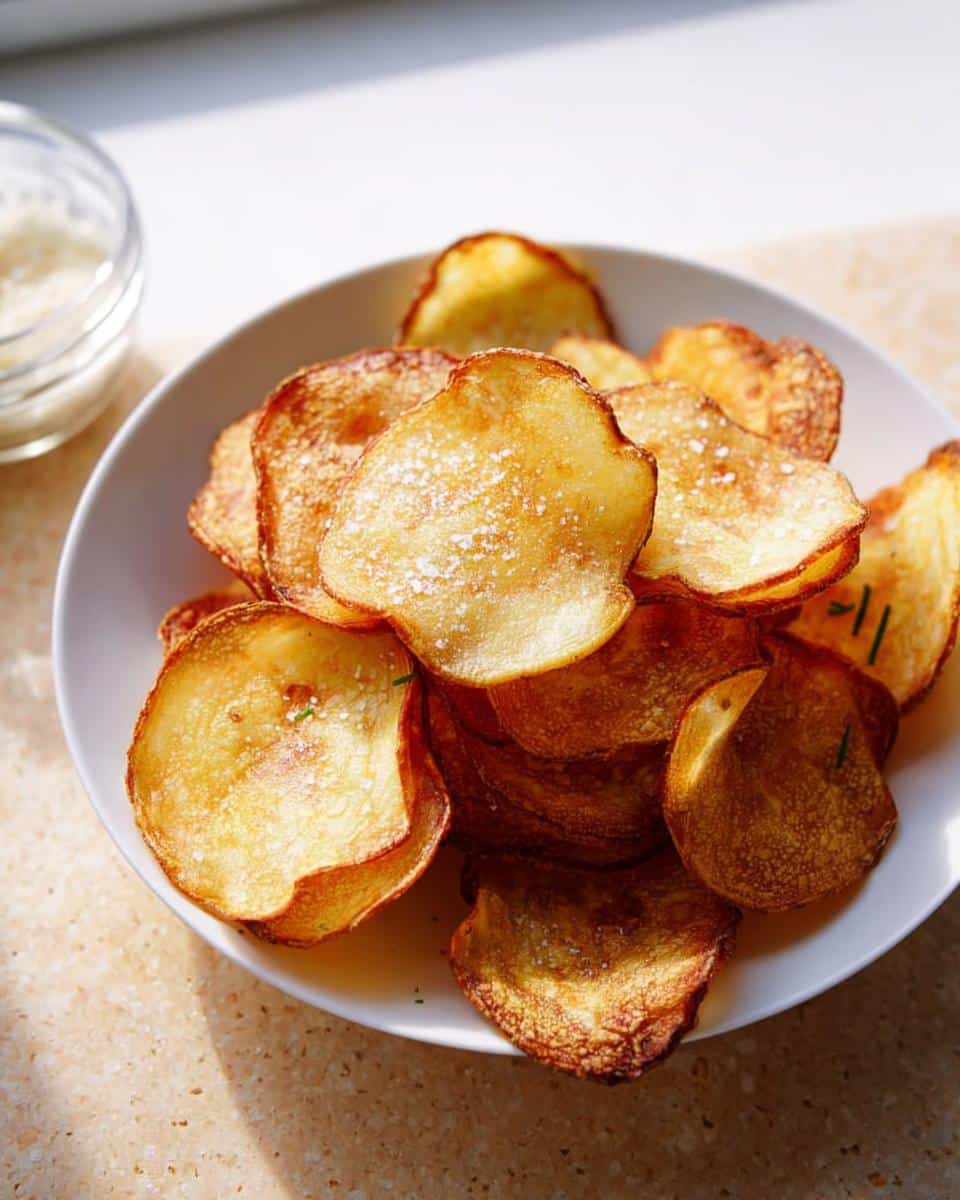
These custom seasoning options are what turn a basic healthy snack into an exciting activity. The kids feel like they are creating something special, and you feel great knowing they are eating whole foods!
Storage and Make-Ahead Tips for Crispy Baked Potato Chips for Kids
Okay, now this is an important topic because when you make a big batch of these amazing Crispy Baked Potato Chips for Kids, you inevitably end up with leftovers—if your family lasts that long! While they are absolutely divine fresh out of the oven, still warm, I know sometimes you need to prep snacks ahead for the week or pack them deep into a lunchbox.
My honest, practical advice? They are simply best eaten the very same day. Heat evaporates moisture in the air, and once these delicate chips cool down fully, they start to soften slightly, especially if there’s any humidity around. It’s just the nature of baked, oil-coated vegetables, you know?
Keeping Them Crunchy Overnight
If you do have leftovers, your storage choice is everything! Please, whatever you do, do not put them in a plastic bag or a container that doesn’t seal perfectly. Plastic traps any residual moisture right against the chip, and you’ll wake up to sad, floppy discs. I learned that lesson the hard way!
The best thing you can do is let any warm chips cool completely to room temperature first. Seriously, wait until they are totally cool—this prevents condensation inside the container. Then, seal them up tight in an airtight container. I often use a glass container with a good clamp-down lid. They will usually keep for about 24 hours this way, but they might lose about 10% of their initial crispness.
Can I Prep These Chips Ahead of Time?
You can certainly prep them the night before, but just manage those expectations. If you’re aiming for that incredible snap, baking them in the morning right before packing the lunchbox is ideal. If you absolutely must make them the day before, try over-baking them by just two or three minutes the first time around. This slight over-baking removes a touch more moisture, giving you a small buffer against softening overnight.
Also, when packing these kid-friendly snacks for school lunch, skip packing them next to anything wet, like little pots of yogurt or sliced oranges. Moisture migrates! Keep them in a separate compartment, maybe wrapped lightly in a paper towel, to absorb any stray dampness from the lunch bag. It’s all about minimizing moisture contact!
Frequently Asked Questions About Crispy Baked Potato Chips for Kids
I always get so many questions when I post pictures of these chips because everyone is amazed at how simple they are. Finding truly healthy kids snacks that satisfy that crunchy craving can feel impossible sometimes, so I put together answers to the most common things I hear about making these no fry snacks at home!
Are Crispy Baked Potato Chips for Kids Healthier Than Store-Bought?
Oh, absolutely! This is the main reason I started making them in the first place. Store-bought chips are deep-fried, which means they absorb a ton of oil, and they almost always have preservatives and artificial flavorings popping up on the ingredients list. When you make these at home, you control every single element. We use just a tiny bit of olive oil—enough to help them brown, not soak them—and you control the sodium level completely. It’s a much lighter, cleaner way to enjoy those satisfying crunch sessions!
What is the best way to slice potatoes for these kid-friendly snacks?
Consistency is the name of the game here, seriously! If you have a mandolin, go for it! It’s the easiest way to guarantee every slice is exactly 1/8 of an inch thick. That uniformity ensures that every single chip cooks through at the same rate, meaning they all get crispy together. If you are slicing by hand, that’s totally fine, but just take your time and use a steady hand. Remember, thinner means crispier, thicker means chewier, so aim for that almost translucent look!
Can I use sweet potatoes instead of regular potatoes?
Yes, you totally can! Sweet potatoes are delicious roasted, but be warned: they behave a little differently than regular starchy potatoes. Sweet potatoes have more natural sugar, so they tend to caramelize faster. You might need to drop the temperature down slightly to about 400 degrees, or just watch them very closely after the 15-minute mark. They’ll be a little softer than a classic white potato chip, but they are still a fantastic, colorful treat for the kids!
How can I prevent my homemade chips from sticking to the pan?
Sticking happens when the oil settles in one spot or you don’t use enough protective layer. My top recommendation is always parchment paper, but if you like serious crunch, use a wire rack! The rack allows air to flow underneath, baking the bottom surface just as effectively as the top. If you only have a regular sheet pan, make sure you grease that parchment paper lightly with a little extra oil before laying the chips down so you don’t lose any of your delicious healthy recipes to the pan surface!
Do I need to soak the potatoes before baking these no fry snacks?
Soaking isn’t strictly mandatory for this simple recipe, but it’s my number one move if I have the time! If you slice your potatoes and immediately drop them in a bowl of ice-cold water for 20 minutes, it pulls out excess starch. When you rinse that starch away and pat the slices bone-dry, they crisp up so much better in the oven. It’s an extra step, absolutely, but for the best possible crunch, it’s worth the few minutes!
Nutritional Estimate for Crispy Baked Potato Chips for Kids
I always get so many questions when I post pictures of these chips because everyone is amazed at how simple they are. Finding truly healthy kids snacks that satisfy that crunchy craving can feel impossible sometimes, so I put together answers to the most common things I hear about making these no fry snacks at home!
Here is a general nutritional estimate based on the ingredients listed above, serving four people. Remember, these figures are just estimates. If you use significantly more oil or a different type of potato, the total calories and fat content will shift around a bit. For the most accurate data based on my site’s policies, you can always review my full disclaimer page.
- Serving Size: 1 serving
- Calories: Approximately 120 kcal
- Total Fat: Around 6 grams (mostly healthy, unsaturated fats from the olive oil)
- Carbohydrates: Roughly 16 grams
- Protein: About 2 grams
- Fiber: About 2 grams
- Sugar: Very low, just about 1 gram naturally occurring
See? That’s fantastic simplicity right there. A low-sugar, satisfyingly crunchy snack that lets you skip out on all that weird stuff found in the chip aisle. I just love sending the kids off with something made right here in my own kitchen!
Share Your Crispy Baked Potato Chips for Kids Creations
Now that you’ve made your own batch of these incredible, healthy kids snacks, I truly want to see them! Did your kids love helping slice the potatoes? Did you try the nutritional yeast trick? Please take a picture and tag me on social media—it makes my day as a recipe developer for Sena Recipes to see my creations in your kitchens!
If you loved how simple this recipe was, please leave a rating below so other parents know these Crispy Baked Potato Chips for Kids are worth whipping up. You can also check out what else I’m cooking up by learning more about me right here!
Print
Crispy Baked Potato Chips for Kids
- Total Time: 30 min
- Yield: 4 servings 1x
- Diet: Vegetarian
Description
Make simple, healthy, crispy baked potato chips at home. This easy, no-fry recipe is perfect for kid-friendly snacks and lunchboxes.
Ingredients
- 2 medium potatoes (Yukon gold, Idaho, or sweet)
- 1.5 tbsp olive oil
- Salt and pepper
Instructions
- Preheat the oven to 425 degrees. Slice the potatoes into thin rounds using a sharp knife or a mandolin. Aim for about 1/8 inch thick.
- Toss the potato slices with the olive oil, salt, and pepper. You can add other spices now if you wish.
- Cover a baking sheet with parchment paper or a wire rack. Place the potatoes in a single layer. Bake for 15-20 minutes until crispy.
- Let the chips cool for a couple of minutes before serving. Add any extra seasoning you like.
Notes
- These chips are great for after-school snacks or packed in a lunchbox.
- Kids enjoy watching the potato slices turn golden in the oven during baking.
- This recipe offers a lighter alternative to store-bought fried chips.
- Prep Time: 10 min
- Cook Time: 20 min
- Category: Snack
- Method: Baking
- Cuisine: American
Nutrition
- Serving Size: 1 serving
- Calories: 120
- Sugar: 1
- Sodium: 150
- Fat: 6
- Saturated Fat: 1
- Unsaturated Fat: 5
- Trans Fat: 0
- Carbohydrates: 16
- Fiber: 2
- Protein: 2
- Cholesterol: 0
Keywords: Crispy Baked Potato Chips for Kids, Healthy Kids Snacks, Baked Potato Chips, Kid Friendly Recipes, Easy Snack Ideas, Homemade Chips, No Fry Snacks

