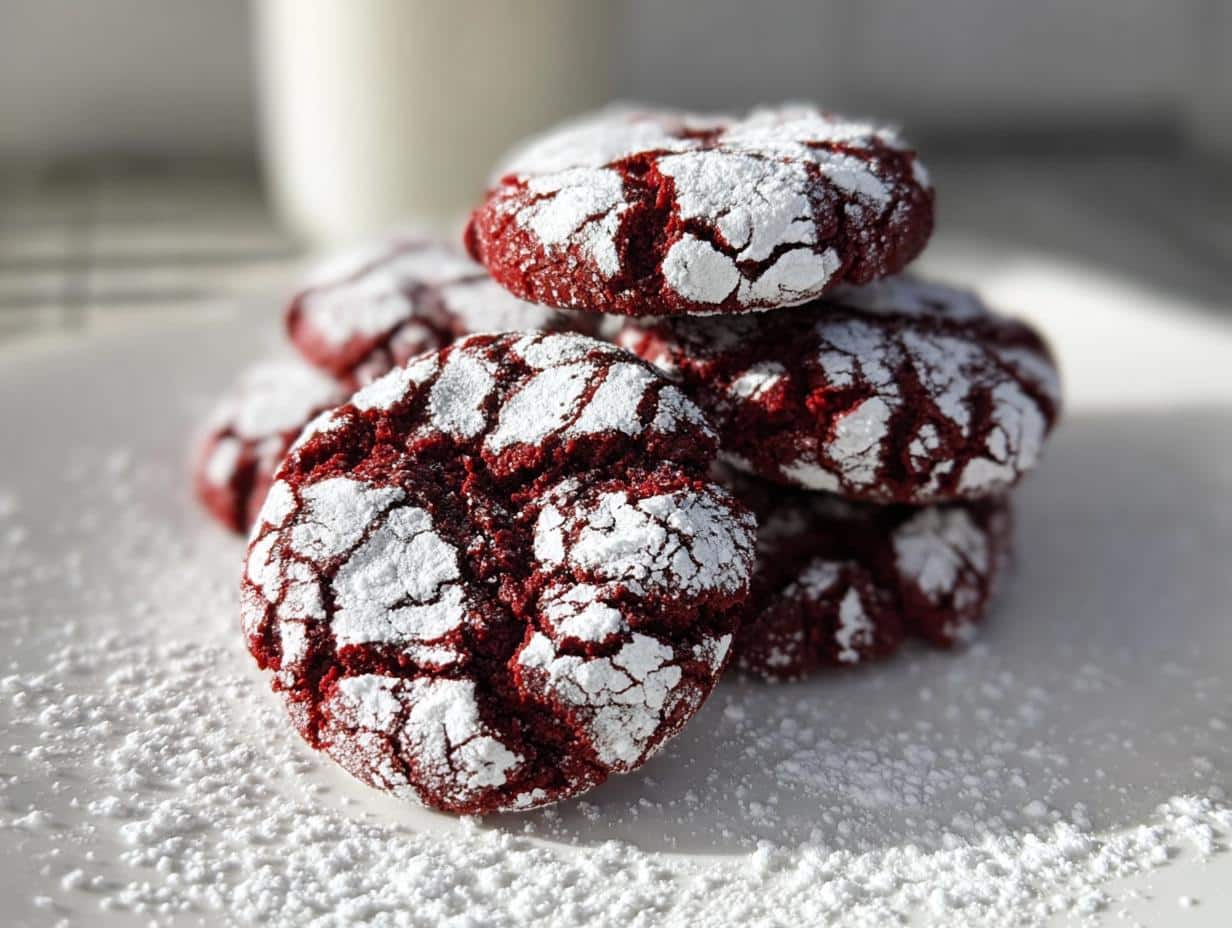
There’s something magical about holiday baking that takes me right back to my grandmother’s kitchen—the scent of vanilla and cocoa filling the air, flour dusting the countertops like fresh snow. These Fudgy Red Velvet Crinkle Cookies capture that same festive spirit with their deep crimson color and crackled powdered sugar tops that look like tiny winter landscapes. The first time I made them, my daughter squealed with delight as we rolled the dough balls in sugar, her little hands turning pink from the food coloring. When they came out of the oven with those perfect crinkles and soft, chocolatey centers, we knew we’d found our new Christmas tradition. What I love most is how they balance rich cocoa flavor with that irresistible chewiness—like a cross between a brownie and a cookie, dressed in its holiday best.

Why You’ll Love These Fudgy Red Velvet Crinkle Cookies
Trust me, these cookies are about to become your new holiday obsession. Here’s why they’re everything you need this season:
- Festive magic: That vibrant red dough rolled in snowy powdered sugar? It’s like Christmas morning in cookie form—guaranteed to make your dessert table shine.
- No-fuss baking: You probably have most ingredients already, and the dough comes together faster than you can wrap presents.
- Texture perfection: That first bite gives you that satisfying crackle before sinking into a fudgy center that’s somewhere between brownie and cookie heaven.
- Universal love: Kids go wild for the color, adults adore the rich cocoa flavor, and everyone keeps sneaking seconds. They’re basically holiday happiness in portable form.
I’ve lost count of how many neighbors have asked for this recipe after tasting them—they’re that good. Wrap them in cellophane with a ribbon, and suddenly you’re everyone’s favorite gift-giver!
Ingredients for Fudgy Red Velvet Crinkle Cookies
Okay, let’s gather our cookie squad! These ingredients are simple but mighty – each one plays a special role in creating that perfect chewy texture and festive red velvet magic. Here’s what you’ll need:
- 1/2 cup unsalted butter, softened – I always set mine out about 30 minutes before baking. It should dent slightly when pressed.
- 3/4 cup light brown sugar, packed – Pack it tight in your measuring cup! This gives our cookies that caramel-like chew.
- 1/2 cup granulated sugar – For sweetness and that gorgeous crinkle effect.
- 2 large eggs, room temperature – Cold eggs can make your batter curdle. I just pop mine in warm water for 5 minutes if I forget to take them out.
- 2 teaspoons vanilla extract – The good stuff! It balances the cocoa beautifully.
- 1/2 teaspoon professional red food coloring – Gel works best for vibrant color without thinning the dough.
- 2 cups all-purpose flour – Spoon and level it – no packing!
- 1/3 cup cocoa powder – Natural unsweetened gives that classic red velvet flavor.
- 1 1/2 teaspoons baking powder – Our little leavening helper.
- 1/2 teaspoon salt – Don’t skip this! It makes all the flavors pop.
- 1/2 cup granulated sugar (for coating) – Creates that magical crackle effect.
- 1/2 cup powdered sugar (for coating) – The snowy finish that makes these cookies holiday-ready.
See? Nothing fancy – just pantry staples transformed into something spectacular. Now let’s make some cookie magic!
How to Make Fudgy Red Velvet Crinkle Cookies
Alright, let’s get baking! These cookies are surprisingly simple, but I’ve learned a few tricks over the years to get that perfect chewy texture and those Instagram-worthy cracks. Here’s how we do it:
- Preheat and prep: Get your oven rocking at 350°F (175°C) – this temp gives us that ideal balance of crispy edges and fudgy centers. Line your baking sheets with parchment paper; trust me, it makes cleanup a breeze and prevents sticky situations.
- Creaming magic: Beat that softened butter with both sugars until it’s light, fluffy, and pale. About 2-3 minutes with a mixer should do it. Don’t rush this step – it creates tiny air pockets that make your cookies tender.
- Wet team assemble: Add eggs one at a time, letting each fully incorporate before adding the next. Then pour in the vanilla and that gorgeous red gel food coloring. I always use gel instead of liquid because it gives vibrant color without watering down our dough.
- Dry ingredients unite: Whisk together flour, cocoa powder, baking powder, and salt in another bowl. Gradually add this to the wet ingredients, mixing just until combined. That cocoa smell will have your kitchen smelling like a bakery!
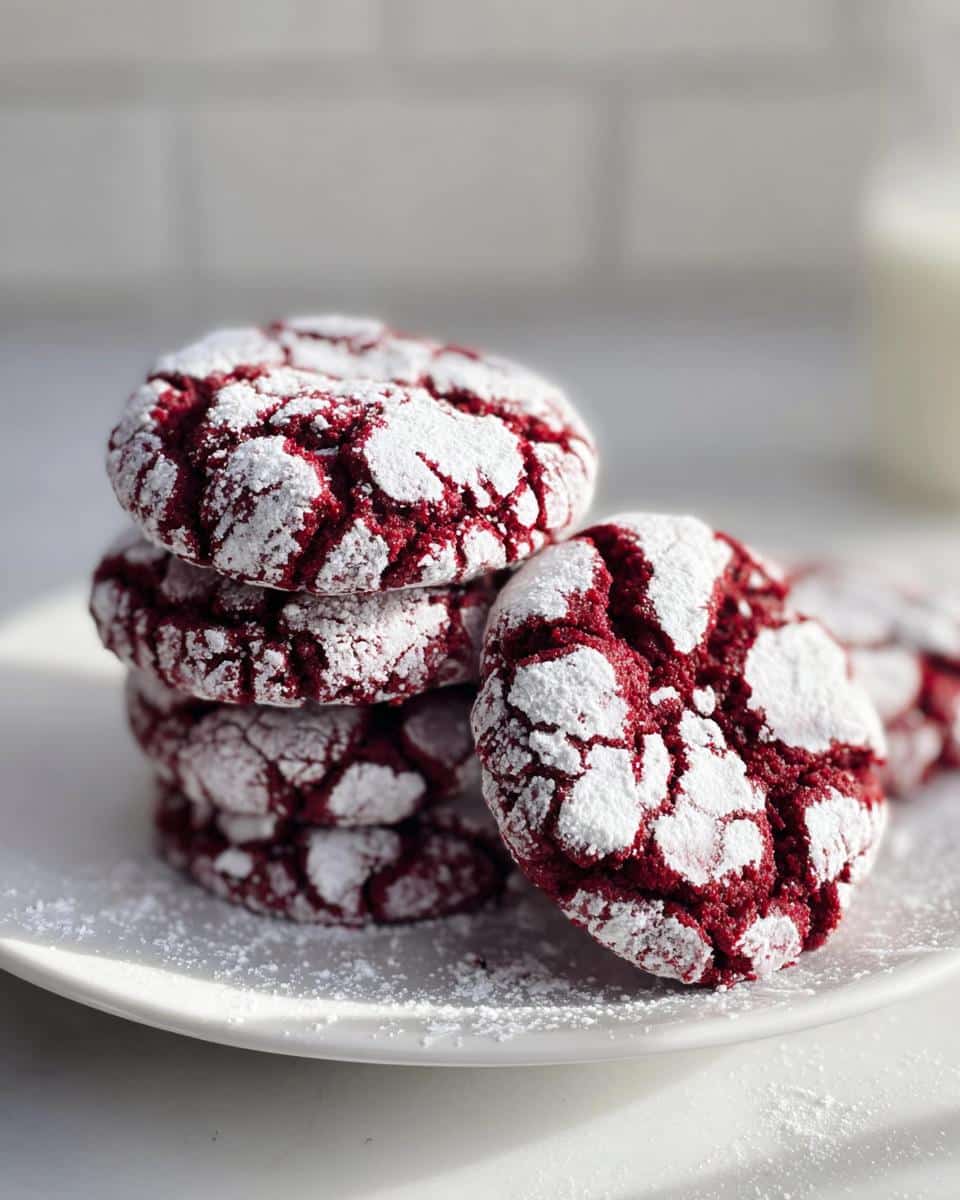
- Double sugar coating: Here’s where the crinkle magic happens! Roll tablespoon-sized dough balls first in granulated sugar (this helps create those cracks), then generously coat in powdered sugar. Pro tip: Let them rest 5 minutes before a second powdered sugar roll – it gives that beautiful snowy finish.
- Bake to perfection: Space cookies about 1 inch apart – they’ll spread some! Bake for 10-12 minutes until the edges are set but centers still look soft. They’ll continue cooking as they cool. Those gorgeous cracks will appear like little holiday surprises!
- Cool with patience: Let them sit on the baking sheet for 3 minutes before transferring to a rack. I know it’s hard to wait, but this prevents breaking those delicate crinkles. They’ll firm up as they cool into that perfect chewy texture.
Tips for Perfect Fudgy Red Velvet Crinkle Cookies
After making dozens of batches (someone had to taste-test!), here’s my hard-earned cookie wisdom:
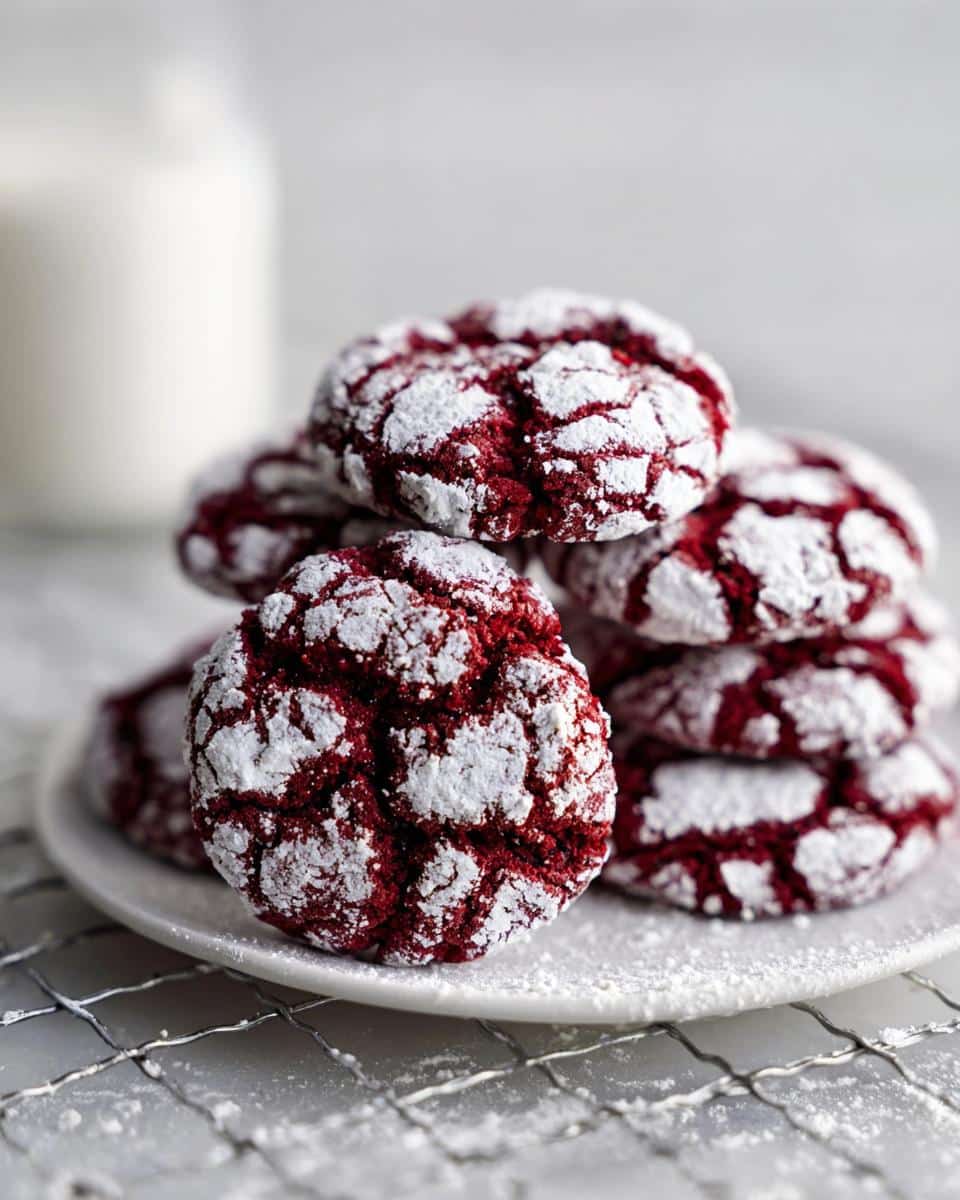
Color matters: That rich red hue comes from professional gel food coloring – liquid just doesn’t pack the same punch without making dough sticky. And whatever you do, don’t overbake! Pull them when they look slightly underdone – they’ll finish setting outside the oven.
Cooling is key: Let them cool completely before stacking or storing. Those perfect powdered sugar tops stay pristine when you give them time to set. Store in an airtight container with parchment between layers – they keep their chew for up to 3 days (if they last that long!).
Ingredient Substitutions and Notes
Okay, let’s talk swaps! Sometimes you’re mid-recipe and realize you’re out of something—been there! Here’s how to adapt without sacrificing that amazing fudgy texture:
- Butter: Coconut oil works in a pinch (use refined for no coconut taste), but your cookies will spread more. For best results, stick with butter—it gives that rich flavor and perfect chew.
- Eggs: Flax eggs (1 tbsp ground flax + 3 tbsp water = 1 egg) work, but your cookies will be cakier. Not bad, just different!
- Cocoa powder: Non-negotiable! It’s what gives red velvet its signature subtle chocolate flavor. Dutch-process works too for a deeper taste.
- Food coloring: Beet powder (2 tbsp) gives natural color but muddies the red. For vibrant holiday hue, gel is worth it.
Remember, the powdered sugar coating is key—don’t skip it! That double sugar roll creates those magical cracks we all love.
Serving and Storing Fudgy Red Velvet Crinkle Cookies
Now for the fun part—sharing these festive beauties! I love piling them high on a rustic wooden tray with some holiday spritz cookies for contrast. They’re perfect for cookie swaps (wrap a few in cellophane with a candy cane garnish) or as edible gifts for teachers and neighbors. My kids love when I tuck one into their lunchboxes with a holiday note—that red velvet always makes their day brighter!
For storage, these cookies stay gloriously chewy in an airtight container at room temperature for up to 3 days. Just layer them between sheets of parchment paper to keep that powdered sugar looking pristine. If you’re making them ahead, the dough balls freeze beautifully too—just roll in sugars right before baking. Warning: These disappear fast once people get a taste, so hide a few for yourself if you want leftovers!
Fudgy Red Velvet Crinkle Cookies FAQs
I get asked about these cookies all the time—here are the answers to the questions that pop up most often in my kitchen (and inbox)!
Can I freeze the cookie dough?
Absolutely! Roll the dough balls before freezing—they’ll keep for up to 3 months in an airtight container. When you’re ready to bake, just roll them in the sugars (they’ll need extra powdered sugar since frozen dough doesn’t stick as well) and add 1-2 minutes to the baking time. Perfect for last-minute holiday guests!
How do I prevent my cookies from spreading too much?
Three tricks: 1) Make sure your butter is softened but still cool—not melty. 2) Chill the dough for 30 minutes if your kitchen is warm. 3) Use parchment paper—it helps cookies keep their shape better than greased pans. If they still spread, try reducing the butter by 1 tbsp next time.
Can I use natural food coloring instead of gel?
You can, but expect a softer red hue. Beet powder (2 tbsp) works, though it adds an earthy flavor. For that classic vibrant red velvet look without artificial dyes, try plant-based red coloring gels—they’re my go-to when avoiding traditional food dyes.
Why didn’t my cookies get those pretty cracks?
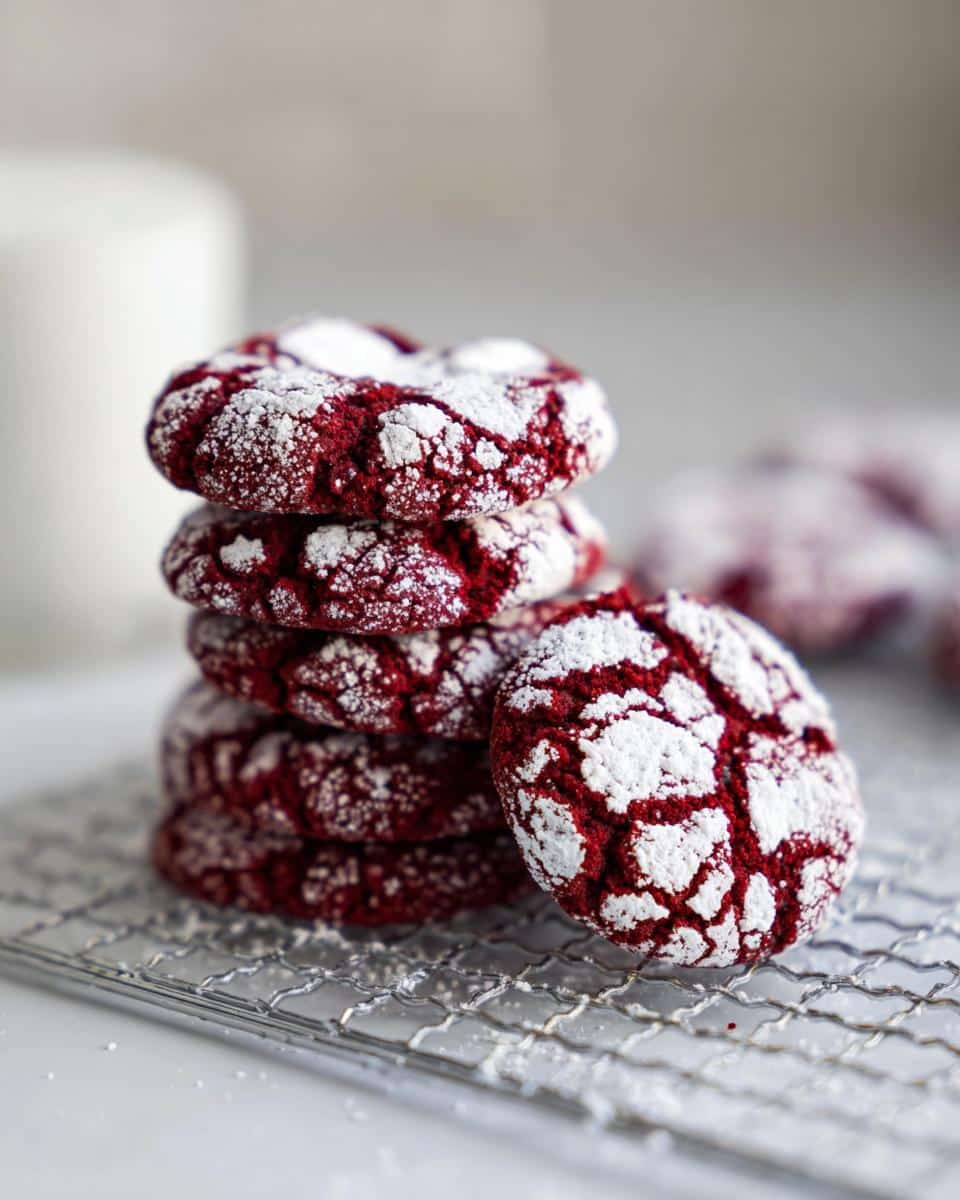
Two likely culprits: 1) The dough was too wet (measure flour correctly—spoon and level!). 2) You skipped the granulated sugar coating before the powdered sugar. That first sugar layer creates steam pockets that cause the signature cracks as they bake. Also, don’t overmix after adding dry ingredients—gluten development can prevent cracking.
Can I make these without cocoa powder?
Technically yes, but then they’re just red sugar cookies! The cocoa gives red velvet its distinctive flavor. If you must skip it, add an extra 1/4 cup flour and 1/2 tsp vanilla to compensate. But trust me—that subtle chocolatey note is what makes these cookies so special!
Nutritional Information
Just so you know, these numbers are estimates—your cookies might vary slightly based on ingredient brands and exact measurements. But here’s the scoop per cookie (because let’s be honest, who stops at one?):
- Calories: 120
- Sugar: 12g
- Fat: 5g
They’re treats, not health food—but that rich cocoa and real butter make every bite worth it! Consider this your permission slip to enjoy that second (or third) cookie guilt-free.
More Holiday Baking Inspiration
If you fell head over heels for these crinkle cookies (how could you not?), you’re going to love our other festive treats! Try our Chocolate Peppermint Bread—it’s like Christmas morning in loaf form with its swirls of peppermint and dark chocolate. Or keep the cookie train rolling with gingerbread stars or snowball cookies dipped in white chocolate. The holiday baking possibilities are endless when your kitchen smells this good!
Print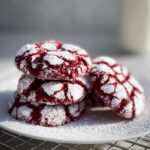
Fudgy Red Velvet Crinkle Cookies
- Total Time: 25 min
- Yield: 24 cookies 1x
- Diet: Vegetarian
Description
Chewy red velvet cookies with a crackled sugar coating, perfect for holiday baking.
Ingredients
- 1/2 cup unsalted butter, softened
- 3/4 cup light brown sugar, packed
- 1/2 cup granulated sugar
- 2 large eggs, room temperature
- 2 teaspoons vanilla extract
- 1/2 teaspoon professional red food coloring
- 2 cups all-purpose flour
- 1/3 cup cocoa powder
- 1 1/2 teaspoons baking powder
- 1/2 teaspoon salt
- 1/2 cup granulated sugar (for coating)
- 1/2 cup powdered sugar (for coating)
Instructions
- Preheat the oven to 350°F and line a baking sheet with parchment paper.
- Cream the butter, brown sugar, and granulated sugar until light and fluffy.
- Add the eggs one at a time, mixing after each. Stir in vanilla and red food coloring.
- Sift together flour, cocoa powder, baking powder, and salt. Add to wet ingredients and mix.
- Roll dough into balls, coat first in granulated sugar, then powdered sugar.
- Place on baking sheet 1 inch apart. Bake for 10 minutes until cracked but soft inside.
- Cool before serving.
Notes
- Use gel food coloring for vibrant red color.
- Store in an airtight container for up to 3 days.
- Prep Time: 15 min
- Cook Time: 10 min
- Category: Dessert
- Method: Baking
- Cuisine: American
Nutrition
- Serving Size: 1 cookie
- Calories: 120
- Sugar: 12g
- Sodium: 60mg
- Fat: 5g
- Saturated Fat: 3g
- Unsaturated Fat: 2g
- Trans Fat: 0g
- Carbohydrates: 18g
- Fiber: 1g
- Protein: 2g
- Cholesterol: 25mg
Keywords: holiday baking, Christmas cookies, red velvet, dessert, easy cookies

