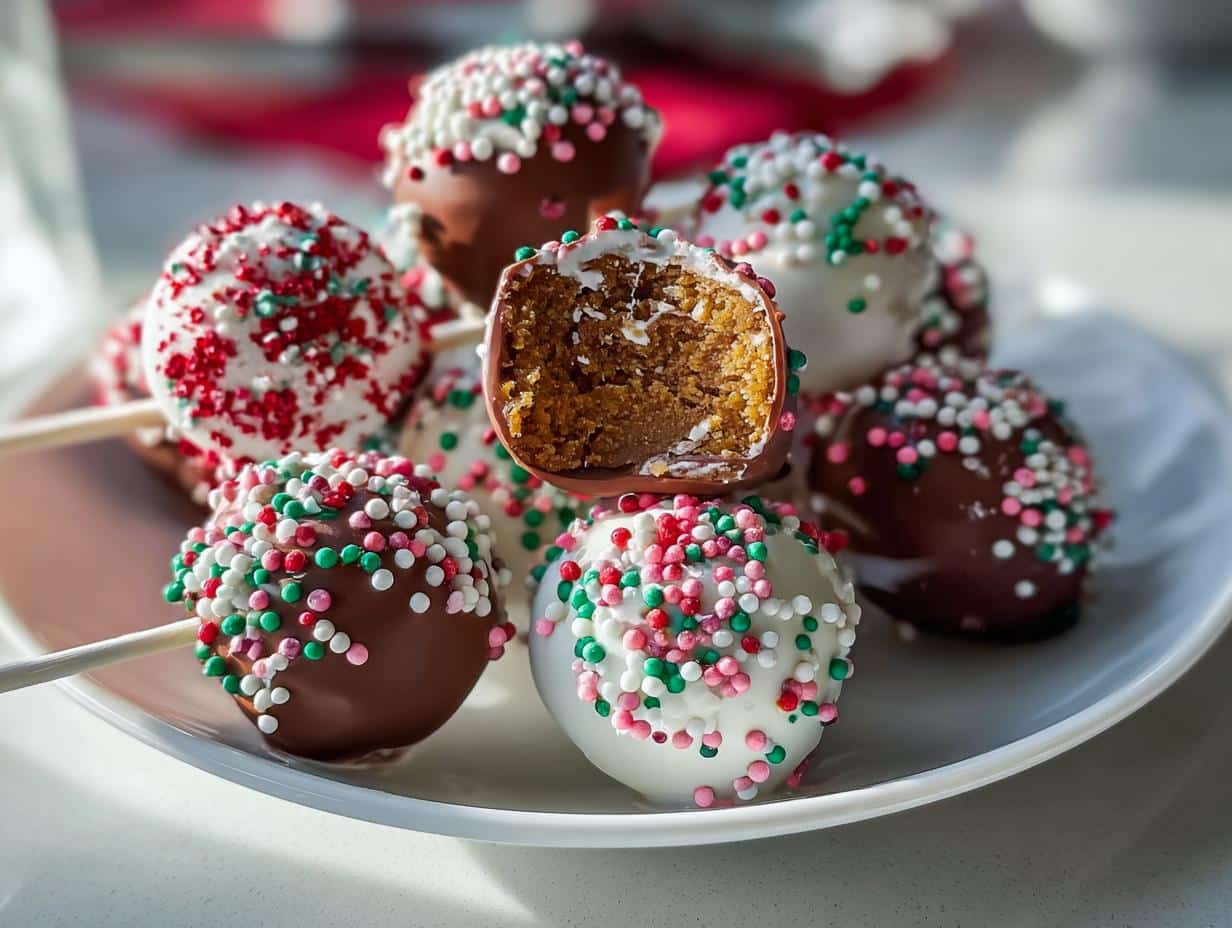
There’s something magical about holiday baking, isn’t there? The way the warm spices of gingerbread fill the kitchen, the excitement of creating something special for loved ones—it’s pure joy. That’s why I fell head over heels for gingerbread cake pops the first time I made them for a cozy winter gathering in Vermont. These bite-sized treats combine all the nostalgic flavors of classic gingerbread—molasses, cinnamon, and that perfect ginger kick—in a fun, pop-able form that makes everyone smile.
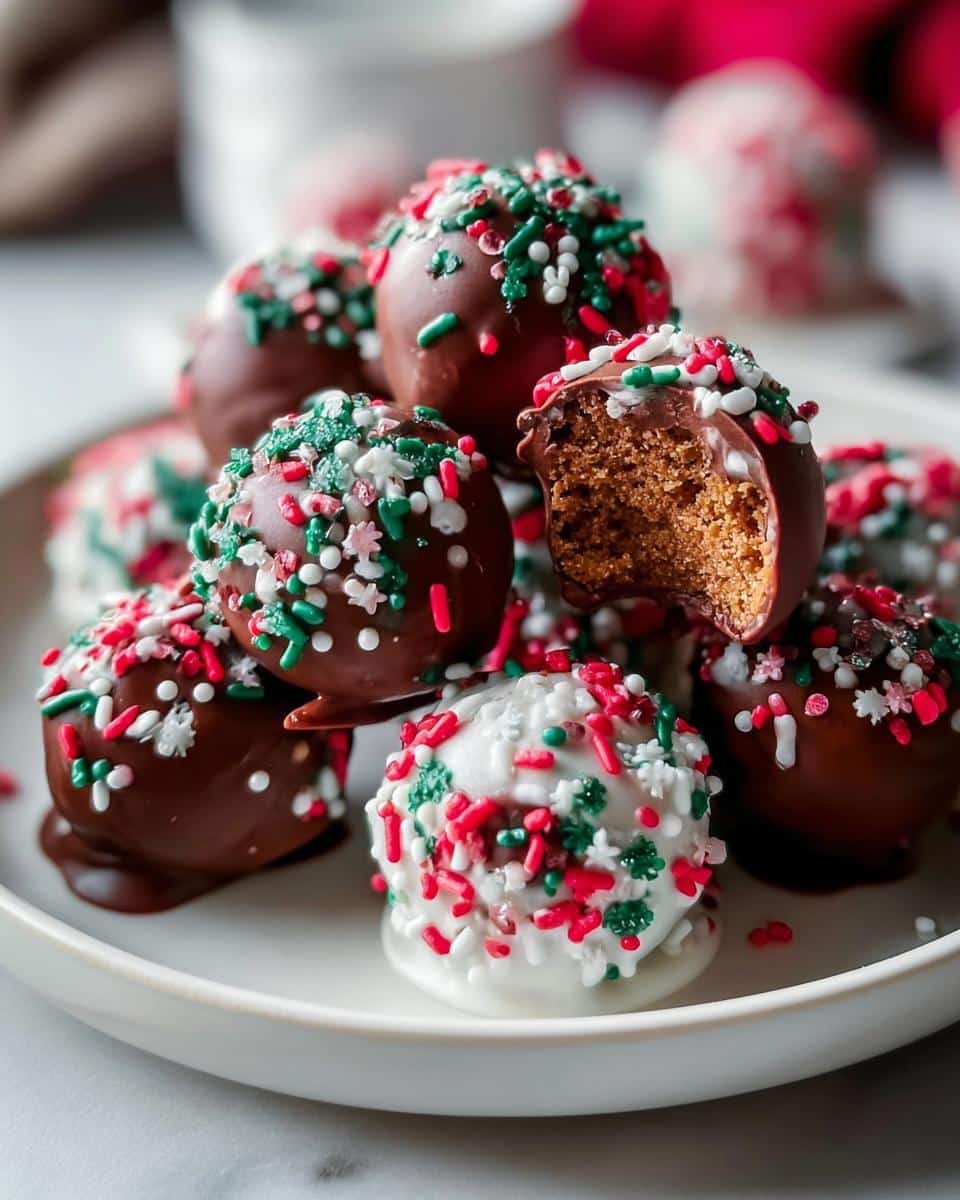
I remember watching my friends’ faces light up as they reached for these little spheres of happiness at our potluck. The best part? They’re surprisingly simple to make. Just crumble up some gingerbread cake, mix it with a dreamy buttercream frosting, shape into balls, and dip in chocolate. Before you know it, you’ve got a platter full of festive delights that look like they came from a fancy bakery. Whether you’re hosting a holiday party, looking for teacher gifts, or just want to treat yourself, these gingerbread cake pops bring all the cozy vibes of the season in one delicious bite.
Why You’ll Love These Gingerbread Cake Pops
Trust me, once you try these little bites of holiday magic, you’ll be hooked! Here’s why they’re absolutely irresistible:
- Festive flavors that scream Christmas: That perfect blend of molasses, ginger, and cinnamon tastes like holiday cheer in every bite.
- So easy even Santa could make them: No fancy skills needed—just crumble, mix, shape, and dip! Perfect for baking with kids too.
- The ultimate edible gifts: Wrap them up cute and watch friends swoon—way better than another fruitcake!
- Party superstars: They disappear faster than cookies at the North Pole at any holiday gathering.
- Your creative playground: From simple sprinkles to fancy drizzles, decorating these is half the fun! (Psst… if you love easy treats, you’ll adore our no-bake Oreo balls too!)
Seriously, these cake pops are like little edible ornaments—they make everything merrier!
Ingredients for Gingerbread Cake Pops
Gathering your ingredients is like collecting little treasures for holiday magic. Here’s everything you’ll need to make these festive treats sing:
- 1 Stout Gingerbread Cake (about 9×13 inches), crumbled into fine crumbs – trust me, homemade tastes best but store-bought works in a pinch!
- 5 Tbsp unsalted butter, softened to room temperature (that’s when your finger leaves a gentle dent)
- 1 1/3 cups powdered sugar, sifted if it’s lumpy – no one wants sugar lumps in their frosting!
- 2 tsp heavy cream or milk (the cream makes it extra rich, but milk works fine too)
- 1/2 tsp vanilla extract – the good stuff, not imitation!
- 30 lollipop sticks (I always buy extra because someone inevitably sneaks a few for crafts)
- 36 oz melting chocolate (white, dark, or milk – your choice! I love white for that snowy look)
- 3-4 oz sprinkles or crushed ginger cookies for decorating – go wild with holiday colors!
- Floral foam or cardboard box for drying (an old shoebox with holes poked in works great in a pinch)
See? Nothing too fancy – just simple ingredients that come together to make something truly special. Now let’s get mixing!
How to Make Gingerbread Cake Pops
Okay, let’s get to the fun part! Making these gingerbread cake pops is like playing with edible playdough – messy hands guaranteed, but totally worth it. Follow these steps and you’ll have perfect pops that’ll make your holiday table sparkle. And if you love festive baking, you’ll adore our chocolate peppermint bread too!
Step 1: Prepare the Frosting Mixture
First, grab that softened butter and beat it in a big bowl until it’s creamy and dreamy – about 2 minutes with a hand mixer. Now slowly add the powdered sugar, a little at a time so you don’t end up in a sugar cloud! Pour in the cream and vanilla, then keep mixing until it’s light and fluffy like winter snow. This frosting glue will hold everything together beautifully.
Step 2: Combine with Gingerbread Cake
Time to get your hands dirty! Crumble that gorgeous gingerbread cake into the bowl – I like to do this directly over the frosting so I don’t lose any crumbs. Now squish it all together with your hands (kids love helping here!) until it forms a soft dough that holds together when you squeeze it. If it’s too dry, add a teaspoon more cream; too wet? A sprinkle more powdered sugar.
Step 3: Shape and Chill the Cake Balls
Roll tablespoon-sized portions between your palms to make perfect little spheres – about the size of a ping pong ball. Pro tip: Keep a bowl of water nearby to dampen your hands so the dough doesn’t stick. Now the hardest part – pop them on a baking sheet and chill for 2 hours in the fridge (or 1 hour in the freezer if you’re impatient like me). This step is crucial so they don’t fall apart when dipping!
Step 4: Dip and Decorate the Gingerbread Cake Pops
Melt your chocolate in 30-second bursts in the microwave, stirring between each. Dip each lollipop stick about 1/2 inch into the chocolate, then push it halfway into a cake ball – this acts like edible glue. Now the magic moment! Swirl each pop in the chocolate until fully coated, let excess drip off, then immediately add sprinkles or crushed cookies. Stick them in floral foam or a cardboard box to dry for 30 minutes. Watch out – they disappear fast once they’re ready!
Tips for Perfect Gingerbread Cake Pops
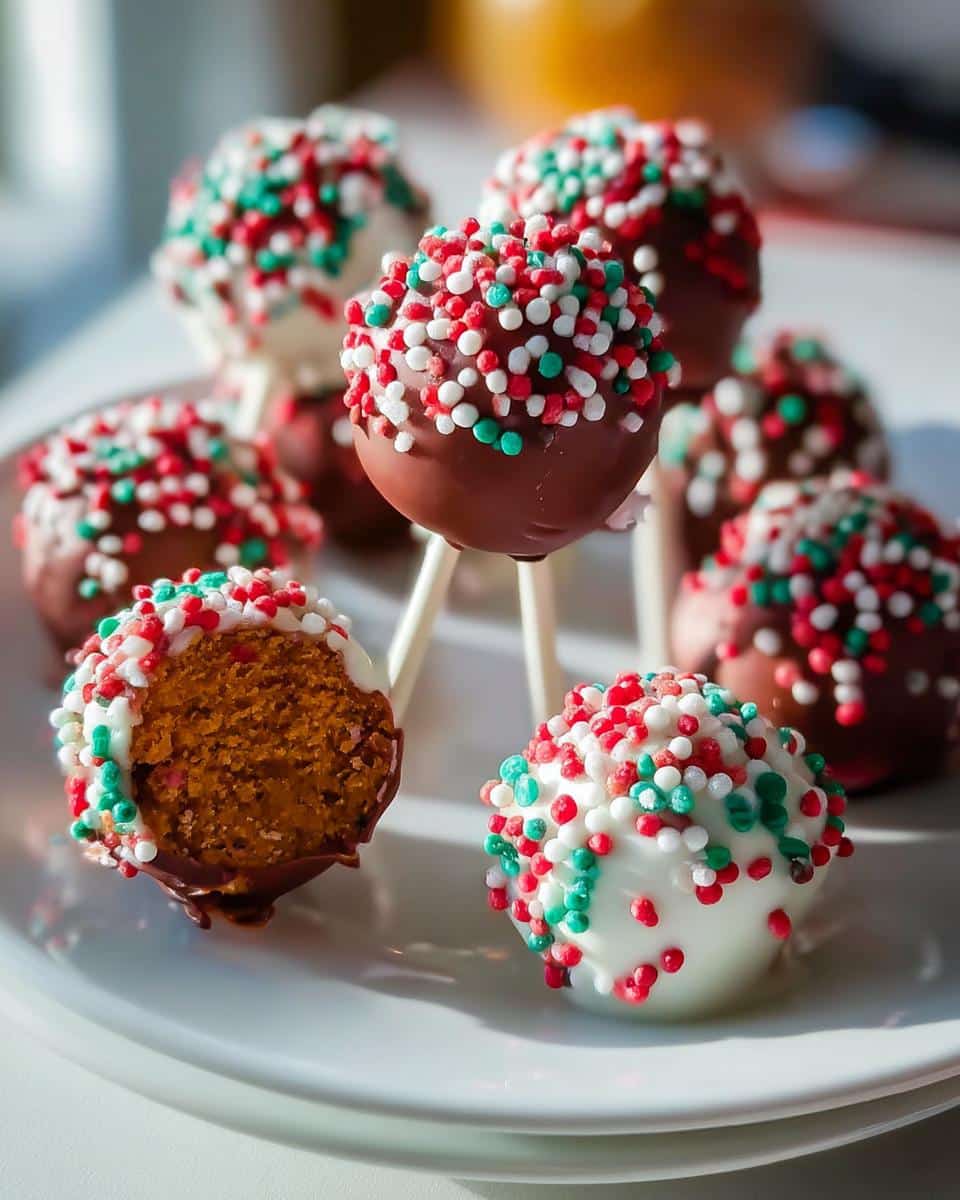
After making dozens of batches (and eating just as many!), I’ve learned all the tricks for gingerbread cake pop success. Here are my can’t-live-without tips:
- Keep ’em chilly: Seriously, don’t skip the chilling step! Cold cake balls won’t crumble when you dip them. If they start getting soft while working, pop them back in the freezer for 10 minutes.
- Floral foam is your BFF: That green foam from craft stores makes the perfect drying stand. Just poke holes every inch – way better than balancing pops on their sides!
- Thin your chocolate: If your coating seems too thick, add a teaspoon of coconut oil to make it flow smoothly without clumping.
- Work in small batches: Only melt 1/3 of your chocolate at a time – it stays at the perfect dipping consistency longer.
- Storage smarts: Keep finished pops in an airtight container with parchment between layers. They’ll stay fresh for a week in the fridge (if they last that long!).
Follow these simple tricks, and your cake pops will look bakery-perfect every time!
Decorating Ideas for Gingerbread Cake Pops
Oh, the decorating possibilities are endless with these little holiday gems! This is where your gingerbread cake pops transform from tasty to absolutely show-stopping. My favorite part? You don’t need fancy skills – just a little creativity and some festive sprinkles.
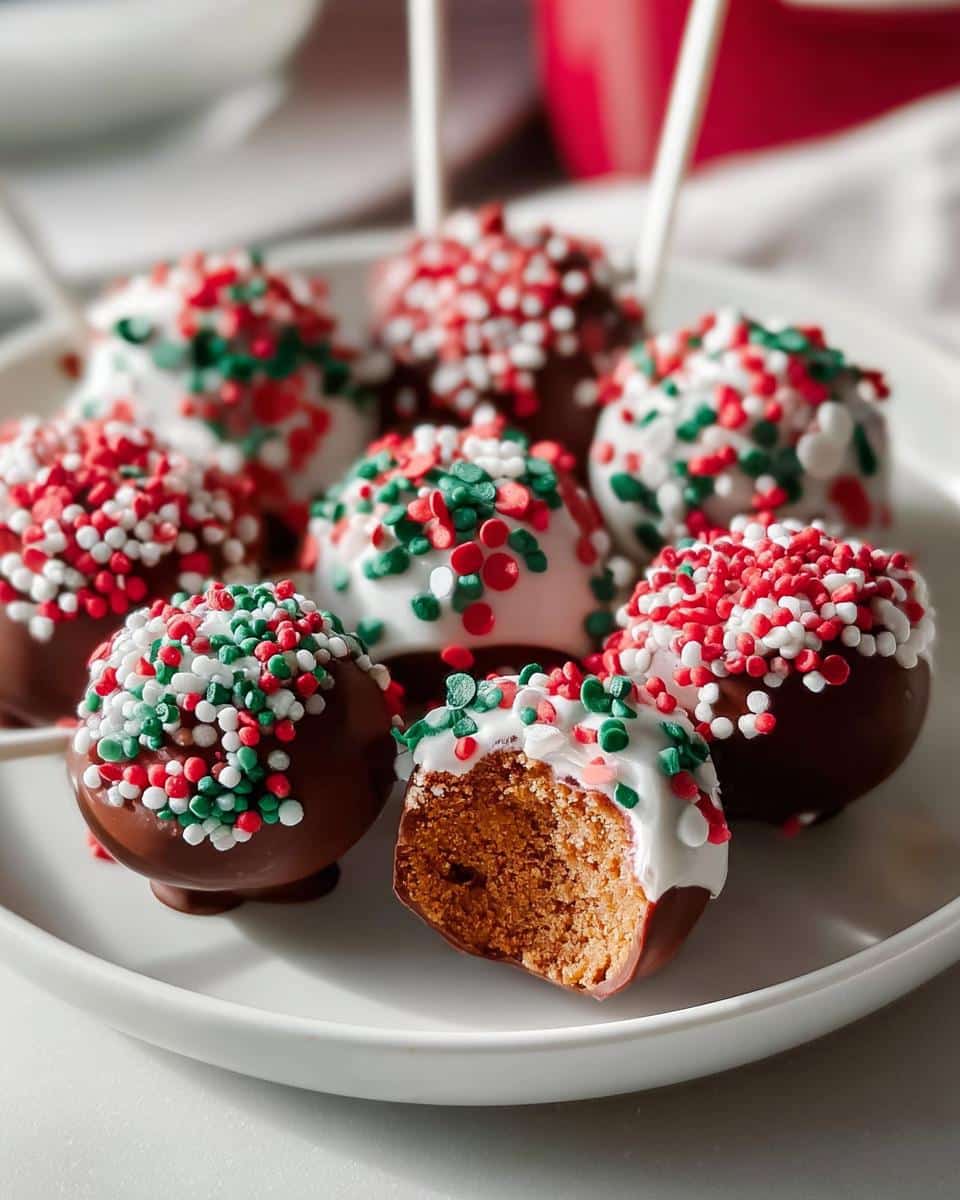
For that classic winter wonderland look, drizzle melted white chocolate in zigzags over the dark chocolate coating – it looks like delicate snowflakes! Crushed ginger cookies make perfect “snow” when pressed onto the wet chocolate. And of course, you can’t go wrong with colorful holiday sprinkles – I keep a whole collection just for these pops. For extra fun, try rolling some in crushed peppermint candies or edible gold dust. Looking for more inspiration? Check out our Christmas baking recipes for loads of festive ideas!
Want to get really creative? Pipe tiny royal icing snowflakes or holly leaves on the hardened chocolate. Or make them look like tiny Christmas ornaments with colored candy melts and ribbon loops. The best part? However you decorate them, these Christmas cake popsicles always taste amazing!
Storage and Freezing Instructions
These gingerbread cake pops keep beautifully if you store them right! Pop them in an airtight container with parchment between layers – they’ll stay fresh in the fridge for up to a week (if your family doesn’t devour them first!). For longer storage, freeze them in a single layer before transferring to freezer bags – they’ll keep their magic for a whole month. When you’re ready to enjoy, just let them thaw in the fridge overnight. The chocolate might sweat a little at room temperature, so I like to keep them chilled until serving time.
Nutritional Information
Just a quick note – these nutritional estimates can vary based on your specific ingredients and brands. While we aim for accuracy, your gingerbread cake pops might have slightly different values depending on the chocolate you use or how generous you are with those festive sprinkles!
Frequently Asked Questions
I get so many questions about these gingerbread cake pops every holiday season! Here are the answers to the ones I hear most often:
Can I use store-bought cake instead of homemade?
Absolutely! While I love the flavor of homemade gingerbread cake, store-bought works great in a pinch. Just look for one with nice warm spices – I’ve had great results with those dense, molasses-rich bakery cakes. Crumble it up fine and you’re good to go!
How do I prevent cracks in the chocolate coating?
Oh, I’ve been there! The secret is making sure your cake balls are super cold before dipping (that freezer time is crucial). Also, let your coated holiday cake pops dry at room temp – sudden temperature changes cause cracks. If they do crack? Just drizzle more chocolate over it and call it “rustic charm”!
Can I make these ahead for Christmas parties?
You bet! These winter cake pops actually taste better after a day or two as the flavors meld. Make them up to 3 days before and store in the fridge, or freeze for up to a month. Just wait to add sprinkles until you’re ready to serve so they stay crisp.
What’s the best chocolate for coating?
I swear by candy melts or chocolate made specifically for dipping – it hardens perfectly. Regular chocolate can be tricky unless you temper it. For New Years cake pops, I love using gold candy melts for extra sparkle!
Help! My cake balls keep falling off the sticks!
Don’t panic! First, make sure you’re inserting the stick about halfway into the ball. That chocolate “glue” step is key – dip the stick in melted chocolate before inserting. If they’re still sliding, your cake mixture might be too wet – add a bit more powdered sugar next time.
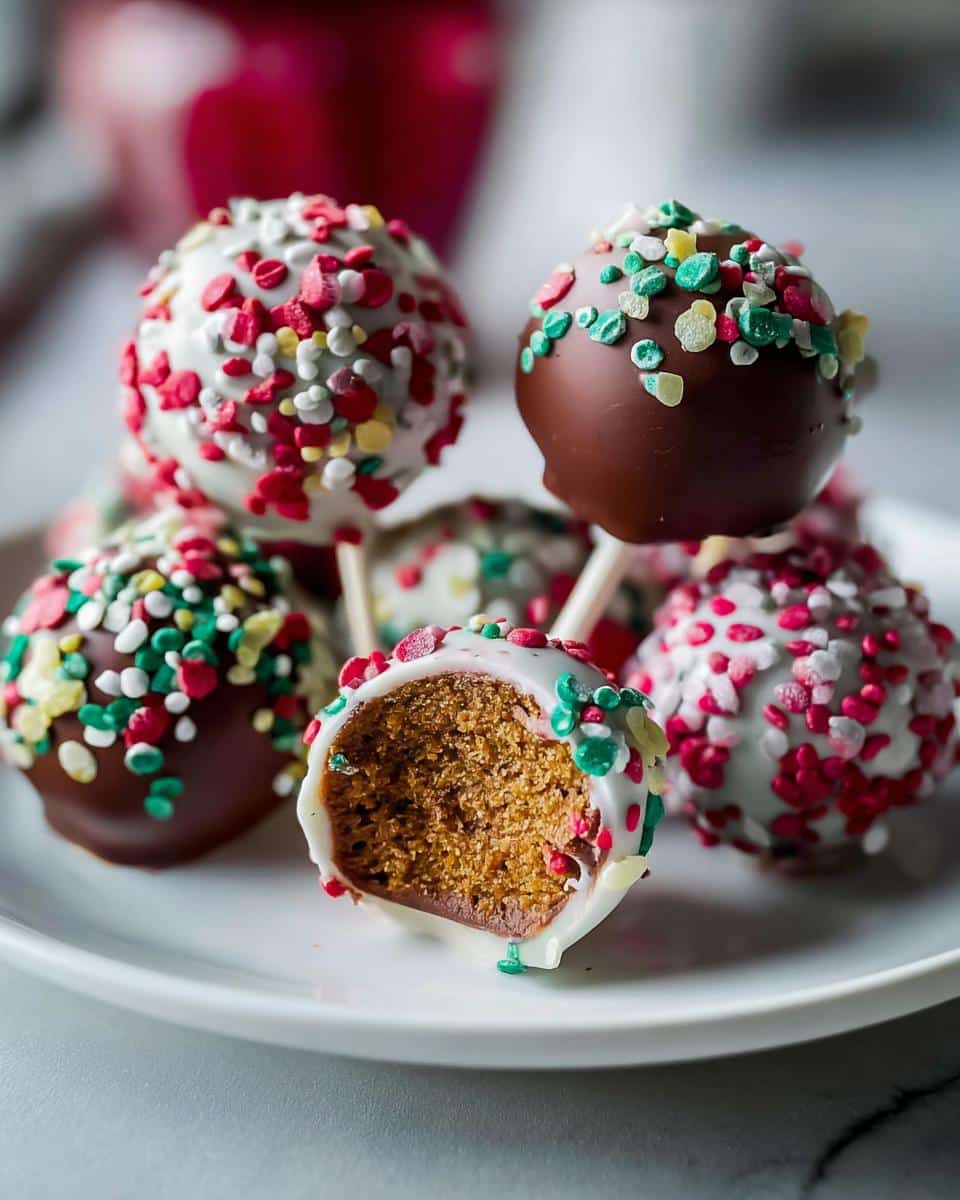

Gingerbread Cake Pops
- Total Time: 3 hours 40 min
- Yield: 30 cake pops 1x
- Diet: Vegetarian
Description
Festive bite-sized treats with warm gingerbread flavors, perfect for holiday gatherings.
Ingredients
- 1 Stout Gingerbread Cake
- 5 Tbsp unsalted butter, softened
- 1 1/3 cup powdered sugar
- 2 tsp heavy cream or milk
- 1/2 tsp vanilla extract
- 30 lollipop sticks
- 36 oz melting chocolate
- 3–4 oz sprinkles
- Floral foam or cardboard box for drying
Instructions
- Beat butter until creamy. Add powdered sugar, cream, and vanilla. Mix until fluffy.
- Crumble gingerbread cake into frosting. Mix until a dough forms.
- Shape into 1 Tbsp balls. Chill for 2 hours in fridge or 1 hour in freezer.
- Melt chocolate in microwave or double boiler.
- Dip lollipop sticks in chocolate, insert into cake balls, then coat fully in chocolate.
- Add sprinkles immediately. Let dry for 30 minutes before serving.
Notes
- Keep cake pops cold before dipping for best results.
- Store in an airtight container for up to a week in the fridge or freeze for a month.
- Prep Time: 30 min
- Cook Time: 10 min
- Category: Dessert
- Method: No-Bake
- Cuisine: American
Nutrition
- Serving Size: 1 cake pop
- Calories: 120
- Sugar: 10g
- Sodium: 50mg
- Fat: 6g
- Saturated Fat: 3g
- Unsaturated Fat: 2g
- Trans Fat: 0g
- Carbohydrates: 15g
- Fiber: 0g
- Protein: 1g
- Cholesterol: 10mg
Keywords: gingerbread cake pops, holiday treats, Christmas desserts, cake pop ideas, festive baking

