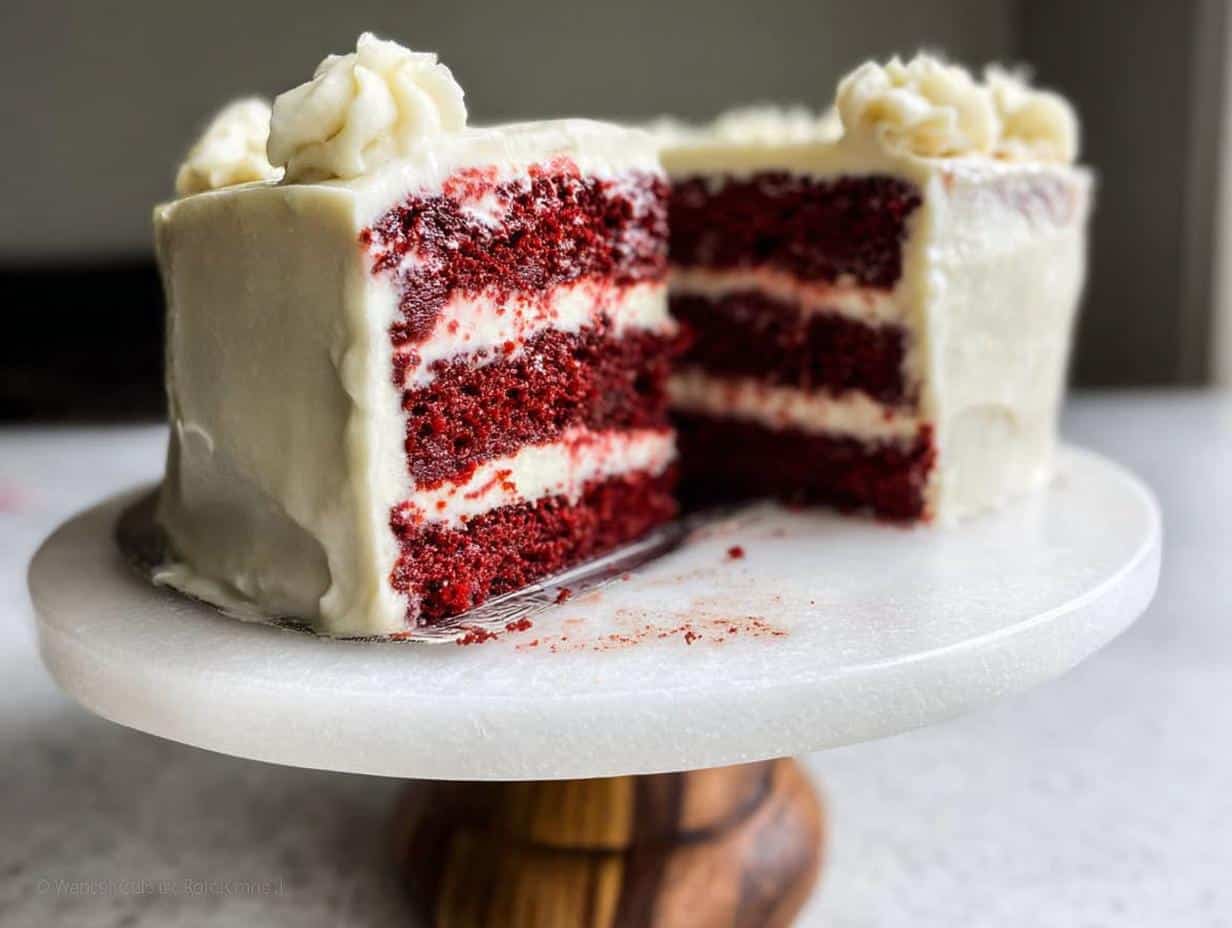
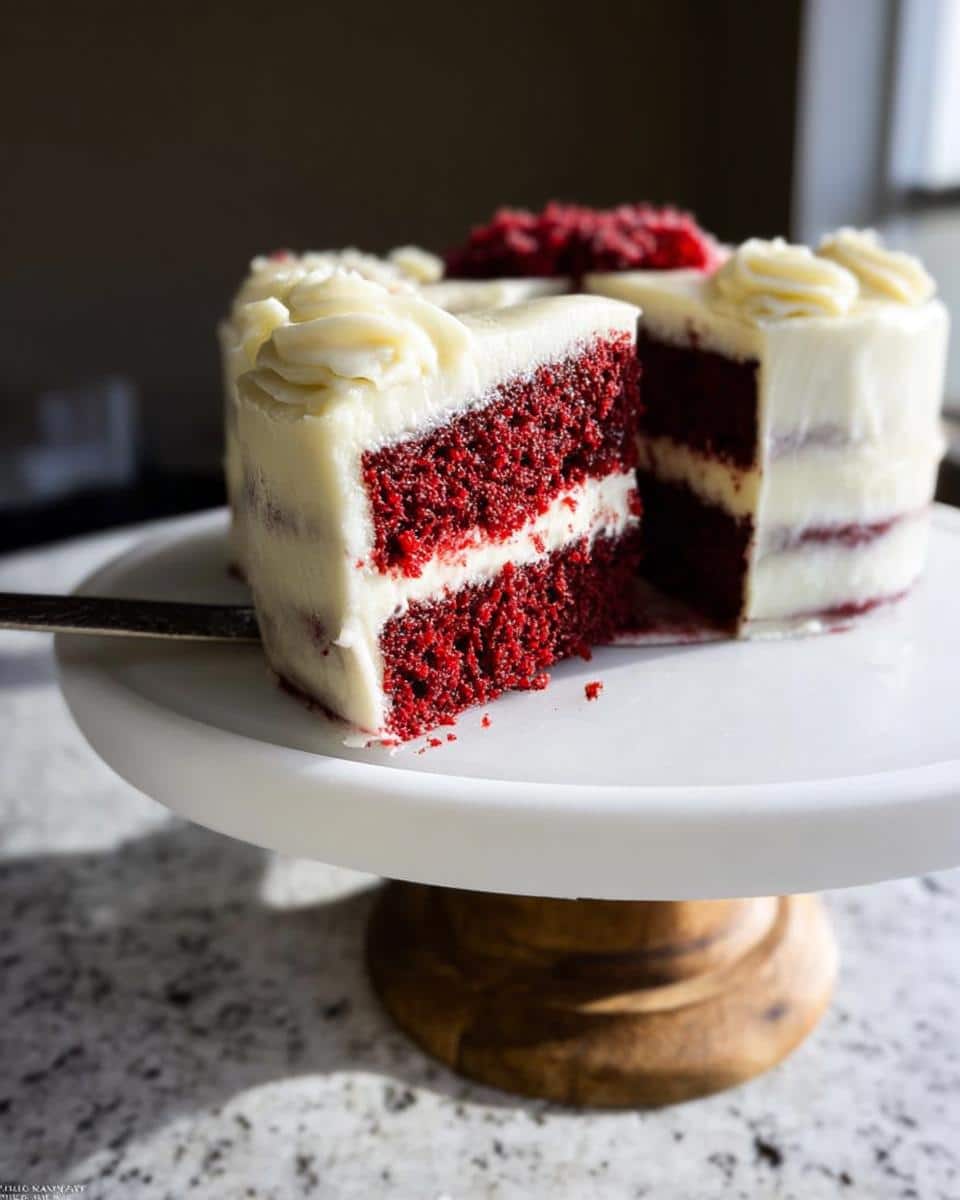
I’ll never forget the first time I made this Red Velvet Layer Cake with Cream Cheese Frosting for Christmas dinner. My hands were shaking as I pulled it from the oven – that deep crimson color peeking through the parchment paper made my heart race. Would it be too dry? Too sweet? But when my aunt took the first bite and her eyes lit up, I knew this cake would become our family’s new holiday tradition. There’s something magical about slicing into those vibrant red layers against the snowy white frosting – it’s like Christmas on a plate!
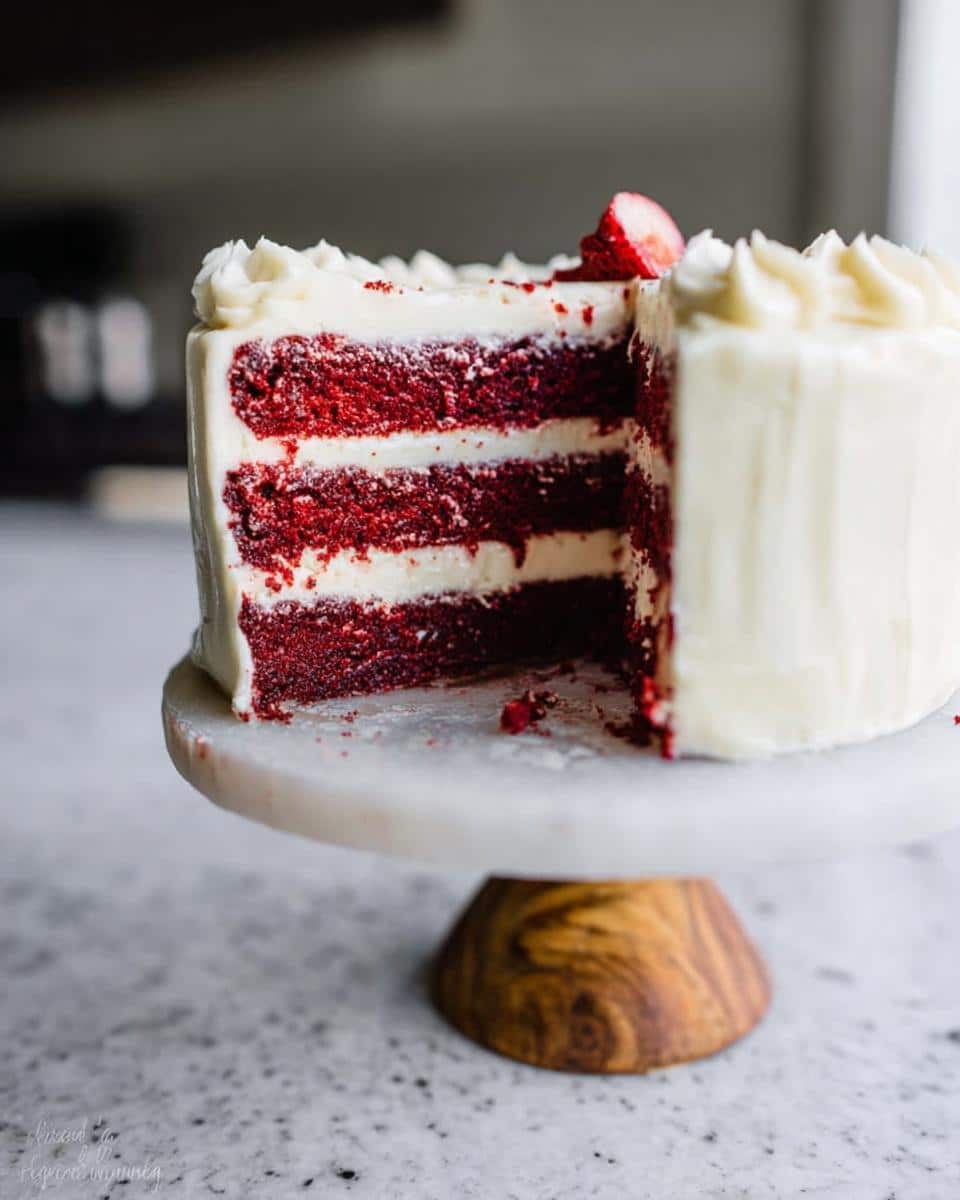
Over the years, this cake has seen us through birthdays, anniversaries, and countless holiday gatherings. The kids now beg for it the moment the Christmas decorations come out. What makes it special isn’t just that rich cocoa flavor or the tangy cream cheese frosting (though trust me, those help!). It’s the way this cake brings everyone together, leaning in for that first dramatic slice, laughing when someone inevitably gets frosting on their nose. That first bite – moist, slightly tangy, perfectly sweet – always tastes like home to me.
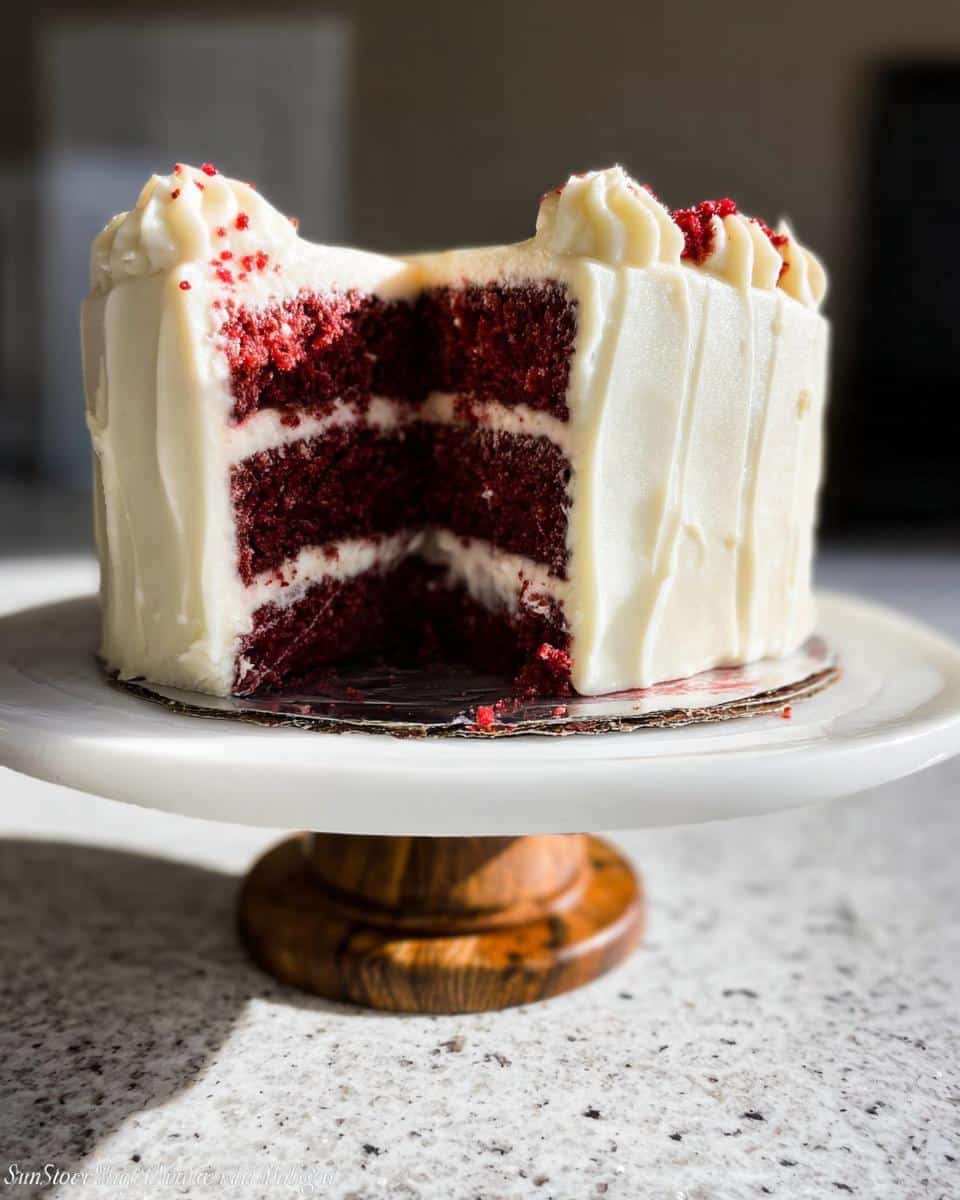
Now when I bake this red velvet beauty, I think about all those shared moments. The recipe might call for cocoa and food coloring, but what it really creates are memories. And isn’t that what holiday baking is all about?
Why You’ll Love This Red Velvet Layer Cake with Cream Cheese Frosting
Oh honey, let me tell you why this cake will steal the show at your next gathering! I’ve made this beauty more times than I can count, and here’s what keeps me coming back:
- Holiday showstopper: That rich red color against the creamy white frosting? Instant Christmas magic on a cake stand. It’s the first dessert to disappear at every potluck I bring it to.
- Moist as can be: The buttermilk and oil keep this cake tender for days – no dry crumbs here! My secret? I never skip the vinegar – it works wonders with the baking soda.
- Perfectly balanced: Just enough cocoa to intrigue but not overwhelm, with that tangy cream cheese frosting cutting through the sweetness. Like my grandma used to say, “It sings in your mouth!”
- Easy elegance: Looks fancy but comes together with simple ingredients. Even my cheesecake-loving niece admits it’s her favorite special occasion dessert now.
- Crowd pleaser: Kids go wild for the color, adults adore the sophisticated flavor. One slice and you’ll understand why this recipe’s been in my family for three generations!
Trust me, once you try this cake, you’ll be making it for every holiday – and finding excuses to bake it in between too!
Ingredients for Red Velvet Layer Cake with Cream Cheese Frosting
Now let’s talk ingredients – because this cake deserves the good stuff! I’ve learned the hard way that quality matters here. Don’t even think about using margarine instead of real butter (Grandma would haunt my kitchen!). Everything should be at room temperature unless noted – trust me, it makes all the difference in getting that perfect texture.
For the Cake
- 3 cups (360g) cake flour – Spooned and leveled, please! No scooping straight from the bag or you’ll end up with dry cake.
- 1 teaspoon baking soda – Make sure it’s fresh so your cake rises properly.
- 2 Tablespoons (10g) unsweetened cocoa powder – Just enough for that signature red velvet flavor without turning it chocolatey.
- 1/2 teaspoon salt – Balances all that sweetness.
- 1/2 cup (8 Tbsp; 113g) unsalted butter – Softened to room temp (leave it out for 1-2 hours).
- 2 cups (400g) granulated sugar – Yes, it’s a lot – this is celebration cake after all!
- 1 cup (240ml) canola or vegetable oil – The secret to that ultra-moist crumb.
- 4 large eggs – Room temp and separated (save those whites!).
- 1 Tablespoon pure vanilla extract – The good stuff, none of that imitation.
- 1 teaspoon distilled white vinegar – Sounds weird but reacts with the baking soda for perfect rise.
- Liquid or gel red food coloring – Gel gives more vibrant color (I use about 1 Tbsp gel or 2 Tbsp liquid).
- 1 cup (240ml) buttermilk – Room temp! If you’re out, make your own with milk + 1 Tbsp vinegar.
For the Frosting
- 16 ounces (452g) full-fat brick cream cheese – Not the spreadable kind! Must be cold when you start beating it – learned that from my cream cheese banana bread experiments.
- 3/4 cup (12 Tbsp; 170g) unsalted butter – Softened but still cool to the touch.
- 5 cups (600g) confectioners’ sugar – Sifted if it’s lumpy.
- 1 1/2 teaspoons pure vanilla extract – That extra half teaspoon makes all the difference.
- Pinch of salt – Just a tiny bit to balance the sweetness.
See? Nothing too fancy – just good, honest ingredients treated right. Now let’s make some magic!
How to Make Red Velvet Layer Cake with Cream Cheese Frosting
Alright, let’s get baking! I know layer cakes can seem intimidating, but I promise this one comes together like a dream if you follow these steps. I’ve made every mistake possible with this recipe (hello, lopsided cakes and runny frosting!), so you don’t have to. Just take it slow and enjoy the process – that’s half the fun!
Preparing the Cake Layers
First things first – preheat that oven to 350°F (177°C). While it’s heating up, grease two 9-inch cake pans, line the bottoms with parchment rounds, and grease the parchment too. This is my foolproof method to prevent sticking – learned it after one too many cake disasters!
Now, whisk together your dry ingredients – flour, baking soda, cocoa powder, and salt – in a big bowl. Set this aside while you work on the wet ingredients. In your mixer, beat the butter and sugar until they’re just combined (about 1 minute). Scrape down the sides – this is important for even mixing!
Add the oil, egg yolks (save those whites!), vanilla, and vinegar. Beat this on high for a full 2 minutes – don’t skimp here! The mixture should look light and fluffy. Now, with the mixer on low, alternate adding the dry ingredients and buttermilk in batches. Stop when everything’s just combined – overmixing makes tough cake!
Here’s the fun part – stir in your food coloring until you get that perfect holiday red. Now, take those reserved egg whites and beat them until stiff peaks form (about 3 minutes). Gently fold them into the batter – this gives the cake its amazing lightness. Divide the batter evenly between your prepared pans and bake for 30-32 minutes. The cakes are done when they spring back when touched and a toothpick comes out clean. Let them cool completely in the pans – patience is key!
Making the Cream Cheese Frosting
While your cakes cool, let’s make that dreamy frosting. Start with cold cream cheese and softened butter – this combo gives the perfect texture. Beat them together on medium-high until completely smooth (about 2 minutes). Now, gradually add the powdered sugar – I do this in 3 batches to avoid a sugar cloud in my kitchen! Add the vanilla and pinch of salt, then beat on low for 30 seconds before cranking it up to high for 3 minutes. You’ll know it’s ready when it’s fluffy and holds its shape. If it’s too soft, pop it in the fridge for 15 minutes – this trick saved me when I made my velvet lemon roll cake last Easter!
Assembling the Cake
Time for the grand finale! Level your cooled cake layers by slicing off any domed tops – this keeps your cake from looking like the Leaning Tower of Pisa. Place one layer on your cake stand and spread a generous amount of frosting on top. Carefully add the second layer and frost the top and sides. Don’t stress about perfection – rustic looks charming! Chill for at least 30 minutes before slicing – this helps the flavors meld and makes cleaner cuts. Now step back and admire your masterpiece!
Tips for the Perfect Red Velvet Layer Cake with Cream Cheese Frosting
After dozens of red velvet cakes (and a few kitchen disasters!), I’ve learned all the tricks to make yours perfect. Listen up, because these little secrets make all the difference between good and “oh-my-goodness-I-need-the-recipe” amazing:
- Gel food coloring is your friend – That vibrant red color? You’ll need gel food coloring to achieve it. Liquid works, but you’ll need twice as much and might get a pink cake instead of that classic deep crimson. I learned this one Christmas when my “red” cake looked more like Santa’s blush!
- Room temp isn’t optional – Cold ingredients don’t blend well. Take the time to let your butter, eggs, and buttermilk sit out – trust me, your batter will be smoother and your cake texture will thank you.
- The toothpick can lie – Pull the cake out when it springs back to a gentle touch and the edges just start pulling from the pan. A toothpick should have moist crumbs, not wet batter. Overbaking is the quickest way to dry out this beauty.
- Chill time is magic – I know it’s hard to wait, but refrigerating the frosted cake for at least 30 minutes makes slicing cleaner and lets the flavors marry. Funny story – one impatient nephew learned this when his “just one bite!” turned into a frosting-covered nose!
- Frosting too soft? – If your cream cheese frosting seems runny, don’t panic! Just chill the mixing bowl for 15 minutes before continuing to beat. Works every time.
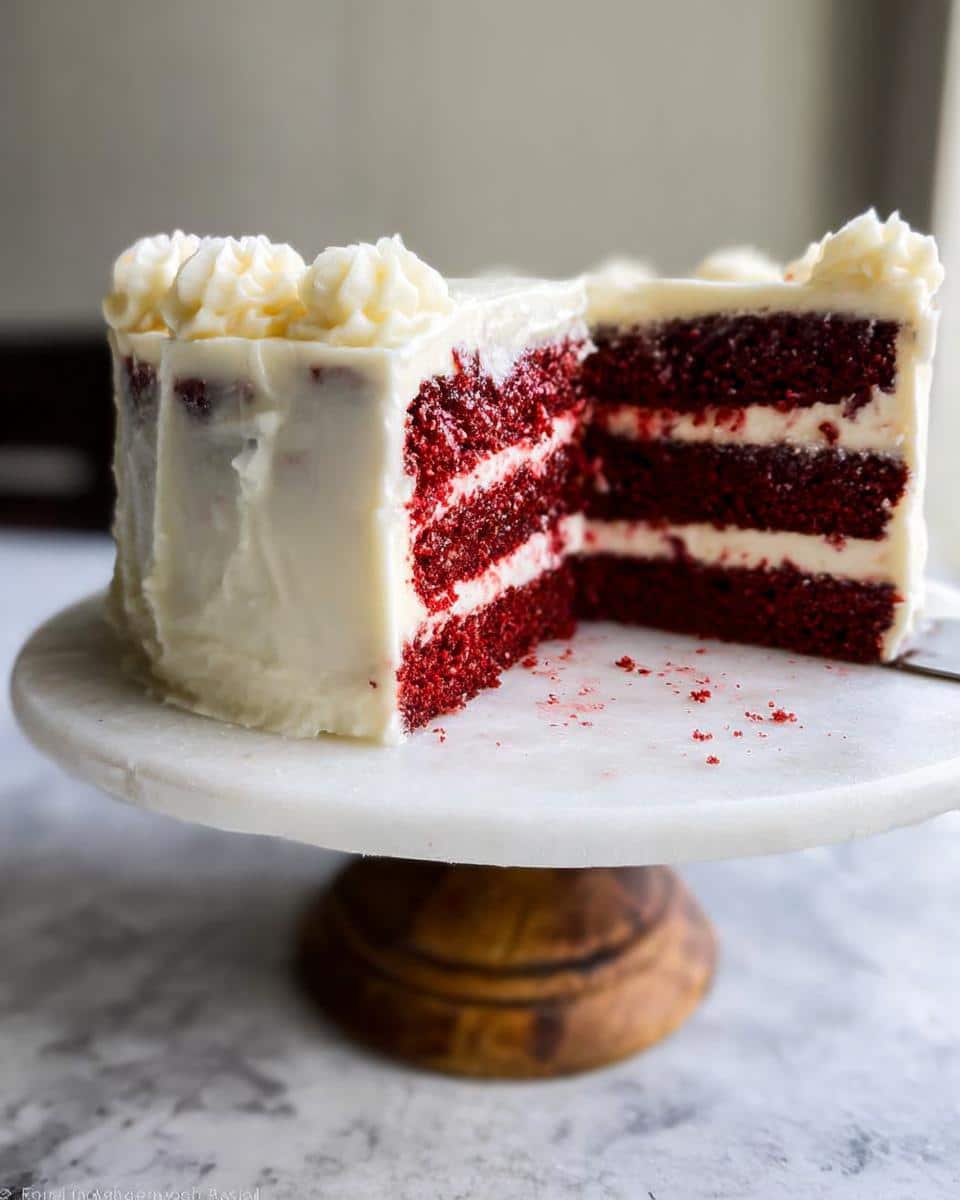
- Slice with a hot knife – For picture-perfect slices, run your knife under hot water and wipe dry between cuts. Those clean red-and-white layers will be Instagram-ready!
Remember, baking is about joy, not perfection. Even if your layers tilt a little or the frosting isn’t smooth, that first bite of creamy, moist deliciousness will make it all worthwhile. Now go make some holiday magic!
Common Questions About Red Velvet Layer Cake with Cream Cheese Frosting
Over the years, I’ve gotten so many questions about this cake – and I love helping fellow bakers get it just right! Here are the answers to the ones I hear most often:
Can I use liquid food coloring instead of gel?
You absolutely can, but you’ll need about twice as much (around 2 tablespoons) to get that signature holiday red. Gel gives more vibrant color without thinning your batter, but in a pinch, liquid works fine. Just add it slowly until you get the shade you want!
How should I store leftovers?
This cake keeps beautifully in the fridge for up to 5 days thanks to that cream cheese frosting. Cover it loosely with plastic wrap or store in an airtight container. Let slices come to room temperature for 15 minutes before serving – that frosting tastes best when it’s not ice-cold!
Can I freeze this cake?
Yes! Freeze unfrosted cake layers wrapped tightly in plastic for up to 3 months. Thaw overnight in the fridge before frosting. You can also freeze the frosted cake – just know the texture might change slightly. Perfect for holiday baking prep when you’re short on time!
Why did my cake turn out pink instead of red?
Oh honey, I’ve been there! This usually happens when the cocoa powder isn’t fully incorporated or you didn’t use enough food coloring. Next time, whisk your cocoa thoroughly into the dry ingredients and don’t be shy with that red gel – it should look almost alarmingly red before baking!
Can I make this into cupcakes?
Absolutely! This batter makes about 24 perfect holiday cupcakes. Bake at 350°F for 18-20 minutes and frost when completely cool. They’re adorable for Christmas parties and make great edible gifts too!
Got more questions? Drop them in the comments – I love talking cake almost as much as I love eating it!
Serving and Storing Red Velvet Layer Cake with Cream Cheese Frosting
Now let’s talk about keeping this beauty fresh and serving it up right! That cream cheese frosting means this cake needs to live in the fridge – trust me, I learned this the hard way after leaving one out overnight (let’s just say it wasn’t pretty). But don’t worry, I’ve got all the tips to keep your cake tasting amazing for days.
First things first – always refrigerate your cake after frosting. It’ll stay fresh for up to 5 days if you cover it loosely with plastic wrap or store it in an airtight container. When you’re ready to serve, let it sit at room temperature for about 15 minutes first. That little wait makes all the difference – the flavors bloom and the frosting softens just enough to melt in your mouth!
For special occasions, I love serving this with hot coffee or spiced apple cider – the warmth plays off the cake’s richness perfectly. And if you’re feeling fancy, a dusting of cocoa powder or some fresh raspberries on the side make it extra festive. Leftovers? (As if!) They make the best midnight snack – just ask my husband who “accidentally” eats half the cake while I’m sleeping!
Want to get ahead for the holidays? You can freeze unfrosted cake layers wrapped tightly in plastic for up to 3 months. Thaw them overnight in the fridge before frosting. The frosted cake freezes well too – just know the texture might change slightly when thawed. Either way, you’ll be glad you have this beauty ready when company comes knocking!
Nutritional Information
Now, let’s be real – we’re not eating red velvet cake for its health benefits! But since you asked, here’s the scoop: these numbers are just estimates based on standard ingredients. Your actual cake might vary depending on brands and how generous you are with that frosting (no judgment here!).
Remember, this is celebration food – meant to be enjoyed with loved ones, not counted in macros. So grab a slice, savor every bite, and save the calorie counting for January!
Print
Red Velvet Layer Cake with Cream Cheese Frosting
- Total Time: 1 hour 2 min
- Yield: 12 servings 1x
- Diet: Vegetarian
Description
A classic red velvet cake with layers of cream cheese frosting, perfect for holidays and special occasions.
Ingredients
- 3 cups (360g) cake flour (spooned & leveled)
- 1 teaspoon baking soda
- 2 Tablespoons (10g) unsweetened natural cocoa powder
- 1/2 teaspoon salt
- 1/2 cup (8 Tbsp; 113g) unsalted butter, softened to room temperature
- 2 cups (400g) granulated sugar
- 1 cup (240ml) canola or vegetable oil
- 4 large eggs, room temperature and separated
- 1 Tablespoon pure vanilla extract
- 1 teaspoon distilled white vinegar
- liquid or gel red food coloring
- 1 cup (240ml) buttermilk, at room temperature
- 16 ounces (452g) full-fat brick cream cheese, softened to room temperature
- 3/4 cup (12 Tbsp; 170g) unsalted butter, softened to room temperature
- 5 cups (600g) confectioners’ sugar
- 1 and 1/2 teaspoons pure vanilla extract
- pinch of salt, to taste
Instructions
- Preheat oven to 350°F (177°C). Grease two 9-inch cake pans, line with parchment paper rounds, then grease the parchment paper.
- Whisk the flour, baking soda, cocoa powder, and salt together in a large bowl. Set aside.
- Beat the butter and sugar together on medium-high speed until combined, about 1 minute. Scrape down the sides of the bowl.
- Add the oil, egg yolks, vanilla extract, and vinegar and beat on high for 2 minutes. Set the egg whites aside.
- With the mixer on low speed, add the dry ingredients in 2-3 additions alternating with the buttermilk. Beat in food coloring just until combined.
- Whisk or beat the 4 egg whites on high speed until fluffy peaks form, about 3 minutes. Gently fold into cake batter.
- Divide batter between cake pans. Bake for 30-32 minutes or until the tops spring back when touched and a toothpick comes out clean.
- Cool cakes completely in the pans on a wire rack.
- Beat the cream cheese and butter together on medium-high speed until smooth, about 2 minutes.
- Add the confectioners’ sugar, vanilla extract, and a pinch of salt. Beat on low speed for 30 seconds, then increase to high speed and beat for 3 minutes.
- Slice a thin layer off the tops of the cakes to create a flat surface.
- Place 1 cake layer on your cake stand. Evenly cover the top with frosting. Top with the second layer and spread remaining frosting all over the top and sides.
- Refrigerate cake for at least 30-60 minutes before slicing.
Notes
- Use gel food coloring for a vibrant red color.
- Ensure all ingredients are at room temperature for best results.
- Store leftover cake in the refrigerator for up to 5 days.
- Prep Time: 30 min
- Cook Time: 32 min
- Category: Dessert
- Method: Baking
- Cuisine: American
Nutrition
- Serving Size: 1 slice
- Calories: 450
- Sugar: 45g
- Sodium: 200mg
- Fat: 25g
- Saturated Fat: 12g
- Unsaturated Fat: 10g
- Trans Fat: 0g
- Carbohydrates: 55g
- Fiber: 1g
- Protein: 5g
- Cholesterol: 90mg
Keywords: red velvet cake, cream cheese frosting, holiday baking, Christmas dessert, layer cake

