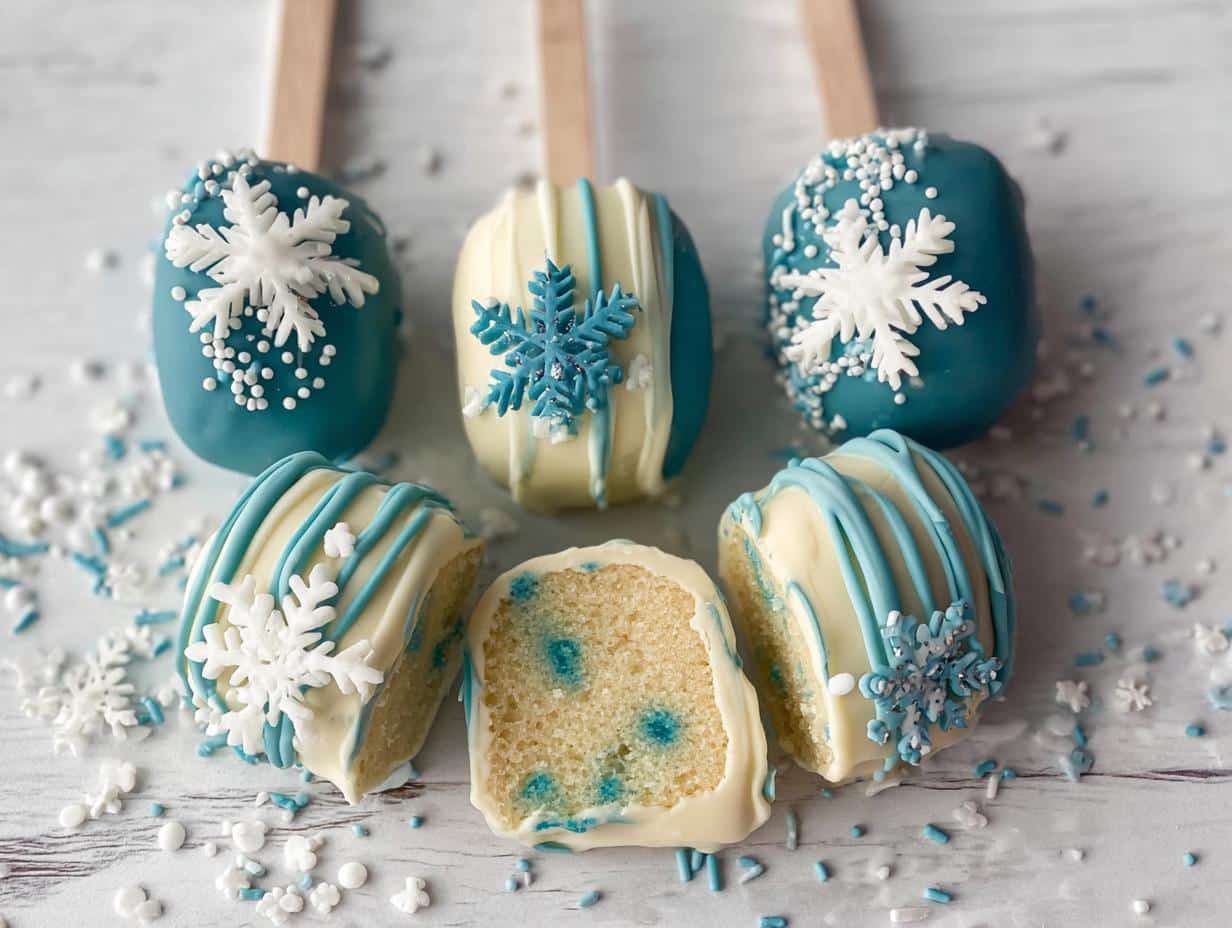
There’s something magical about holiday baking that turns flour, sugar, and sprinkles into cherished memories. My family’s Winter Wonderland Cake Pops have become our sweet little tradition – tiny edible snow globes that bring out everyone’s creativity. Last December, my kitchen looked like Santa’s workshop exploded when my niece and I made our first batch. Blue and white chocolate dripped everywhere, snowflake sprinkles covered the counter, and our laughter mixed with the scent of melting almond bark. These festive treats aren’t just delicious – they’re invitations to slow down and savor the season’s joy. Whether you’re making them for a holiday party or just because, these cake pops capture that winter wonderland feeling in every bite. Check out more of our favorite Christmas baking ideas to keep the holiday spirit going!
Why You’ll Love These Winter Wonderland Cake Pops
Trust me, these aren’t your average cake pops – they’re little bites of holiday magic! Here’s why they’ve become my family’s favorite winter tradition:
- So easy even Santa could make them – With just a few simple ingredients and no baking required, you’ll have these ready faster than you can say “snow day”
- Kid-approved fun – My little ones go wild decorating these (though fair warning – you might find blue sprinkles in unexpected places for weeks!)
- The perfect edible gift – Tied with a ribbon in a cute box, they make neighbors feel like you’ve given them a tiny winter wonderland
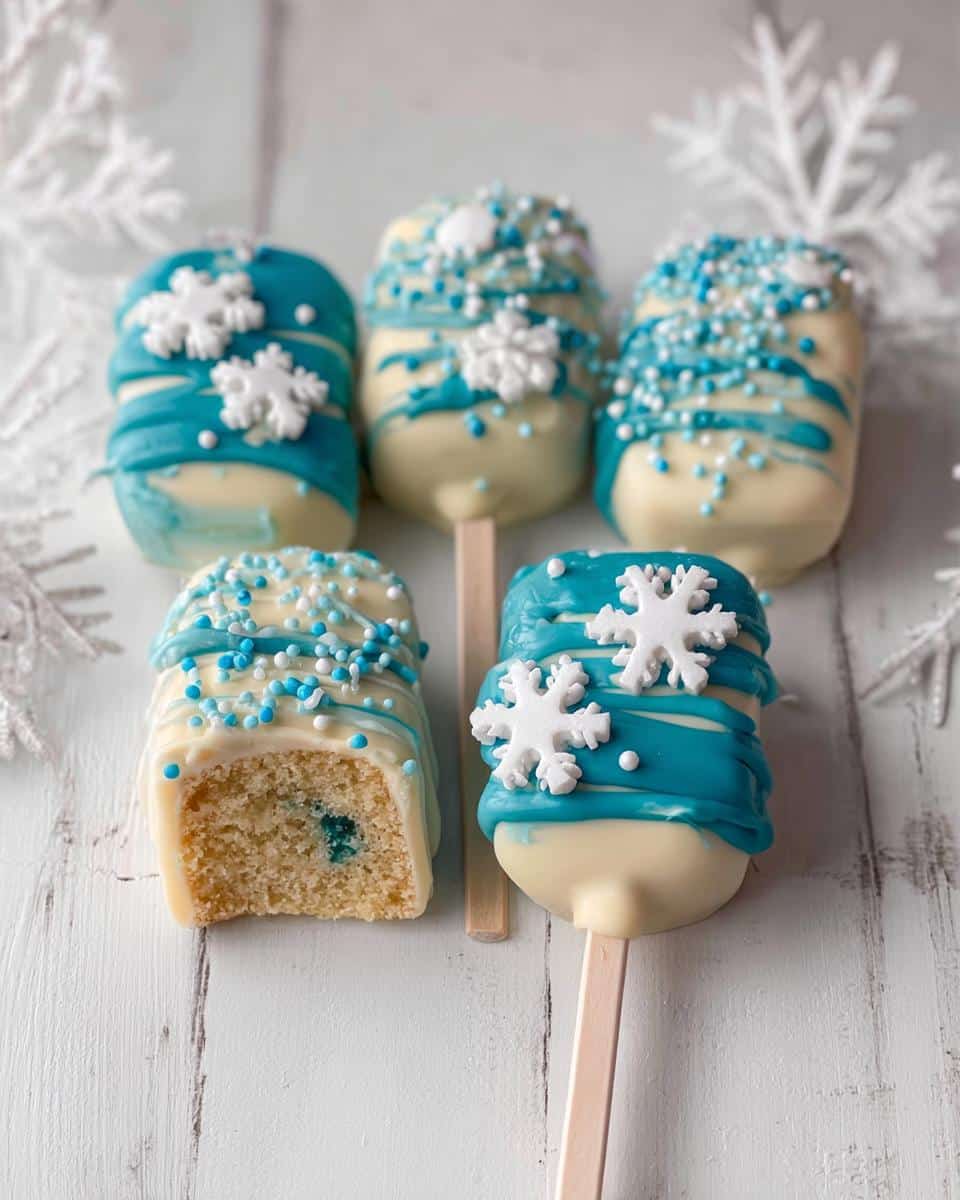
- Insta-worthy cuteness – That gorgeous blue-and-white swirl with delicate snowflakes? Pure holiday eye candy that’ll have everyone asking for your secret
Really though, the best part is how they turn an ordinary afternoon into something special. Last year, my daughter declared them “too pretty to eat” – for about three whole minutes!
Ingredients for Winter Wonderland Cake Pops
One of the best things about these cake pops? You likely have most of these ingredients already! Here’s everything you’ll need to create your own edible snow globes:
- 16 oz pound cake, crumbled (store-bought works great, but if you’re feeling ambitious, try my grandma’s secret pound cake recipe)
- 1/4 cup vanilla icing (the creamy glue that holds it all together)
- 1/4 cup blue candy melts, melted (I prefer the light blue shade – it looks just like frozen pond ice)
- 1/4 cup white almond bark or candy coating, melted (this creates that gorgeous snowy effect)
- 6 popsicle sticks (I always grab extra – someone inevitably “tests” one before decorating!)
- Snowflake sprinkles (the bigger the better – they really sell that winter wonderland vibe)
That’s it! Simple ingredients that transform into something truly magical. Keep everything at room temperature before starting – except the candy melts, which we’ll melt later. Now let’s make some snowy magic!
How to Make Winter Wonderland Cake Pops
Okay, let’s get messy and magical! Making these cake pops is easier than building a snowman – promise. Just follow these steps, and you’ll have edible winter wonders in no time:
- Crumble that cake! Break your pound cake into tiny pieces in a big bowl – think snowflake-sized crumbs. Mix in the vanilla icing until it sticks together like wet snow. Pro tip: Wash your hands and mix with your fingers – it’s way more fun and gets the perfect sticky texture.
- Melt with care. Pop your almond bark in the microwave, but listen up – do 30-second bursts, stirring each time. After 1 minute, check if it’s smooth like fresh ice. If you see lumps, give it 10 more seconds (but no more – burnt chocolate is sad chocolate).
- Create your shells. Pour melted white chocolate into your mold or bowl, then tilt to coat the sides. Add more if needed to cover the center – you want a good thick layer so your pops don’t crack when you bite in!
- Stick it in! Insert popsicle sticks straight into the chocolate-filled molds. Freeze for 15 minutes – perfect time to clean up sprinkles or taste-test your leftover cake mixture.
- Fill ’em up. Portion your cake mixture into the molds, pressing gently so you don’t break your beautiful chocolate shells. Top with more melted chocolate to seal the deal.
- Final freeze. Back in the freezer for 5 minutes – just enough time to melt your blue candy coating. When you pull them out, they should slide right out of the mold like ice cubes from a tray!
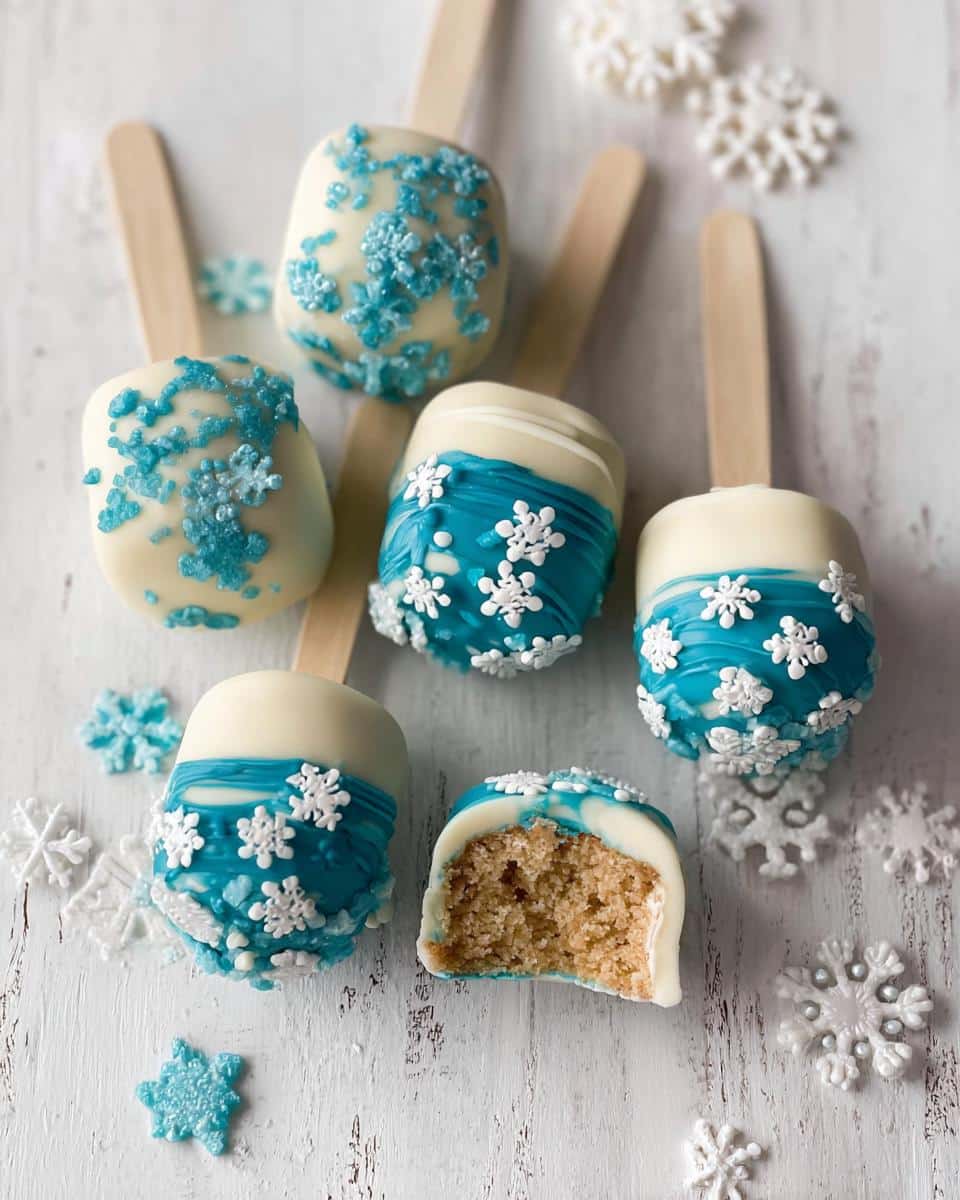
Now the real fun begins – decorating! Check out these festive chocolate techniques if you want to get fancy with your designs.
Decorating Your Winter Wonderland Cake Pops
This is where your cake pops transform from tasty to totally magical! Here’s how we make ours look like they fell straight from the North Pole:
First, melt your blue candy melts until they’re smooth as a frozen pond. Use a piping bag (or ziplock with the corner snipped) to drizzle blue “icicles” across your white pops. Work fast – you’ve got about 30 seconds before the chocolate starts to set!
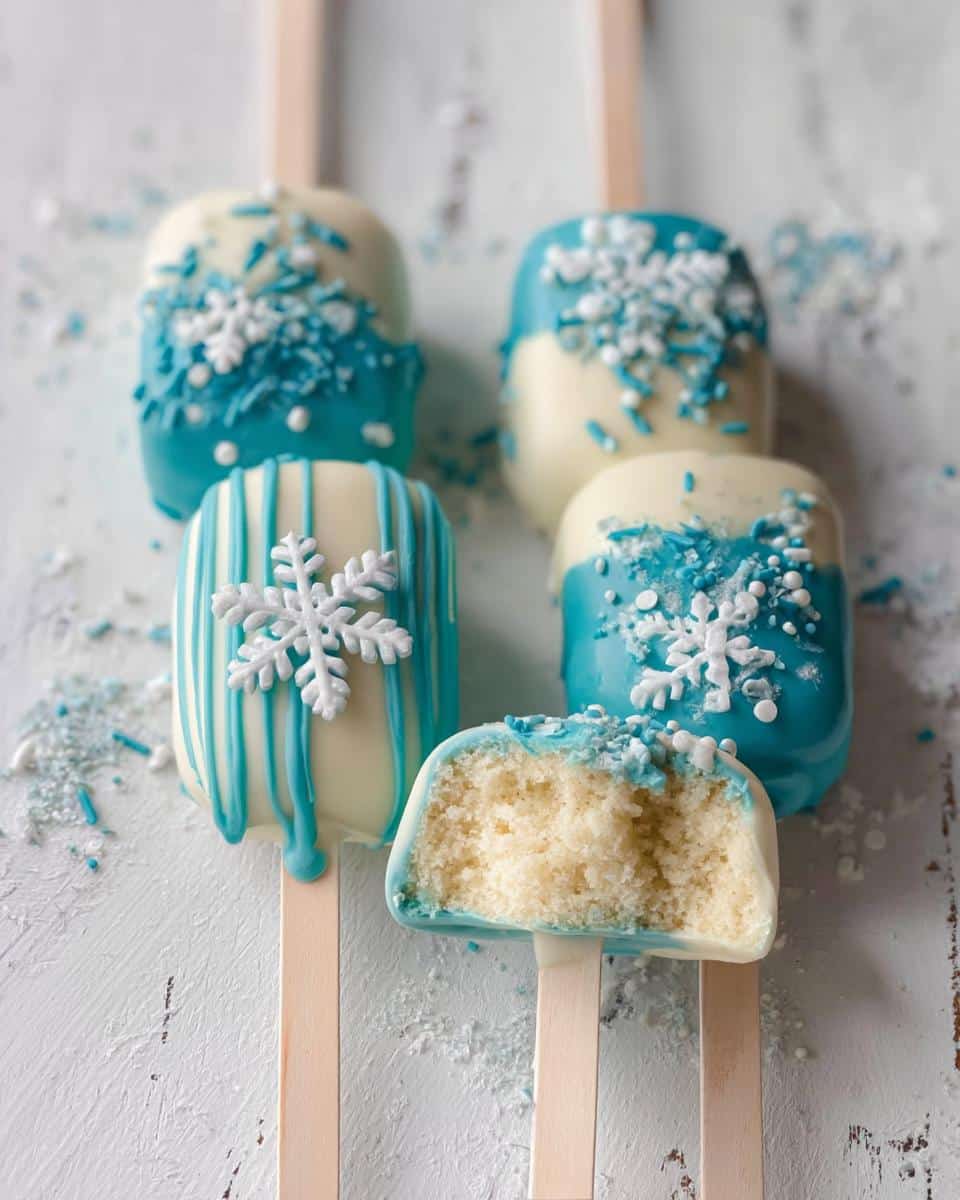
Now grab those snowflake sprinkles. Toss them on immediately after piping while the chocolate’s still sticky. My kids love making patterns – some pops get just a few delicate flakes, others get completely “snowed on.” No rules here!
The secret? Have all your sprinkles and toppings ready before you start decorating. Once that chocolate starts hardening, those sprinkles won’t stick. Trust me, I’ve learned this the messy way!
Let your creations dry for 20-30 minutes (the hardest wait of all). Then stand back and admire your edible winter wonderland – each pop as unique as a real snowflake!
Tips for Perfect Winter Wonderland Cake Pops
After making dozens (okay, maybe hundreds) of these cake pops over the years, I’ve learned all the tricks to keep them from looking like melted snowmen! Here are my secrets:
- Piping bag magic: Don’t try to drizzle blue chocolate with a spoon – it’s messy and uneven. A simple piping bag (or even a ziplock with the corner snipped) gives you those perfect delicate swirls.
- Sprinkle sprint: You’ve got to work faster than kids running to see what Santa left! Add your snowflake sprinkles immediately after dipping or drizzling – chocolate sets fast.
- Crack rescue: If your chocolate shells crack during unmolding, melt a bit extra coating and “glue” them back together like edible spackle.
- Cake pop zen: Remember – imperfect snowflakes are natural! Each pop should look unique like real winter creations.
The biggest tip? Have fun! Even our “ugly duckling” cake pops get devoured happily.
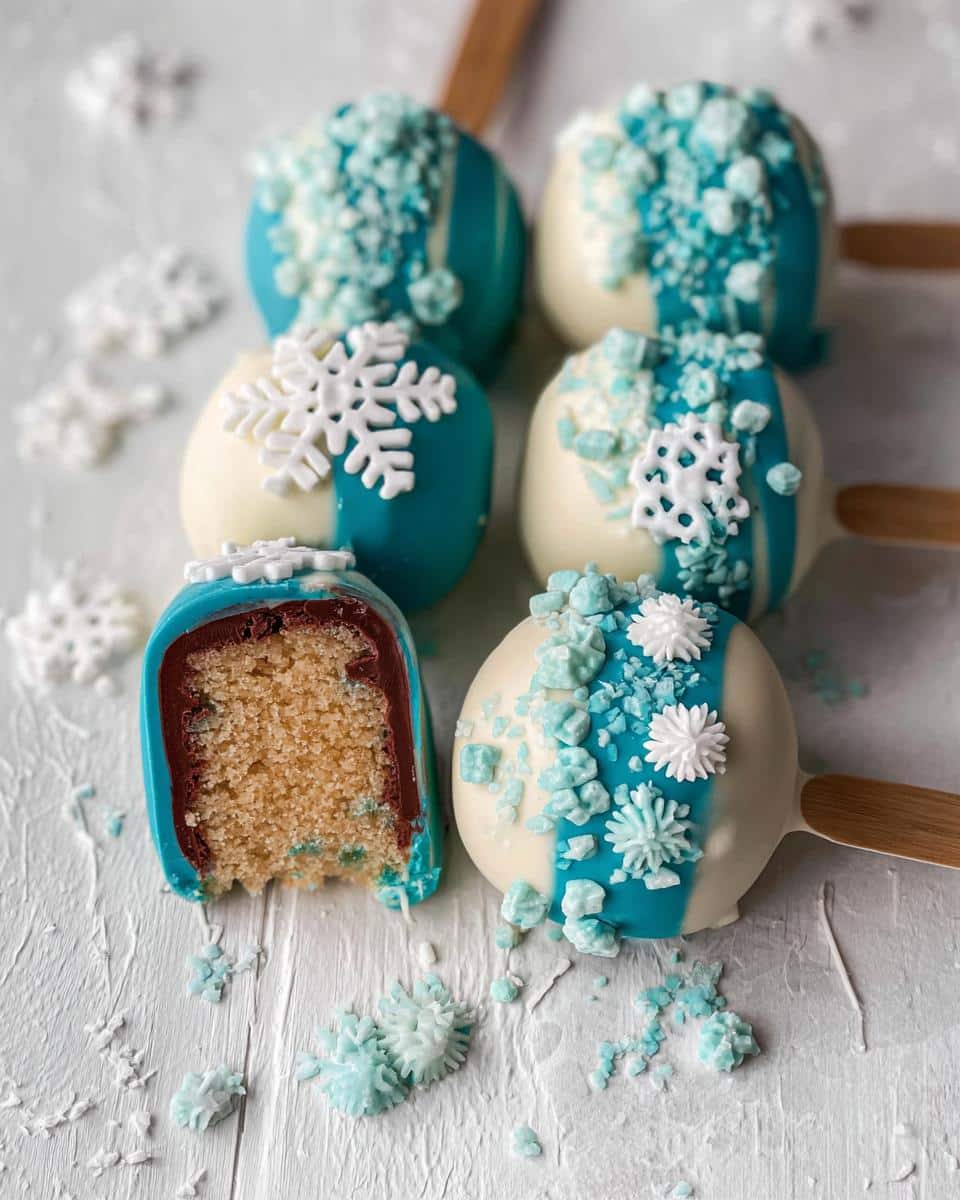
Winter Wonderland Cake Pop Variations
Once you’ve mastered the basics, it’s time to get creative! These cake pops are like blank canvases just waiting for your festive touch. Here are my favorite ways to mix things up:
- Gingerbread magic: Swap the pound cake for gingerbread cake crumbs – the warm spices pair perfectly with the blue and white chocolate. My gingerbread version smells just like Christmas morning!
- Peppermint twist: Add a drop of peppermint extract to your white chocolate drizzle – instant candy cane vibes!
- Edible glitter: A dusting of silver or white edible glitter makes them sparkle like real snow.
- Cocoa snowdrifts: Mix cocoa powder into your cake mixture for chocolate “snow” inside.
The fun part? No two batches ever turn out exactly alike – just like real snowfall!
Serving and Storing Winter Wonderland Cake Pops
Now that you’ve created these adorable edible snow globes, let’s talk about keeping them fresh and showing them off! I always store mine in an airtight container at room temperature – they’ll stay perfect for about 3 days (if they last that long!). For parties, arrange them on a white platter with some edible glitter “snow” underneath – instant winter wonderland centerpiece!
These make the sweetest homemade gifts too. Tuck them into clear cellophane bags tied with silver ribbon, or nestle them in a holiday gift box between layers of tissue paper. Pro tip: Add a little note that says “Keep cool like snowmen!” so recipients know not to leave them in warm places.
Want to make them ahead? You can freeze undecorated cake pops for up to a month! Just wrap them tightly in plastic wrap before freezing, then decorate after thawing. The chocolate might sweat a bit when thawing, so pat them dry gently before adding your final snowy touches.
Winter Wonderland Cake Pop FAQs
I get so many questions about these adorable cake pops – here are the answers to the ones my friends and family ask the most!
Can I use cake mix instead of pound cake?
Absolutely! I’ve had great success with vanilla or white cake mix baked according to package directions. Just crumble it when completely cooled. The texture will be slightly lighter than pound cake, but still delicious. My niece swears by using gingerbread cake mix for an extra festive twist!
How do I prevent cracks in the chocolate shells?
This was my biggest struggle at first! The key is making sure your chocolate isn’t too thick or too thin. I aim for melted chocolate that coats a spoon but still drips off slowly. Also, never pop hot molds straight into the freezer – let them sit at room temp for 2 minutes first to prevent temperature shock.
What are the best sprinkles for snowflakes?
For that perfect winter wonderland look, I adore the larger snowflake-shaped sprinkles – they look so magical! The flat, disc-shaped ones show up best against the blue chocolate. Pro tip: Put sprinkles in a small bowl and gently roll freshly dipped pops to cover them evenly. Just be quick – you’ve got about a 30-second window before the chocolate sets!
Can kids help with decorating?
Oh my goodness, yes! Just set up a “decorating station” with all supplies within reach. I give kids their own pops on lollipop sticks (less messy than the full-size popsicle sticks) and a shallow plate of sprinkles. Warning: You’ll need to embrace the mess, but watching their creativity spark is worth every blue-tinted surface in your kitchen!
How far in advance can I make these?
The undecorated cake pops keep beautifully in the freezer for up to a month when wrapped tightly. Decorated pops are best within 3 days at room temperature. Honestly though? They never last that long in my house – my family devours them like cookies left out for Santa!
Nutritional Information
Just like snowflakes, no two cake pops are exactly alike nutritionally! The values can vary depending on your specific ingredients and decorating choices. For full details, check out our standard nutritional disclaimer. But let’s be real – when you’re enjoying these festive treats with loved ones, the warm memories are what really count!
Print
Winter Wonderland Cake Pops
- Total Time: 30 min
- Yield: 6 cake pops 1x
- Diet: Vegetarian
Description
Festive cake pops decorated with blue and white chocolate, perfect for winter holidays.
Ingredients
- 16 ounce pound cake
- 1/4 cup vanilla icing
- 1/4 cup blue-colored candy melts
- 1/4 cup white almond bark or candy coating
- 6 Popsicle sticks
- Snowflake sprinkles
Instructions
- Crumble the pound cake and mix in the frosting.
- Melt the almond bark in 30-second intervals, stirring each time.
- Check the consistency after 1 minute and adjust melting time as needed.
- Pour the melted candy into the mold or a bowl.
- Spread the candy up the sides of the mold.
- Add more chocolate if needed to cover the center.
- Insert the popsicle sticks evenly and freeze for 15 minutes.
- Remove from the freezer and portion the cake pop dough into the mold.
- Press gently to avoid breaking the chocolate.
- Cover the back with melted chocolate and freeze for another 5 minutes.
- Carefully remove the pops from the mold.
- Decorate with blue chocolate and snowflake sprinkles.
- Let dry for 20-30 minutes before serving.
Notes
- Use a piping bag for precise decoration.
- Work quickly when adding sprinkles before the chocolate sets.
- Prep Time: 20 min
- Cook Time: 10 min
- Category: Dessert
- Method: Freezing
- Cuisine: American
Nutrition
- Serving Size: 1 cake pop
- Calories: 180
- Sugar: 15
- Sodium: 120
- Fat: 8
- Saturated Fat: 5
- Unsaturated Fat: 2
- Trans Fat: 0
- Carbohydrates: 25
- Fiber: 1
- Protein: 2
- Cholesterol: 20
Keywords: winter wonderland cake pops, Christmas cake pops, holiday dessert, chocolate cake pops

