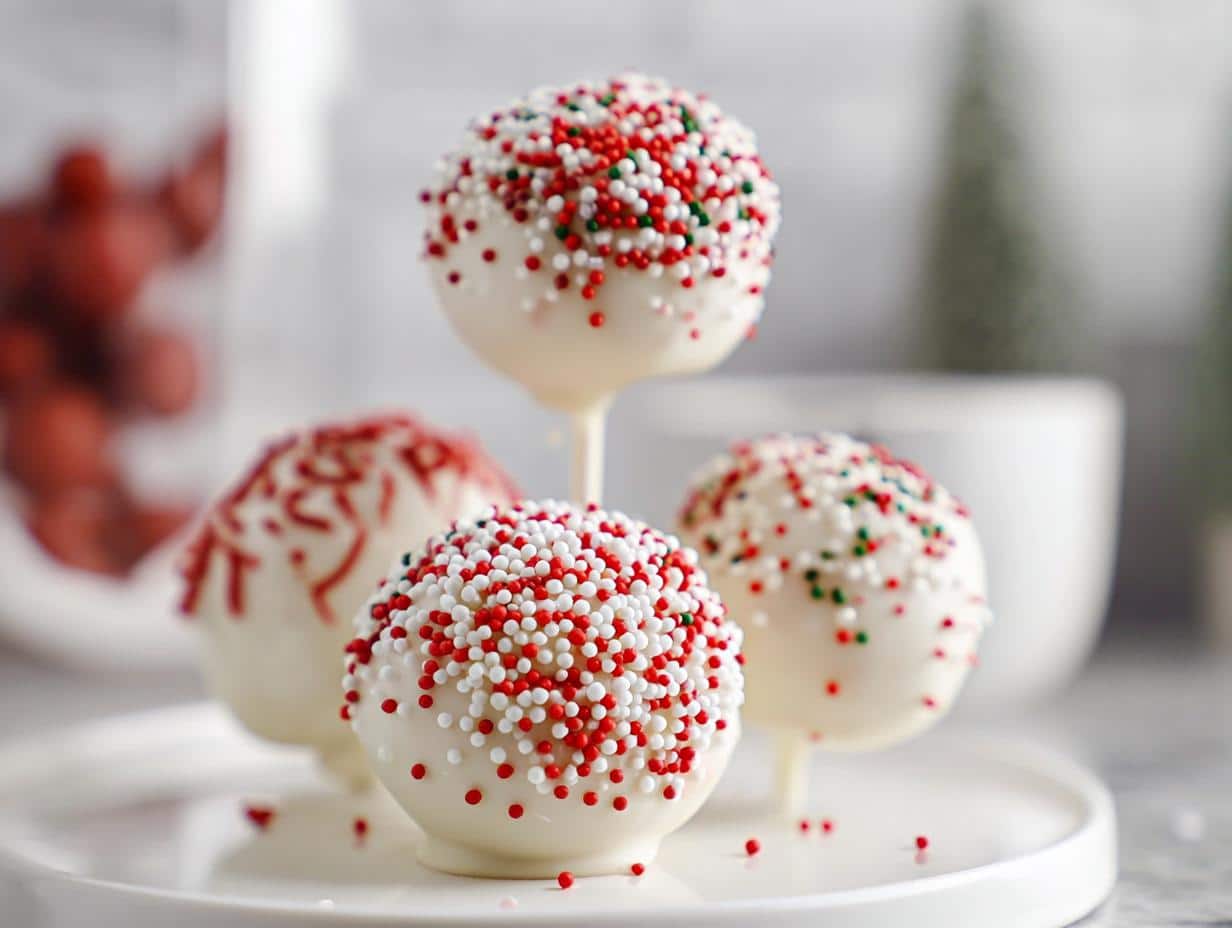
There’s something magical about holiday baking, isn’t there? The warm oven smells, the sparkle of sprinkles, the way even the simplest treats feel special when they’re made with love. My very first batch of classic Christmas cake pops was born during a snowy afternoon with my kids—we were bundled up in our coziest sweaters, laughing as we crumbled vanilla cake into sticky sweetness with our hands. What started as a messy kitchen experiment became one of our favorite December traditions. That’s the thing about these bite-sized wonders: they’re as fun to make as they are to eat! Whether you’re preparing treats for a party, making edible gifts, or just adding some festive cheer to your countertop, this recipe offers pure holiday happiness in every pop. Trust me, once you try your hand at these classic Christmas cake pops, you’ll understand why they’re a staple in our holiday baking lineup. They combine that nostalgic cake-and-frosting flavor with the playful joy that makes Christmas so special—and the best part? They’re delightfully easy, even for beginners.
Why You’ll Love This Classic Christmas Cake Pops Recipe
Oh, where do I even begin? These classic Christmas cake pops are like little bites of holiday joy—and everyone who tries them falls head over heels! Here’s why they’ve become my go-to treat every December:
- So easy, even Santa could do it: With just a boxed cake mix, some frosting, and candy melts, you’re halfway there. No fancy skills required—just rolling, dipping, and sprinkling!
- Kid-approved kitchen fun: My little ones adore helping shape the balls and go wild with the sprinkles. It’s the perfect way to get them involved in holiday baking.
- Instant festive cheer: Red and white candy coating plus glittery sprinkles? These pops scream Christmas without you lifting a piping bag.
- Endlessly customizable: Swap vanilla for chocolate cake, add peppermint extract, or drizzle with green icing—they’re your blank canvas for holiday creativity.
- The sweetest little gifts: Bundle them in cellophane with ribbon, and suddenly you’ve got adorable presents for teachers, neighbors, or your cookie swap crew.
Seriously, these pops are the ultimate crowd-pleaser. One bite of that soft cake center and crisp candy shell, and you’ll see why they disappear faster than rolls of wrapping paper on Christmas morning!
Ingredients for Classic Christmas Cake Pops
One of the things I love most about these classic Christmas cake pops? You probably already have most of these ingredients in your pantry! Here’s everything you’ll need to make about two dozen of these cheerful little treats. And don’t worry – I’ve included some simple swaps so you can adapt based on what you have on hand.
- For the cake:
- 1 box vanilla cake mix (Betty Crocker or your favorite brand)
- Ingredients listed on cake mix box (usually eggs, water, and vegetable oil)
- For the frosting:
- ⅓ cup vanilla ready-made frosting (like Betty Crocker – just the creamy white part, not the whipped kind)
- For decorating:
- ½ bag (12 oz) white candy melts
- ½ bag (12 oz) red candy melts
- Assorted festive sprinkles (I adore the multi-colored nonpareils, but you do you!)
Now, let’s talk substitutions because life happens! If you can’t find candy melts, almond bark works beautifully. Out of vanilla cake mix? Chocolate works great too – and makes them look extra festive dipped in white chocolate! And here’s my favorite shortcut: if you’ve got leftover cake sitting around from another holiday baking project, this is a perfect way to give it new life (just skip to crumbling it with frosting). Prefer homemade? By all means use your favorite from-scratch cake recipe – I won’t tell!
The key is having fun with it. My daughter once swapped in strawberry cake mix and pink sprinkles for a winter wonderland theme, and you know what? They were adorable. That’s the magic of cake pops – they’re wonderfully forgiving!
How to Make Classic Christmas Cake Pops: Step-by-Step
Alright, let’s dive into the fun part! Making classic Christmas cake pops is like building a little holiday project—one delicious step at a time. I’ll walk you through each stage, sharing all my favorite tricks to make sure your pops come out picture-perfect. Don’t worry if your first few look a little wonky—mine certainly did! The beauty of these treats is that even the imperfect ones taste amazing.
Preparing the Cake Base for Your Classic Christmas Cake Pops
First things first—we need cake! Bake your vanilla cake mix according to the package directions in a 9×9-inch pan (or two 8-inch rounds if that’s what you’ve got). Here’s my secret: slightly underbake it by about 2 minutes for extra moistness—just until the edges pull away from the pan but the center still springs back gently. Let it cool completely on a wire rack—I know it’s tempting to rush this part, but trust me, warm cake crumbles into mush rather than perfect crumbs.
Shaping and Dipping Your Classic Christmas Cake Pops
Now for the messy fun! Crumble the cooled cake into a large bowl—I use my hands because it’s therapeutic, but a fork works too. Mix in the frosting until it resembles damp sand that holds together when squeezed. Pop this mixture in the freezer for 15 minutes—this makes rolling so much easier. Use a cookie scoop or tablespoon to portion, then roll between your palms into smooth balls (about 1-inch diameter). Freeze them again for 30 minutes—this prevents crumbling when we dip them!
- Melt your candy melts in 30-second intervals in the microwave, stirring between each until smooth. Pro tip: Add a teaspoon of coconut oil to thin it for easier dipping.
- Insert the sticks by dipping one end in melted candy, then pushing it halfway into a cake ball. Freeze for 5 minutes to set—this “glues” the stick in place.
- Dip time! Hold a cake pop by the stick and dunk it straight down into the melted candy, swirling gently to coat. Lift straight up while rotating to let excess drip off—don’t shake it or you’ll risk losing the pop!
- Decorate immediately with sprinkles before the coating sets. Stick the pops upright in a styrofoam block or festive mug filled with sugar to dry.
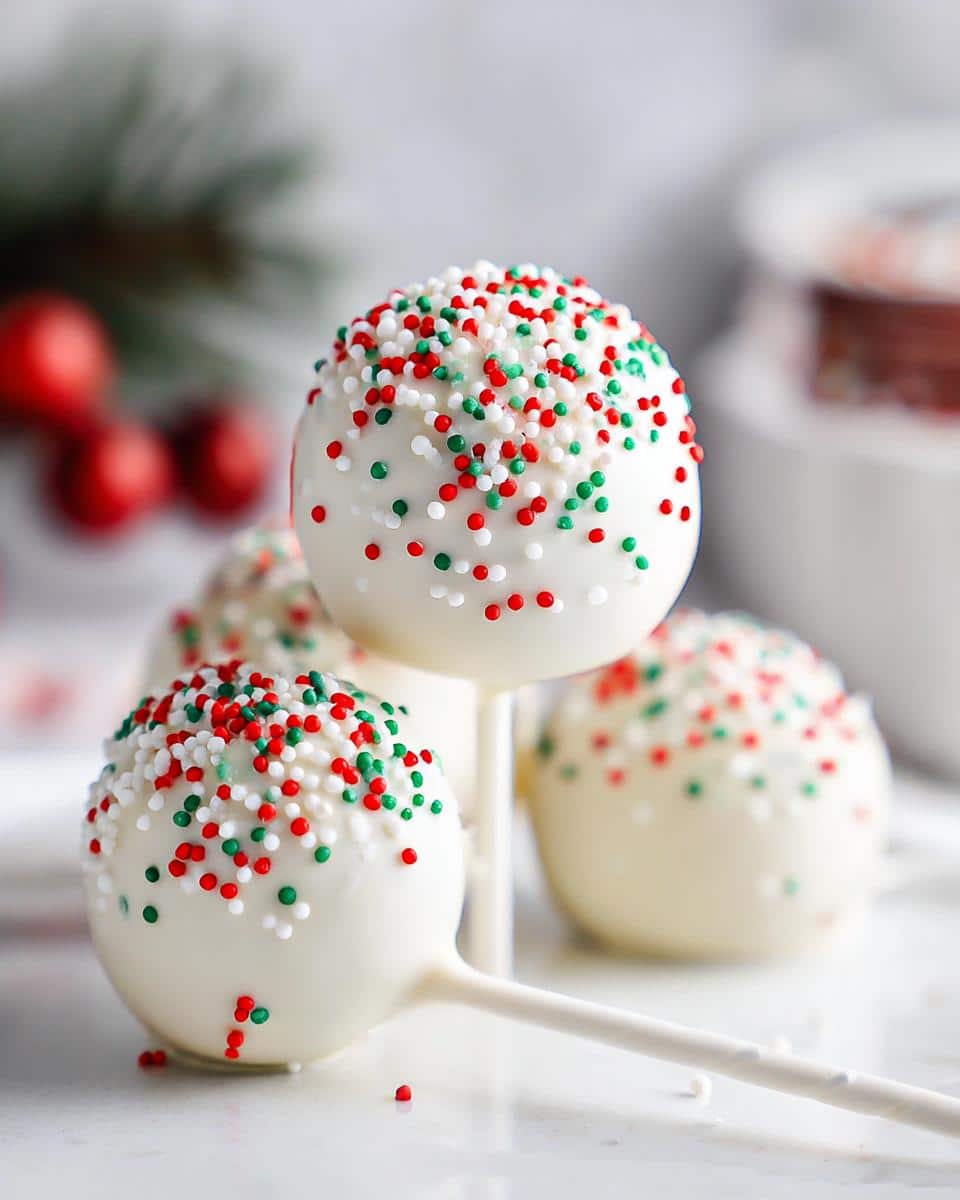
See? Each step is simple when you take it one at a time. The key is keeping everything chilled—it makes the process so much smoother. And remember, even if some pops look a little lopsided, they’ll still disappear faster than holiday cookies at a party!
How to Make Classic Christmas Cake Pops: Step-by-Step
Alright, let’s get our hands sticky—this is where the holiday magic happens! I still remember my first time making classic Christmas cake pops, staring at that bowl of crumbled cake and wondering how it would ever turn into those perfect little balls you see in bakeries. But trust me, with these simple steps, you’ll be a cake pop pro in no time. I’ve included all my hard-earned tricks to help you avoid the pitfalls I stumbled through!
Preparing the Cake Base for Your Classic Christmas Cake Pops
First up—baking our canvas! Mix and bake your vanilla cake as directed on the box, but here’s my little secret: pull it out 2 minutes early for extra moistness. You’ll know it’s ready when the edges pull away slightly but the center still springs back when gently pressed. Let it cool completely—I usually leave mine for at least an hour. Rushing this step is the biggest mistake new bakers make (I learned that the hard way!). Once cool, crumble it into fine pieces in a big bowl—I love using my fingers for this part, though a fork works if you want less mess.
Shaping and Dipping Your Classic Christmas Cake Pops
Now for the fun part! Mix in the frosting until it holds together like Play-Doh—add a teaspoon more if needed. Here’s a game-changer: chill the mixture for 15 minutes before rolling. This makes the dough so much easier to handle. Roll into 1-inch balls (a small cookie scoop helps keep them uniform) and place on a lined baking sheet. Freeze for 30 minutes—this prevents crumbly disasters when dipping later!
- Melt your candy in 30-second bursts, stirring between each until silky smooth. If it’s too thick, add a teaspoon of coconut oil—it makes dipping a dream.
- Insert sticks by dipping one end in melted candy and pushing it halfway into a chilled cake ball. The candy acts as glue! Freeze for 5 more minutes to set.
- The big dip! Hold a pop by the stick and submerge it straight down into the melted candy. Gently swirl to coat, then lift straight up while rotating—don’t shake or your pop might take a swim!
- Decorate fast with sprinkles before the coating sets. Then anchor pops upright in styrofoam or a sugar-filled mug to dry completely.
- Optional glam Once dry, drizzle with contrasting melted candy for extra holiday sparkle—I love white on red or gold on white!
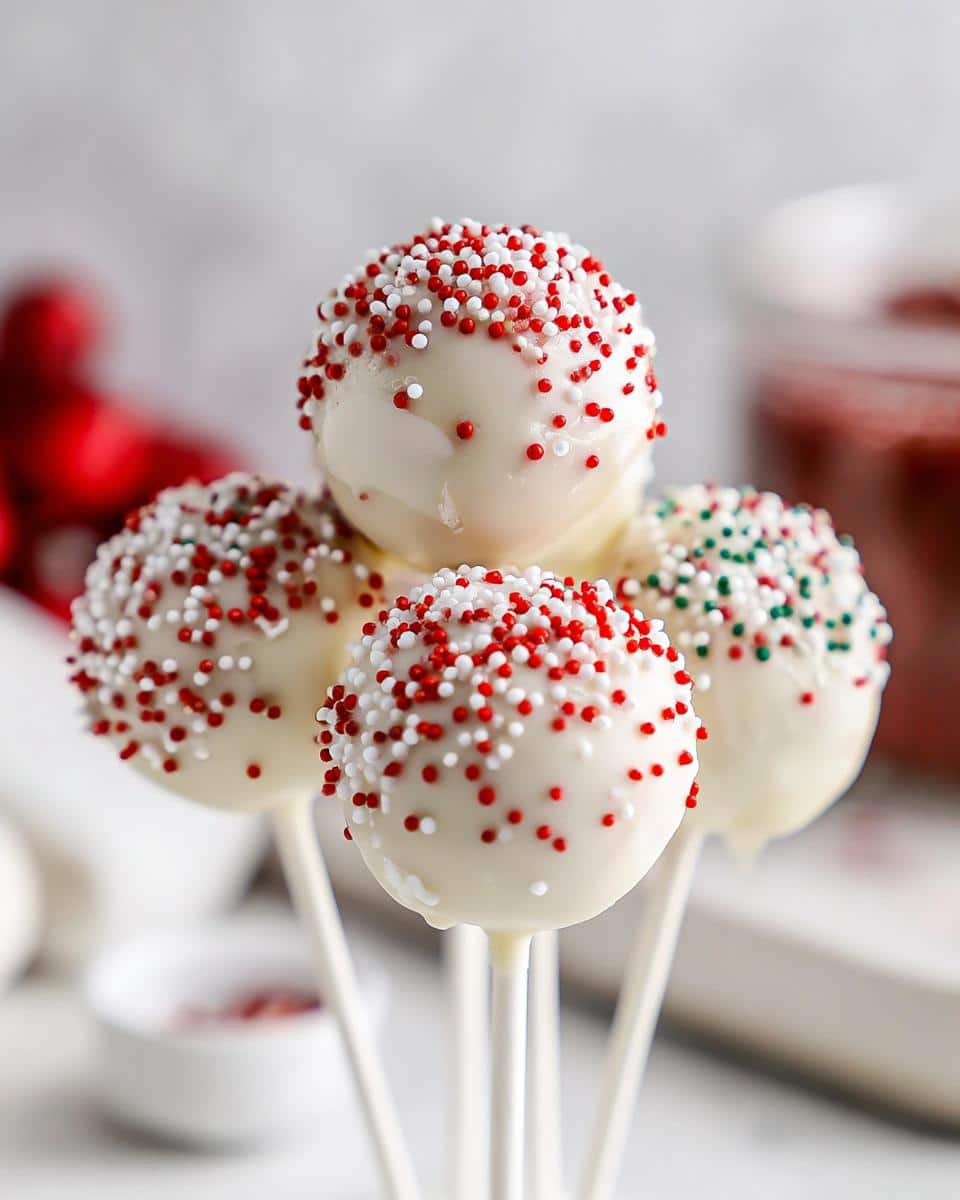
See? Each step is simple when you take it slow. And don’t stress about perfection—my first batch looked like snowmen after a meltdown, but they tasted like Christmas joy! The secret is keeping everything chilled and moving with confidence during the dip. Before you know it, you’ll have a forest of adorable cake pops ready to delight everyone at your holiday table.
Pro Tips for Perfect Classic Christmas Cake Pops
After making hundreds of these little holiday gems (and yes, plenty of hilarious disasters along the way), I’ve learned a few secrets that’ll take your cake pops from “oh no” to “ho ho ho!” Here are my can’t-live-without tips:
- Chill like it’s winter: That cake mixture needs serious freezer time—15 minutes before rolling, 30 minutes after shaping, and 5 minutes after inserting sticks. Cold dough means no crumbly mess!
- Melt with patience: Candy melts burn easily. Microwave in 30-second bursts, stirring well between each. If it gets too thick, add a smidge of coconut oil to thin it.
- Stick the landing: Dip your lollipop stick in melted candy first—this “glues” it to the cake ball so your pop won’t take a dive later.
- Sprinkle with strategy: Hold your pop over a bowl when adding sprinkles—they’ll catch the extras so you can reuse them. And work fast before the coating sets!
- Dip with confidence: Submerge your pop straight down, give it one smooth swirl, then lift straight up while rotating gently. No shaking—that’s how cake balls go swimming!
- Dry upside down: If your pops keep sliding down sticks, try letting them dry upside down on parchment first, then attach sticks after the base sets.
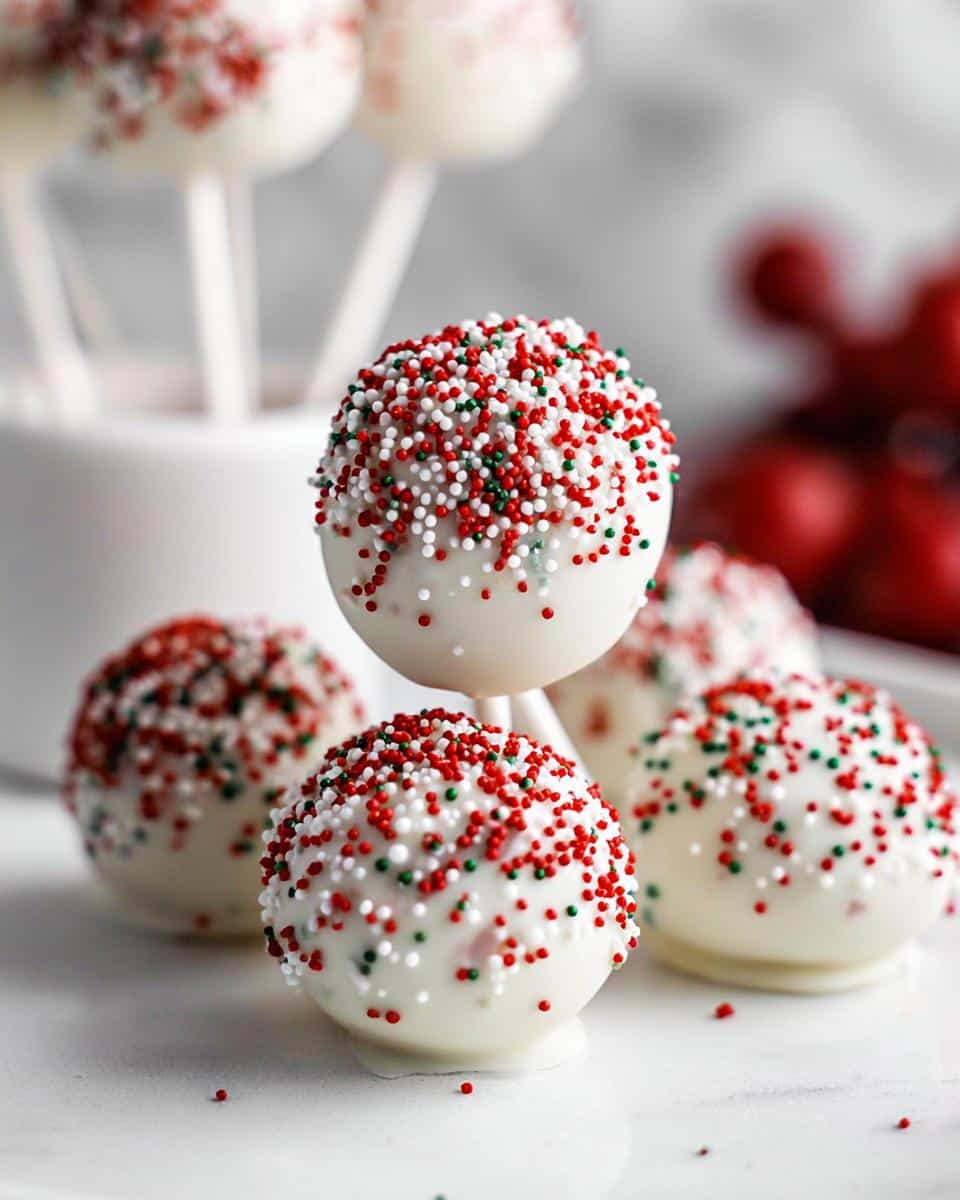
Remember, even the “ugly” ones taste amazing—my family calls those the “taste testers” and fights over them! With these tricks, you’ll be turning out picture-perfect pops in no time.
Creative Variations for Classic Christmas Cake Pops
Once you’ve mastered the basic classic Christmas cake pops, the real fun begins—playing with flavors and decorations! I love how these little treats become edible holiday canvases. Here are some of my favorite ways to mix things up when I’m feeling extra festive:
- Gingerbread spice: Swap the vanilla cake for gingerbread mix (or add 1 tsp each cinnamon, ginger, and cloves to your batter). Dip in white chocolate and dust with gold sprinkles—they look like little snow-dusted ornaments! For full gingerbread magic, check out my special gingerbread version.
- Chocolate peppermint: Use chocolate cake mix and add ½ tsp peppermint extract to the frosting. Dip in red candy melts and crush candy canes on top—the perfect winter flavor combo!
- Snowflake design: After dipping in blue or white candy, pipe delicate snowflakes with royal icing. Edible silver dust makes them shimmer like real ice crystals.
- Holly berry pops: Shape some balls slightly oval, dip in green candy, and add three red sprinkle “berries” with a leaf piped from melted chocolate.
- Oreo surprise: For an easy twist, try my Oreo cookie pops—just crush Oreos with cream cheese instead of cake!
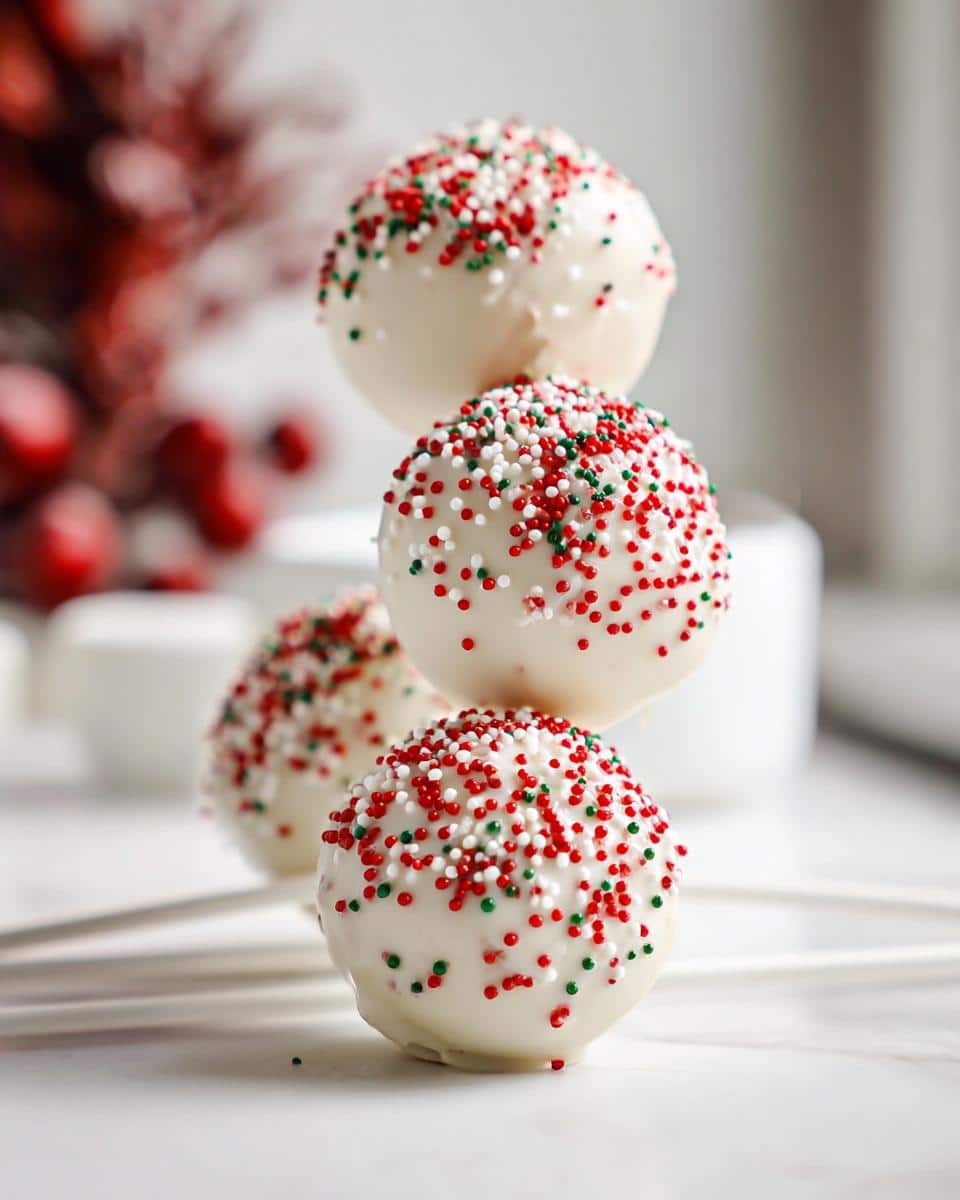
The possibilities are endless—last year, my daughter made “ugly sweater” pops with piped icing designs! Whatever variation you choose, remember: the best cake pops are the ones that make you smile while making them.
Storing and Serving Classic Christmas Cake Pops
Now that you’ve created these adorable classic Christmas cake pops, let’s talk about keeping them fresh and showing them off! These little guys actually get better after a day in the fridge—the flavors meld together beautifully. Store them in an airtight container with parchment between layers to prevent sticking. They’ll keep for up to 5 days refrigerated or a month frozen (just thaw overnight in the fridge before serving).
For serving, I love sticking them in a styrofoam block decorated with wrapping paper—it makes such a festive centerpiece! Or go the extra mile and package them in clear cellophane bags tied with ribbon for the sweetest edible gifts. Pro tip: If you’re transporting them, lay them flat in a single layer in a sturdy container—those candy coatings can be fragile! However you present them, these pops are guaranteed to spread holiday cheer.
Nutritional Information for Classic Christmas Cake Pops
Let’s be real—we’re not eating cake pops for their health benefits! But since I know some folks like to keep track (or need to for dietary reasons), here’s the scoop on what’s in each of these classic Christmas cake pops. Remember, these are estimates—your exact numbers might dance a little depending on your specific ingredients and how generous you are with those sprinkles!
- Serving Size: 1 cake pop
- Calories: 120
- Sugar: 10g
- Sodium: 90mg
- Fat: 5g (3g saturated, 2g unsaturated)
- Carbohydrates: 18g
- Protein: 1g
- Cholesterol: 10mg
These values are calculated based on using standard cake mix and store-bought frosting. If you make substitutions (like gluten-free mix or sugar-free candy melts), your numbers will change. But hey—it’s the holidays! Let yourself enjoy these sweet little bites of joy without too much number-crunching.
Frequently Asked Questions
Over the years, I’ve gotten so many great questions about these classic Christmas cake pops—and made plenty of mistakes myself that taught me the answers! Here are the ones that pop up most often (see what I did there?). Don’t see your question? Just ask in the comments—I love helping fellow bakers!
Can I use homemade cake instead of box mix?
Absolutely! My grandma’s vanilla cake recipe works beautifully here—just bake it in a 9×9 pan so you get the right crumb texture. The key is making sure your cake is moist enough to hold together when mixed with frosting. If it’s on the drier side, add an extra tablespoon of frosting. Honestly though? When I’m short on time, box mix saves the day and tastes just as festive!
How far in advance can I make holiday cake pops?
These little guys are perfect for getting ahead! You can shape and freeze the undipped cake balls up to a month in advance—just thaw overnight in the fridge before decorating. Once dipped and decorated, they’ll keep beautifully in the fridge for 5 days or freezer for 3 weeks. The candy coating actually helps lock in moisture!
Why do my winter cake pops keep falling off the sticks?
Oh honey, we’ve all been there! Two tricks: First, make sure your cake balls are thoroughly chilled before dipping—I pop them in the freezer for a solid 30 minutes. Second, always “glue” the stick by dipping it in melted candy first before inserting. If they’re still sliding, try letting them dry upside down on parchment before standing them up.
Can I make Christmas Oreo pops instead?
You’re speaking my language! Oreo pops are actually easier since you skip the baking step—just crush Oreos with cream cheese, roll, and dip. They make fabulous holiday Oreo pops when you use red and green candy melts. The method is nearly identical to cake pops, just start with cookies instead of cake!
What’s the secret to smooth candy coating on New Years cake pops?
Temperature is everything! If your coating is too thick, add a teaspoon of coconut oil while melting. If it’s lumpy, microwave in shorter bursts and stir vigorously. And here’s my magic trick—after dipping, gently tap your wrist while rotating the pop to shake off excess coating. This gives you that bakery-smooth finish every time!
Print
Classic Christmas Cake Pops
- Total Time: 55 min
- Yield: 24 cake pops 1x
- Diet: Vegetarian
Description
Easy bite-sized holiday treats made with vanilla cake, frosting, and festive sprinkles.
Ingredients
- 1 box vanilla cake mix (e.g., Betty Crocker)
- ⅓ cup vanilla icing (e.g., Betty Crocker)
- ½ bag (12 oz) white candy melts
- ½ bag (12 oz) red candy melts
- Festive sprinkles
Instructions
- Prepare cake batter as directed on the box. Mix cake mix, water, vegetable oil, and eggs in a large bowl.
- Pour batter into a greased 9×9-inch baking dish or two 8×8-inch round pans. Bake at 350°F until a toothpick comes out clean.
- Let cake cool completely, then crumble it with a fork. Stir in frosting, cover with plastic wrap, and freeze until chilled.
- Roll mixture into ping pong-sized balls using a cookie scoop and hands. Place on a baking sheet and freeze until firm.
- Melt candy melts. Dip lollipop sticks into melted chocolate, then insert into frozen cake balls. Freeze again to solidify.
- Dip cake pops into melted chocolate or spoon chocolate over them. Decorate with sprinkles.
- Let harden upright in a styrofoam block or cardboard box.
Notes
- Chill the cake mixture before rolling for easier shaping.
- Use a double boiler or microwave to melt candy melts evenly.
- Prep Time: 30 min
- Cook Time: 25 min
- Category: Dessert
- Method: Baking
- Cuisine: American
Nutrition
- Serving Size: 1 cake pop
- Calories: 120
- Sugar: 10g
- Sodium: 90mg
- Fat: 5g
- Saturated Fat: 3g
- Unsaturated Fat: 2g
- Trans Fat: 0g
- Carbohydrates: 18g
- Fiber: 0g
- Protein: 1g
- Cholesterol: 10mg
Keywords: Christmas cake pops, holiday desserts, vanilla cake pops, festive treats, easy baking

